Automating Repetitive Form Fills with Bitwarden, Lastpass and Roboform
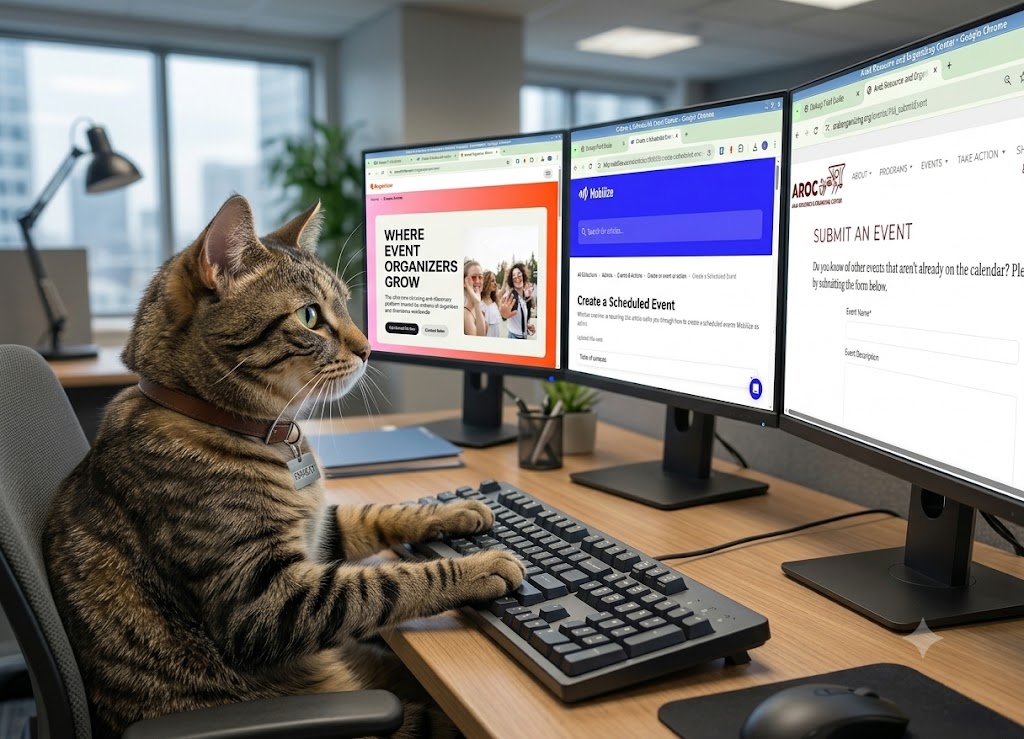
Filling out the same web contact form for the nine millionth time has to rate as one of the most annoying wastes of time known to humankind. Now imagine your time wastage if -- as a volunteer at some shoestring budget organization -- you were responsible for submitting weekly recurring events to various community calendars. Some calendars natively support submission of auto-recurring events, but in many cases you will be stuck entering the same tedious set of field values every seven days. That's exactly the kind of workflow inefficiency we recently helped our friends at VigilForGaza resolve.
The full solution we propose leverages two tools:
- Bitwarden (BW) -- an open-source credentials vault and bare-bones forms fill tool with a CLI (command line interface)
- RoboForm -- a CLI-less closed-source password manager with rich forms fill capabilities
As we will explain below, for the simplest, lowest requirement scenarios it might make sense for you to skip the BW explanations and how-to sections and just focus on Roboform.
Why Not Just One Tool ?
Prior to investigating how to automate recurring calendar-event submissions, we had become major fans of BW. Firstly, it's open source which is much preferred for any security tool, since that keeps it open to audit and review (but do check the info in [2] for more details.) Second, it's free -- even across multiple devices, and it's equipped with CLI access to their credentials vault. We lean on that CLI constantly for scripting machine and environment setup -- at which point one needs secure access to ssh keys, access tokens, and the like.
It would have been theoretically possible for us to get BW working as a forms-fill tool too, but like the very first password manager we tried -- LastPass (not free across multiple devices, and not open source) -- both turned out to be pretty rigid about which fields they can actually handle on a repetitive submission. Form fill for both products hinges on what is essentially a static mapping of field labels to field values. Both LastPass and Bitwarden provide a mechanism for adding custom fields. But when a form has a field not present in the map, adding such field requires -- in both products -- that you manually hunt through a form's raw markup for the right attribute, then hand-enter it into a field editor. And you need to repeat this for every new form. RoboForm doesn't share that limitation -- see the appendix for why [1].
Since your requirements might not include CLI capabilities and a bias toward open source, we will begin our how-to sections with a focus on Roboform set-up and usage on desktops using Chrome. We then walk through BW set-up and usage on deskop Chrome (other browsers will likely be quite similar.) Finally, for those who wish to run both tools on mobile devices we walk through what setting that up looks like on Android (apologies to iPhone users -- since that is a completely closed source ecosystem, we don't really deal with it.)
HOW-TO #1: RoboForm desktop setup
Installing the extension
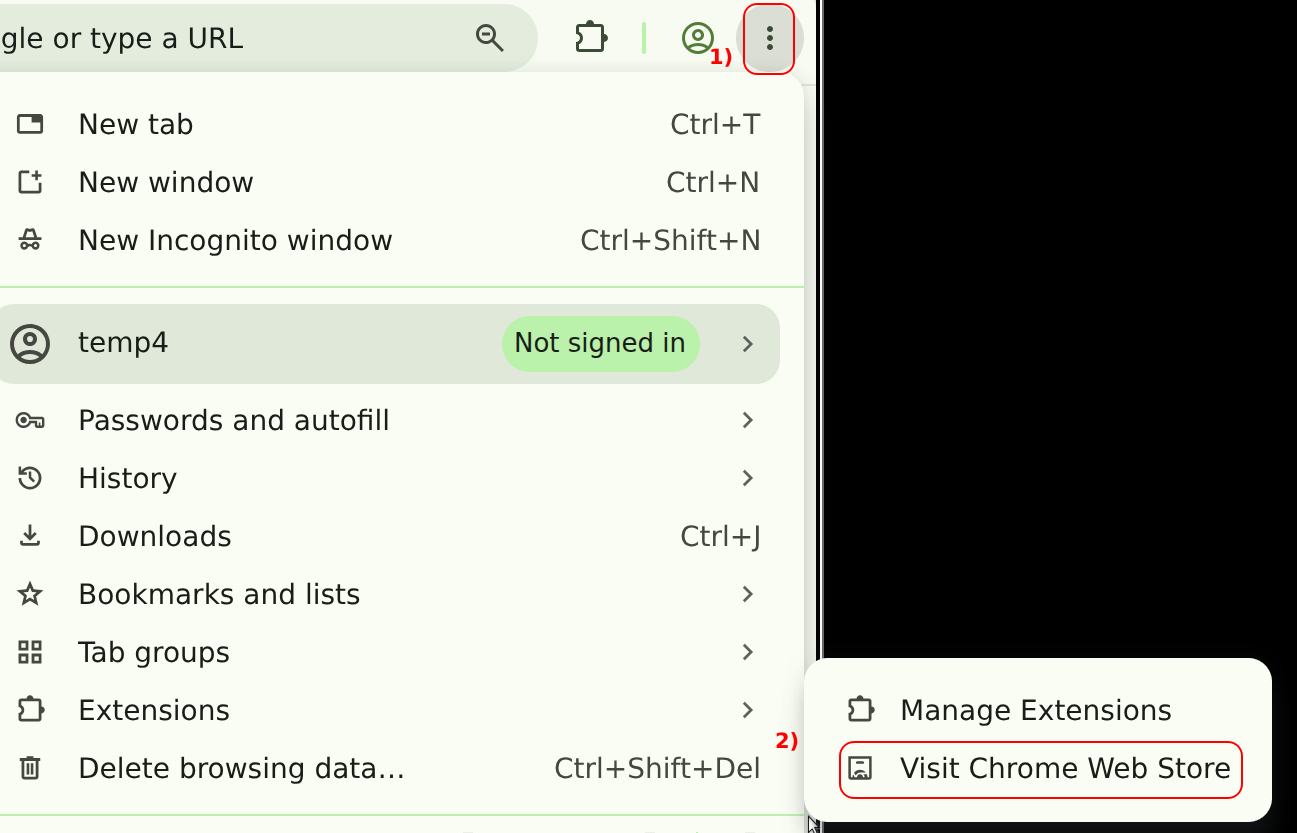
- In Chrome, click the three-dot menu (upper right), select Extensions, then Visit Chrome Web Store.
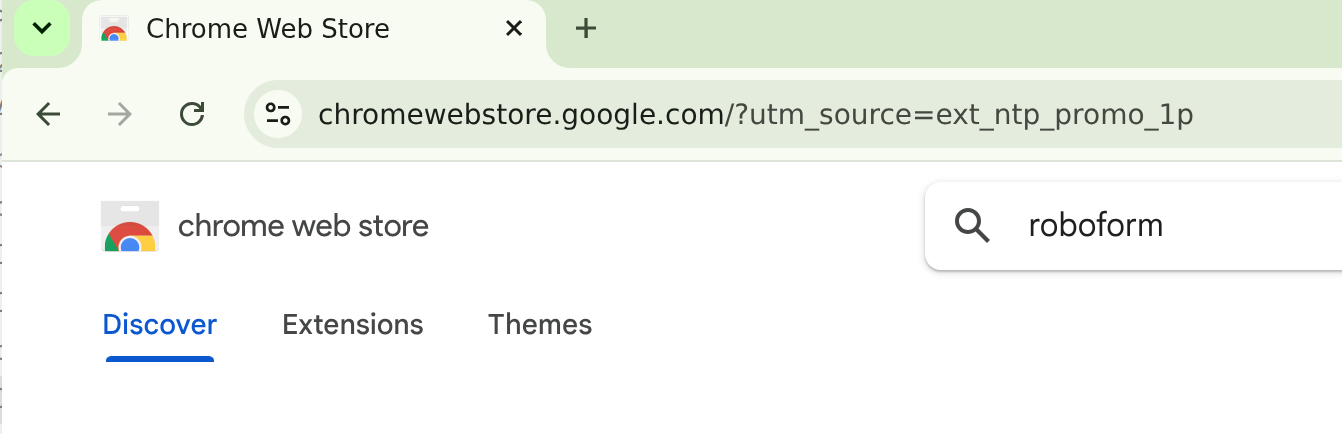
- Search the Chrome Web Store for RoboForm.
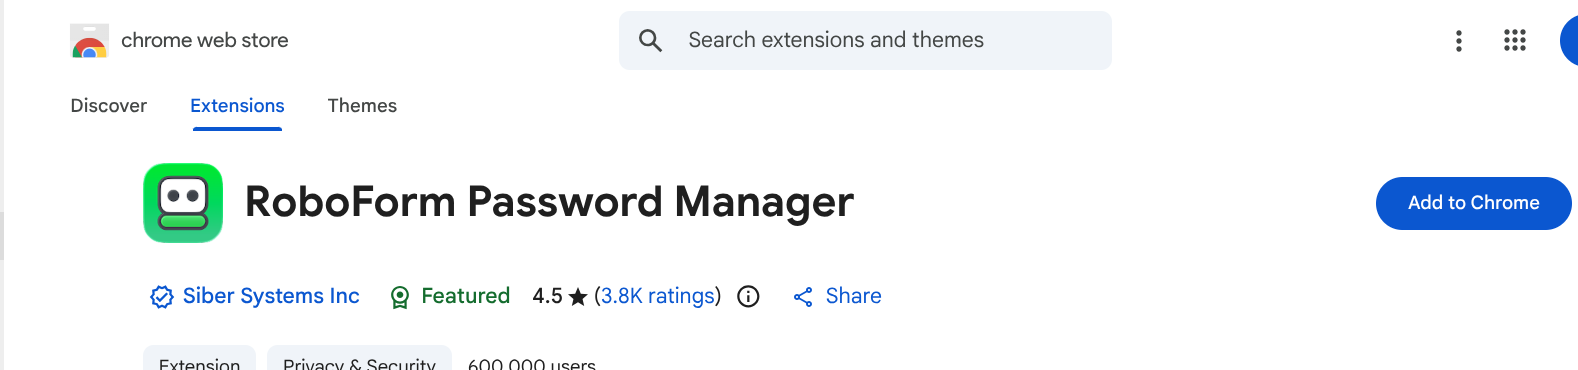
- Open the RoboForm Password Manager listing and click Add to Chrome.
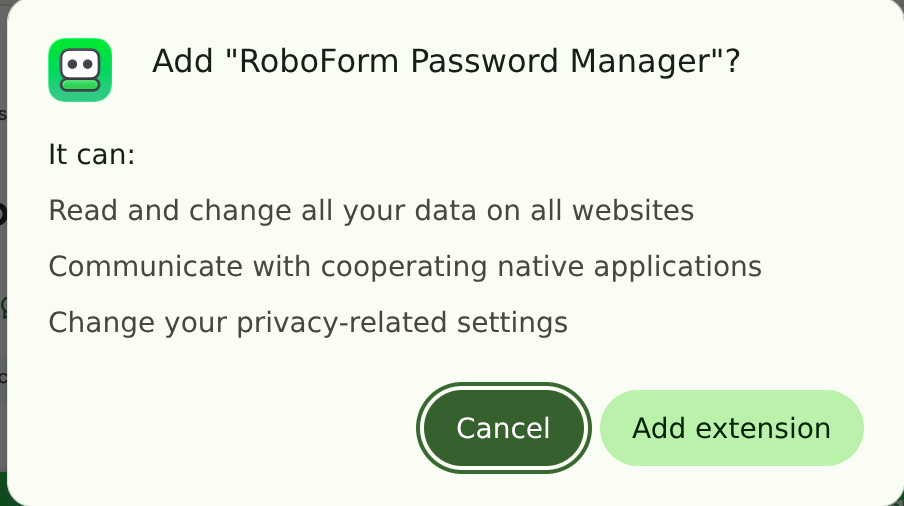
- Confirm on the permissions prompt by clicking Add extension.
Creating an account
- On first launch, choose Sign Up and create an account with your org's email and a master password.
- Verify the account with the One-Time Code by email option.
- RoboForm offers a short video tutorial on first login -- Skip is fine, everything below covers what you actually need.
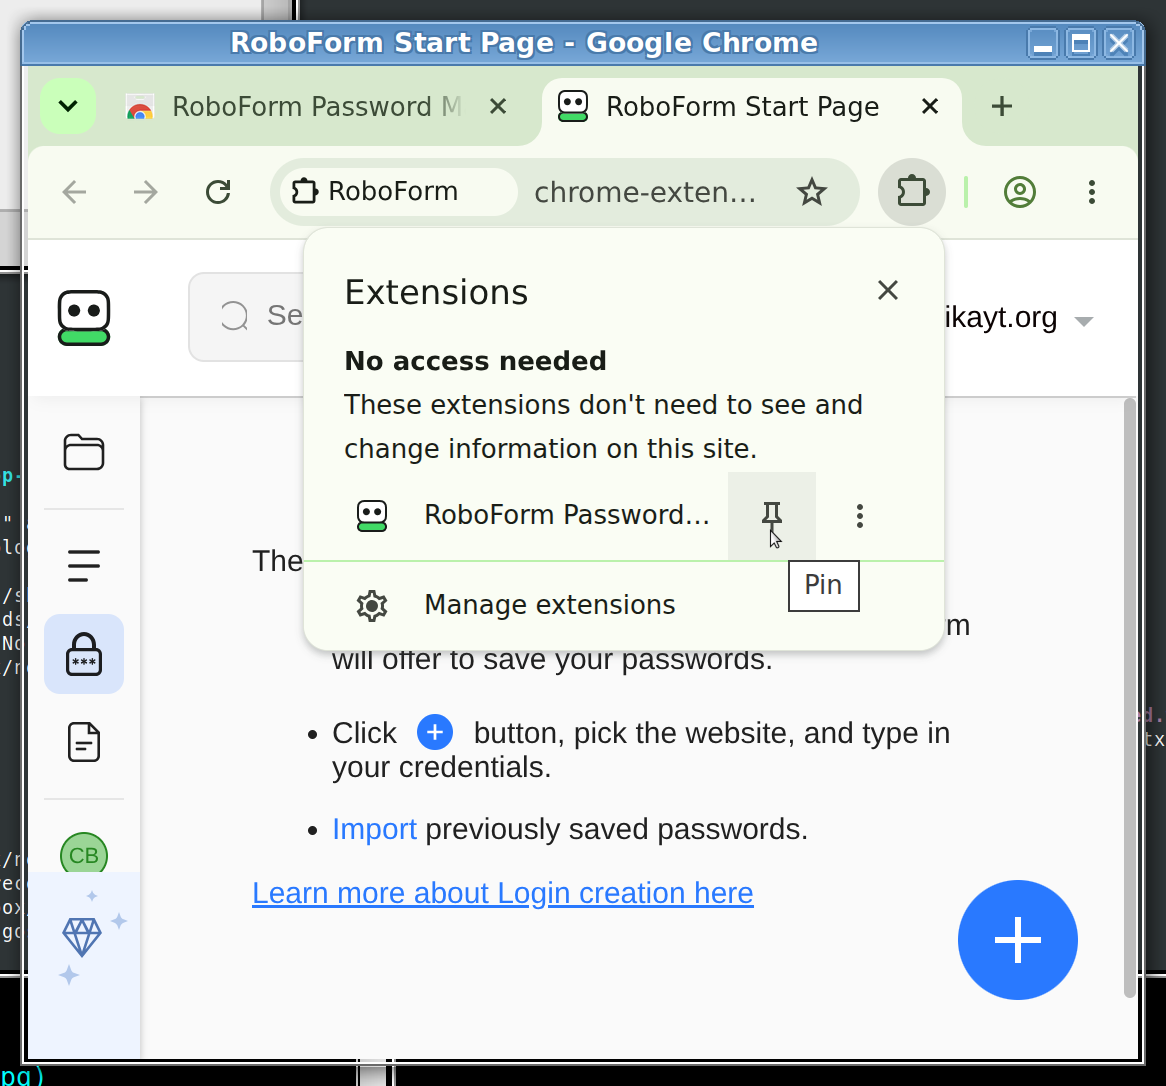
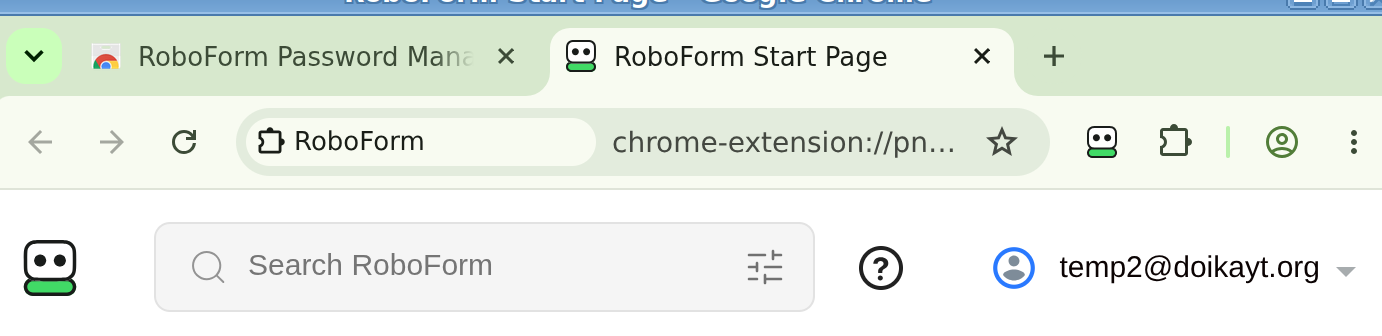
- Click the puzzle-piece Extensions icon in Chrome's toolbar, find RoboForm, and click the pin icon so it stays visible instead of hiding behind the puzzle piece every time.
Saving a form once, recalling it forever
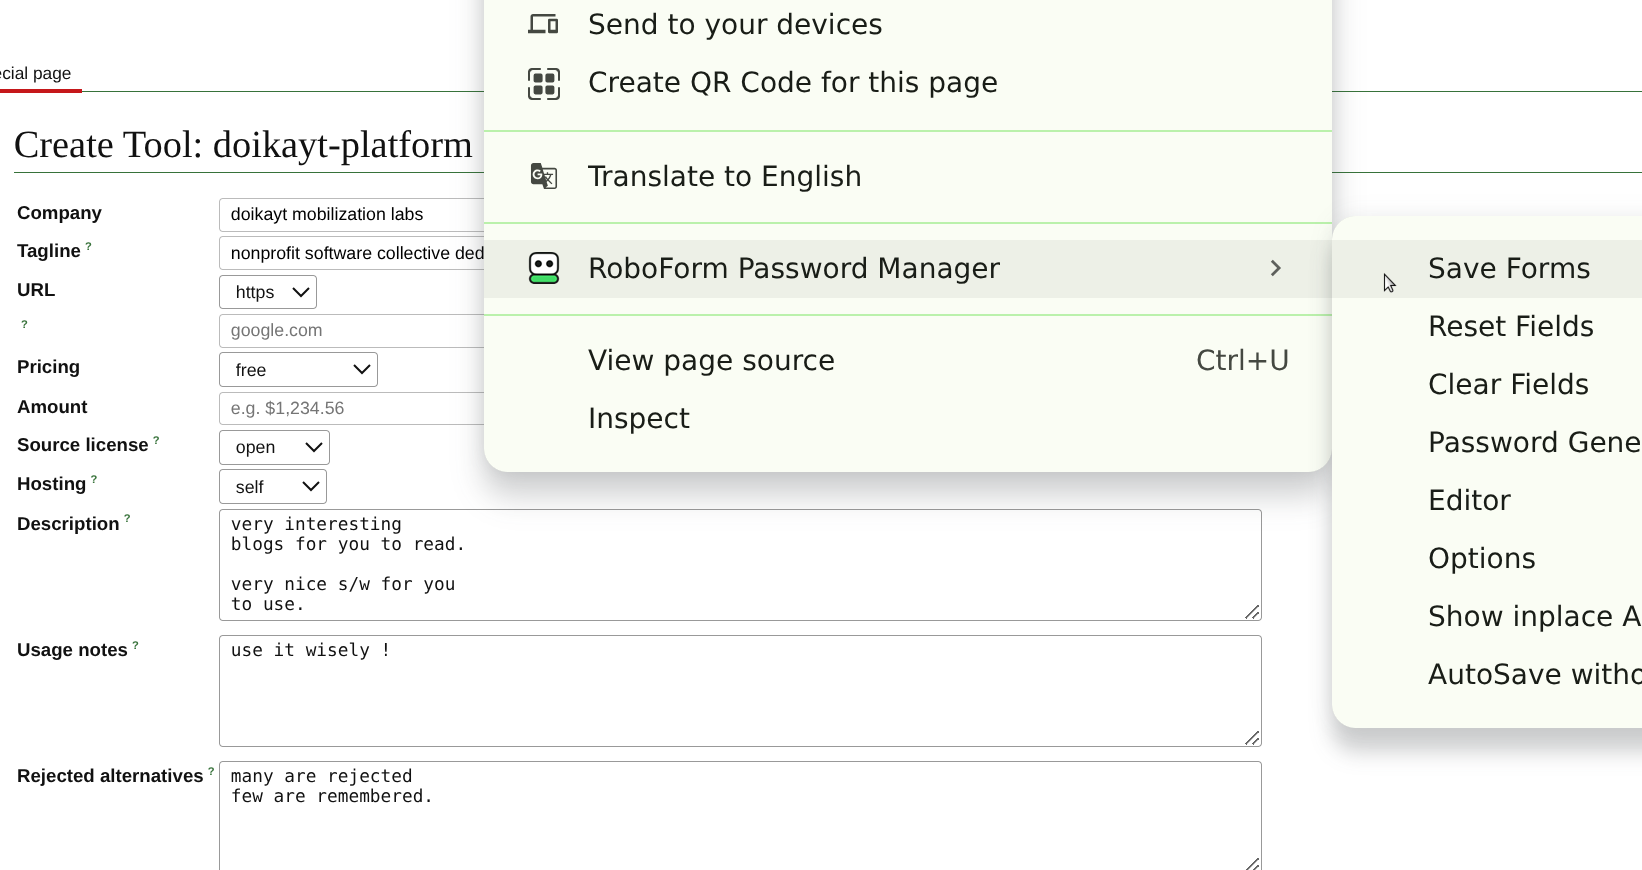
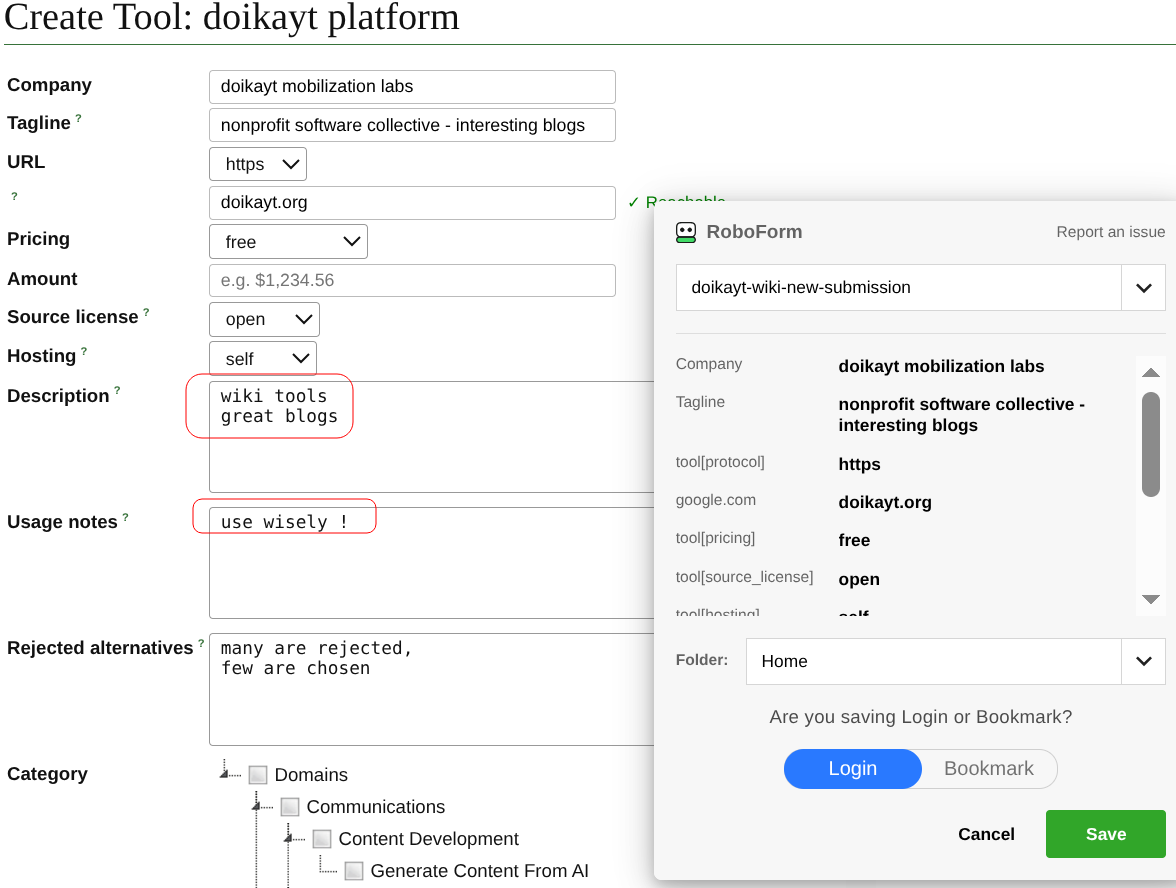
This is the actual payoff. Fill a form out field-by-field the first time, then teach RoboForm to remember it:
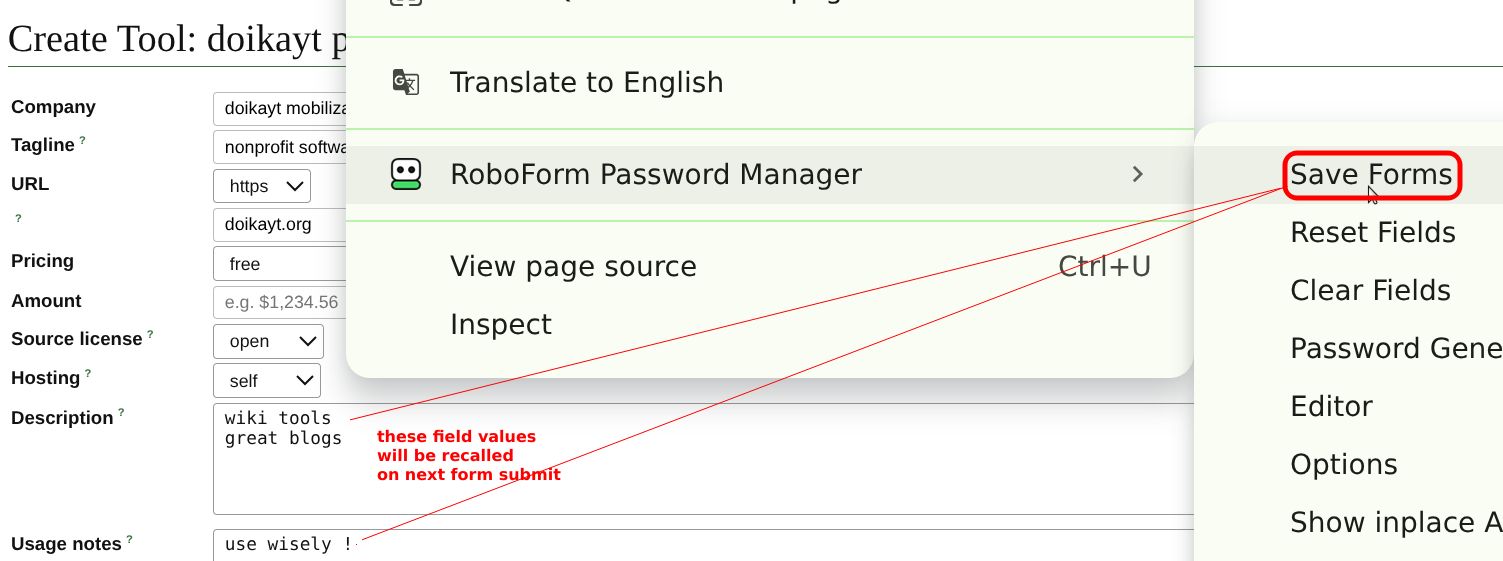
- With the form filled in, right-click anywhere on the page, open RoboForm Password Manager, and choose Save Forms.
Whatever you typed into the form's fields at this point is what gets remembered -- RoboForm snapshots the field values, not just the field layout.
- RoboForm asks what to call this saved entry and whether it's a Login or a Bookmark -- pick Login, give it a name you'll recognize (the site or form's purpose works well), and click Save.
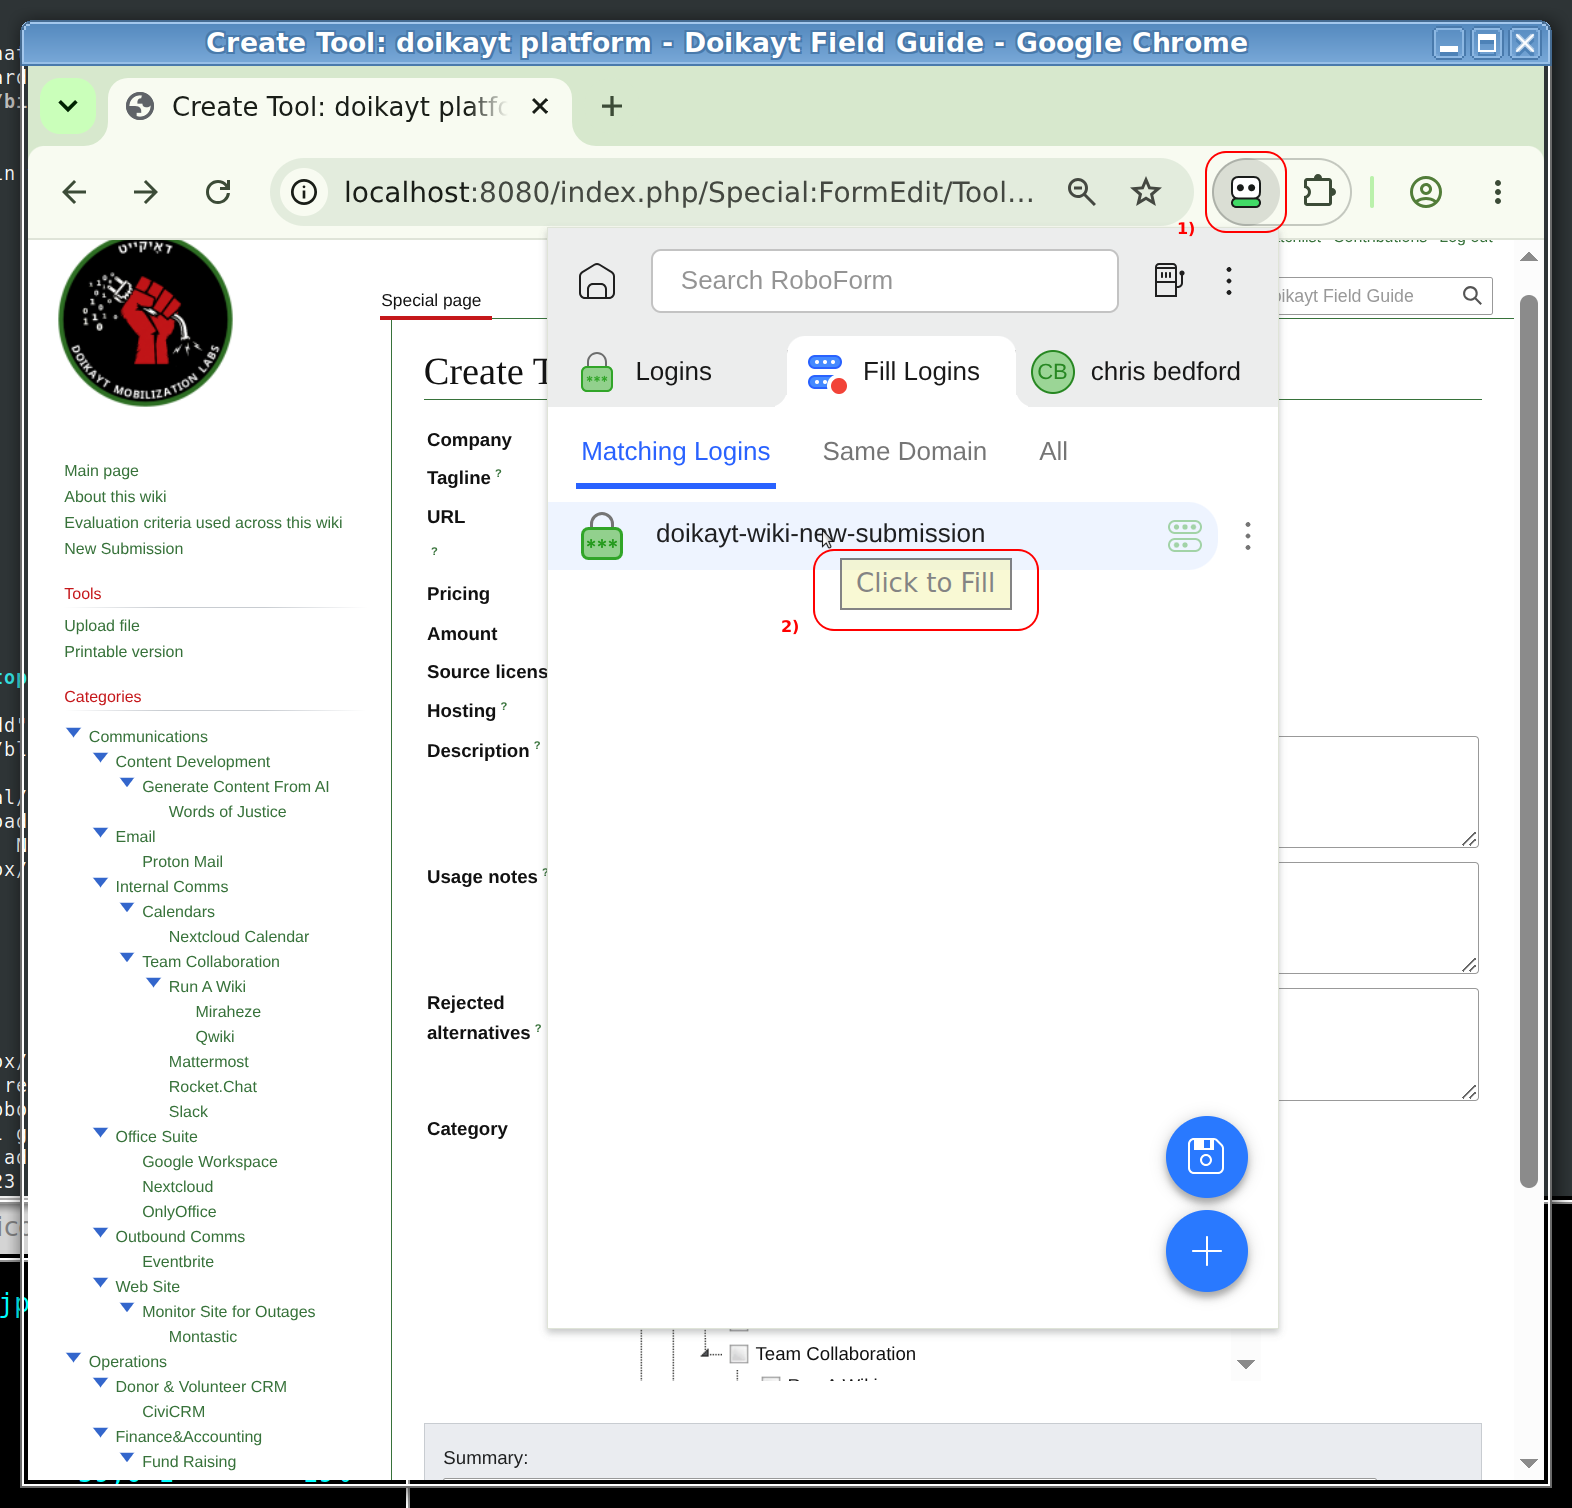
- Next time you're staring down a blank copy of that same form, click on the pinned RoboForm icon to the right of the URL entry area. Then select the name of the form fill profile you chose in the previous step.
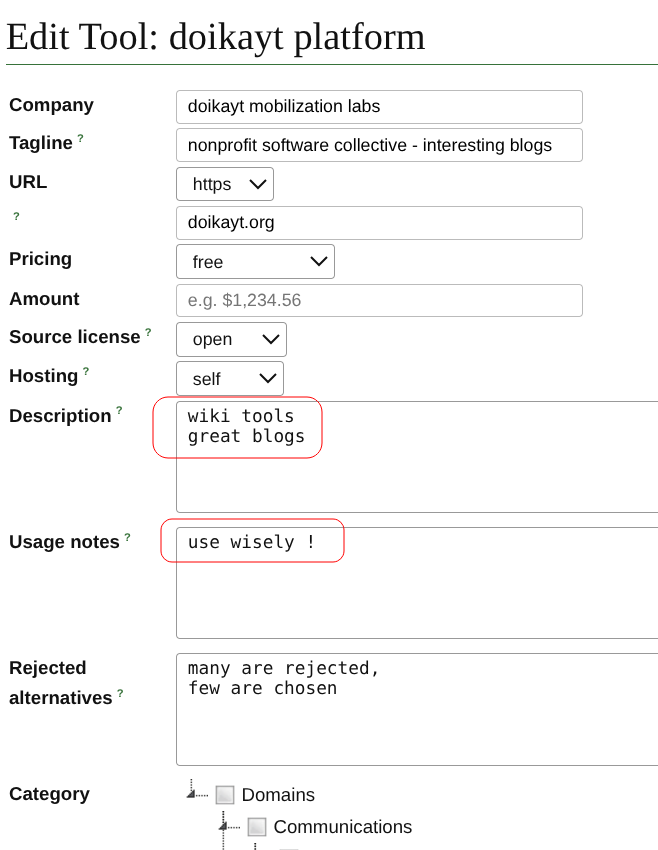
- Every field RoboForm remembered snaps back into place (in this example the title of the dialog switches from 'Create..' to 'Edit...' -- nothing to do with form fill.)
So that is all there is to it if you just want to automate form submissions.
However, if you prefer open source solutions, and if you want scriptability, you will want to read on. We next cover installation of Bitwarden on the desktop, while the section after that will cover the not-so-intuitive steps involved in getting BW and Roboform working together on an Android mobile device.
HOW-TO #2: Bitwarden as your password manager
We've recommended Bitwarden on our field-guide wiki before as a strong, open-source alternative to LastPass -- see the appendix [2] for how their security track records actually compare. BW's free tier covers unlimited passwords synced across unlimited devices. LastPass's free tier, by contrast, locks you to one device type -- desktop or mobile, not both -- so syncing between your laptop and your mobile device requires upgrading to a paid plan. Multi-device scenario set-up steps are given below in Setting it up on Android.)
In this section we provide steps for setting up an individual account, mapped to one credentials vault. If your org later needs to share logins across multiple people, Bitwarden scales up to team and even enterprise tiers; see the appendix [3] for what that looks like.
Setting it up on Desktop
Same order as RoboForm: extension first, account second. Form-filling happens through the browser extension UI, not the web vault UI.
- Open Chrome's three-dot More menu (top right) → Extensions → Visit Chrome Web Store.
- Search for Bitwarden.
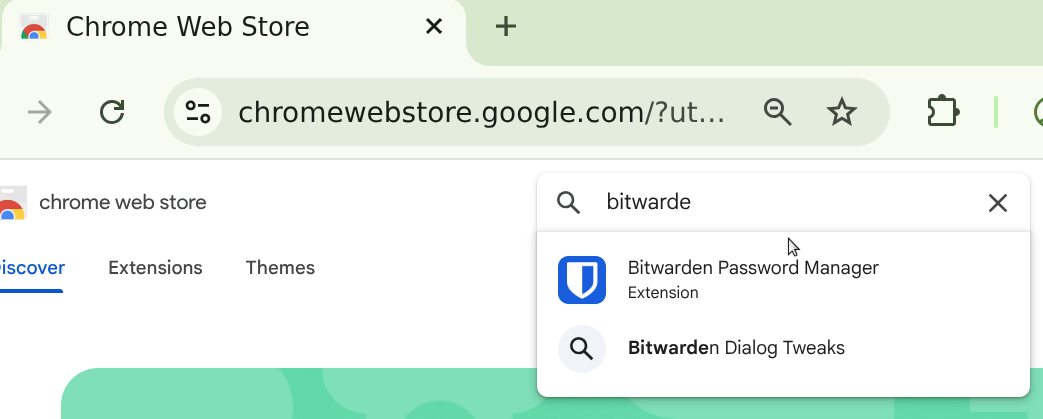
- Open the Bitwarden Password Manager listing and click Add to Chrome.
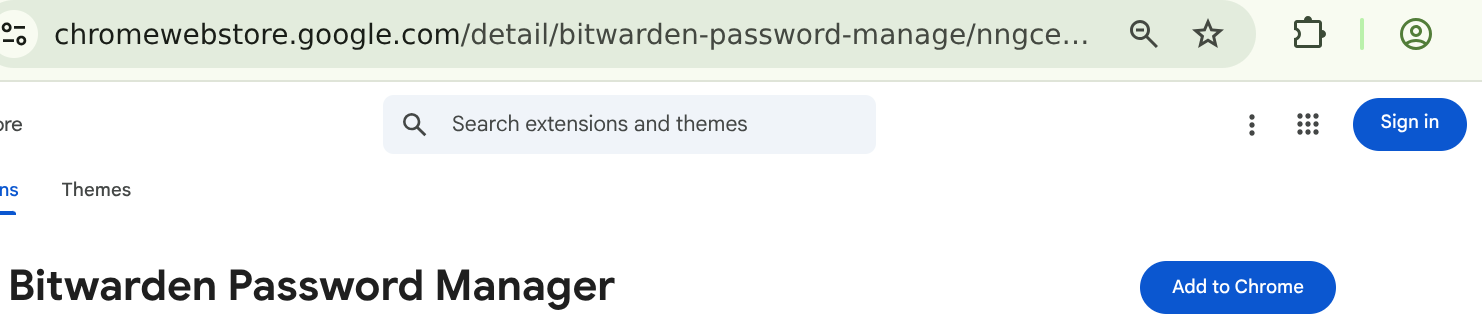
- Confirm on the permissions prompt by clicking Add extension.
- Pin it to the toolbar now, before setting up the account -- puzzle-piece icon → find Bitwarden → click the pin.
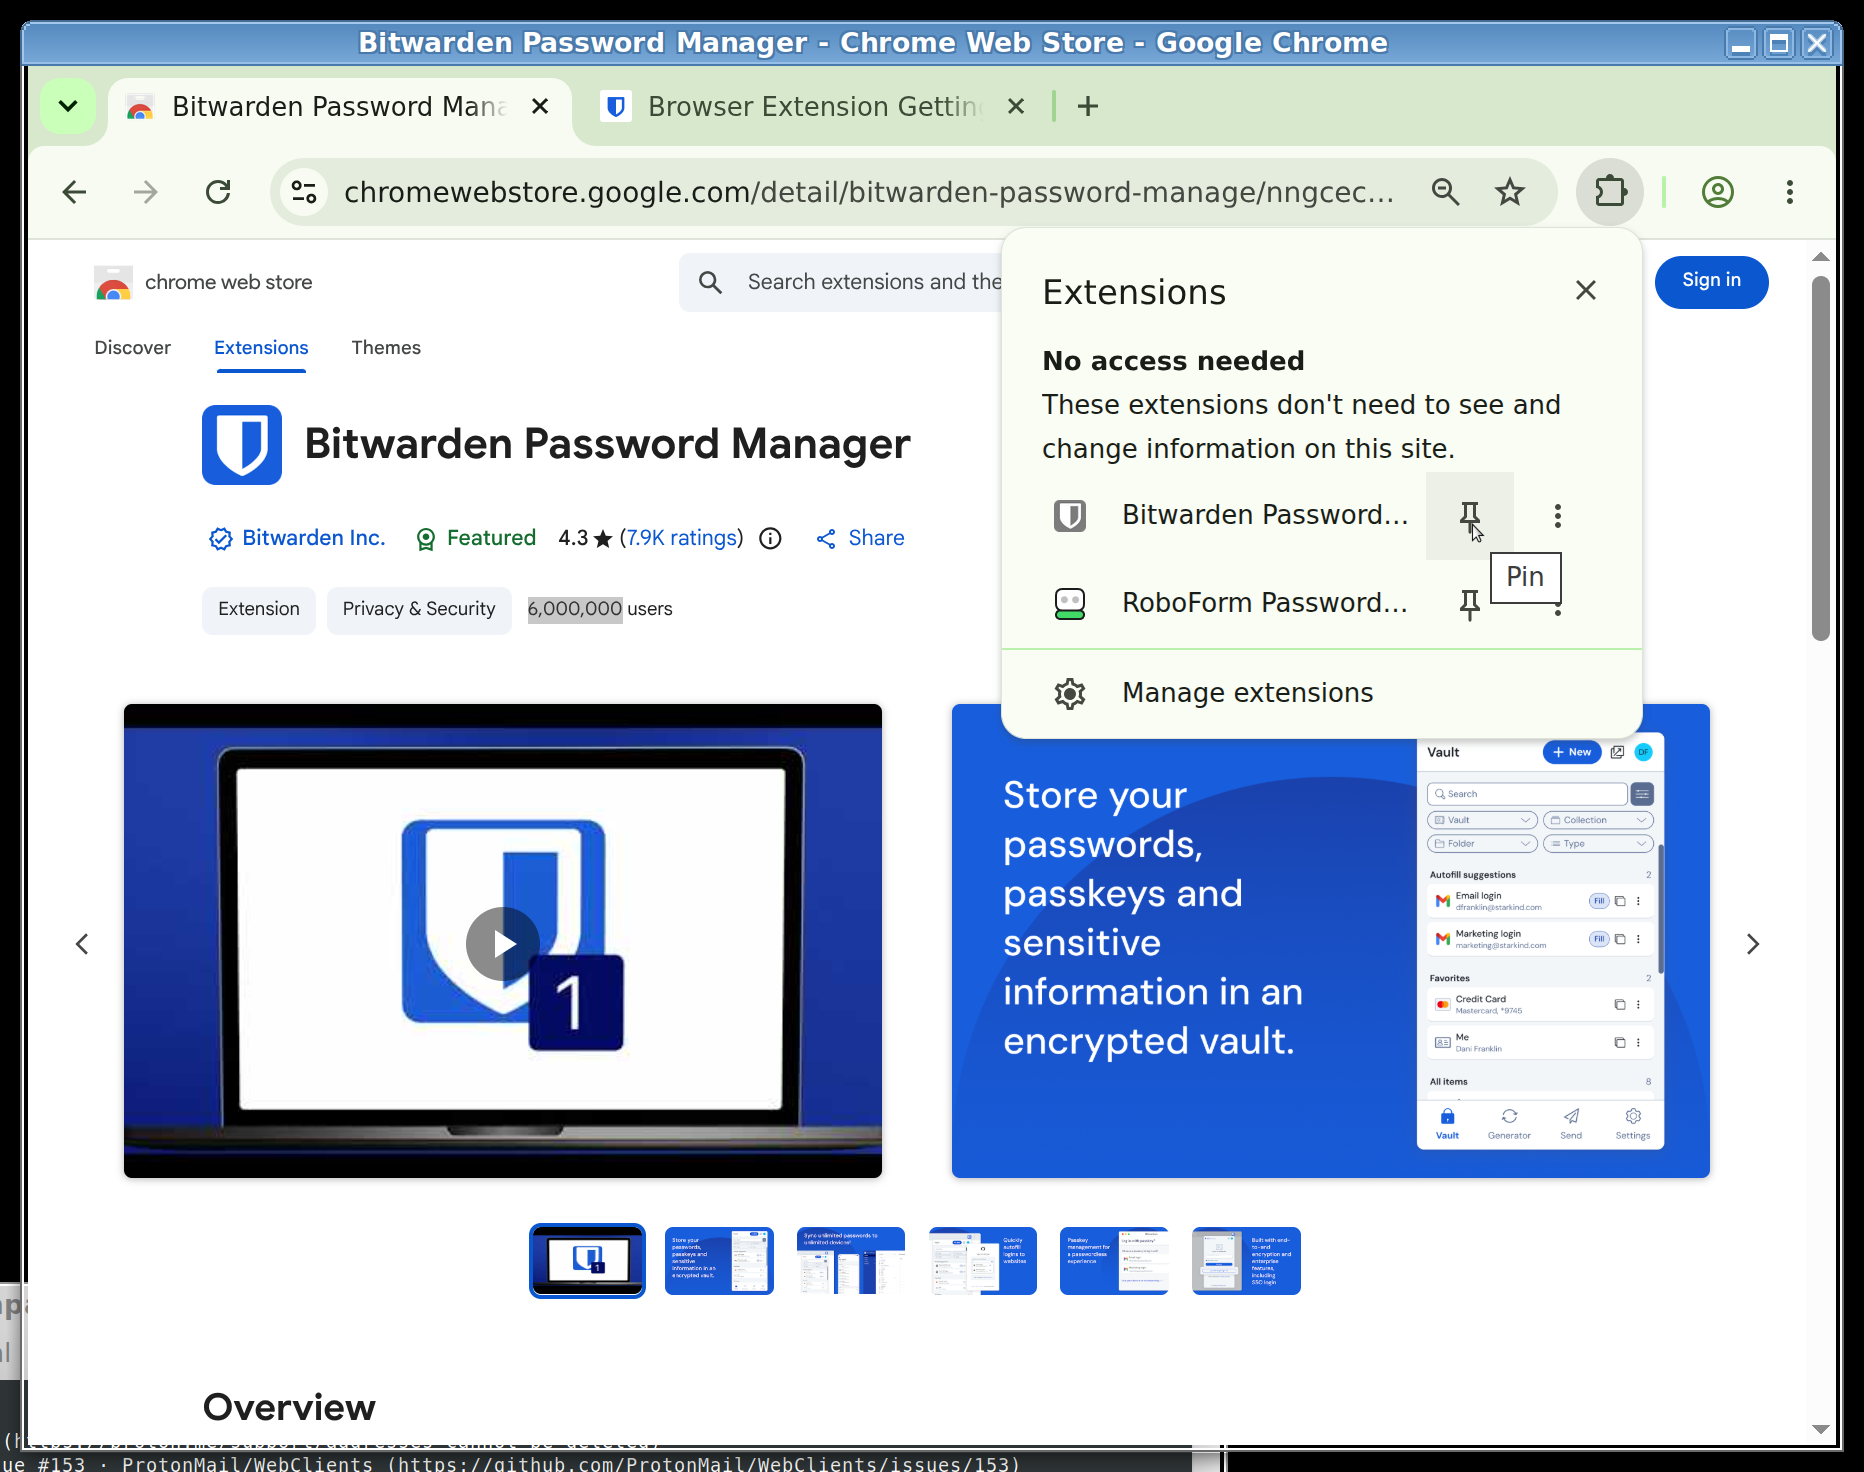
- Click the newly-pinned Bitwarden icon and choose Create account.
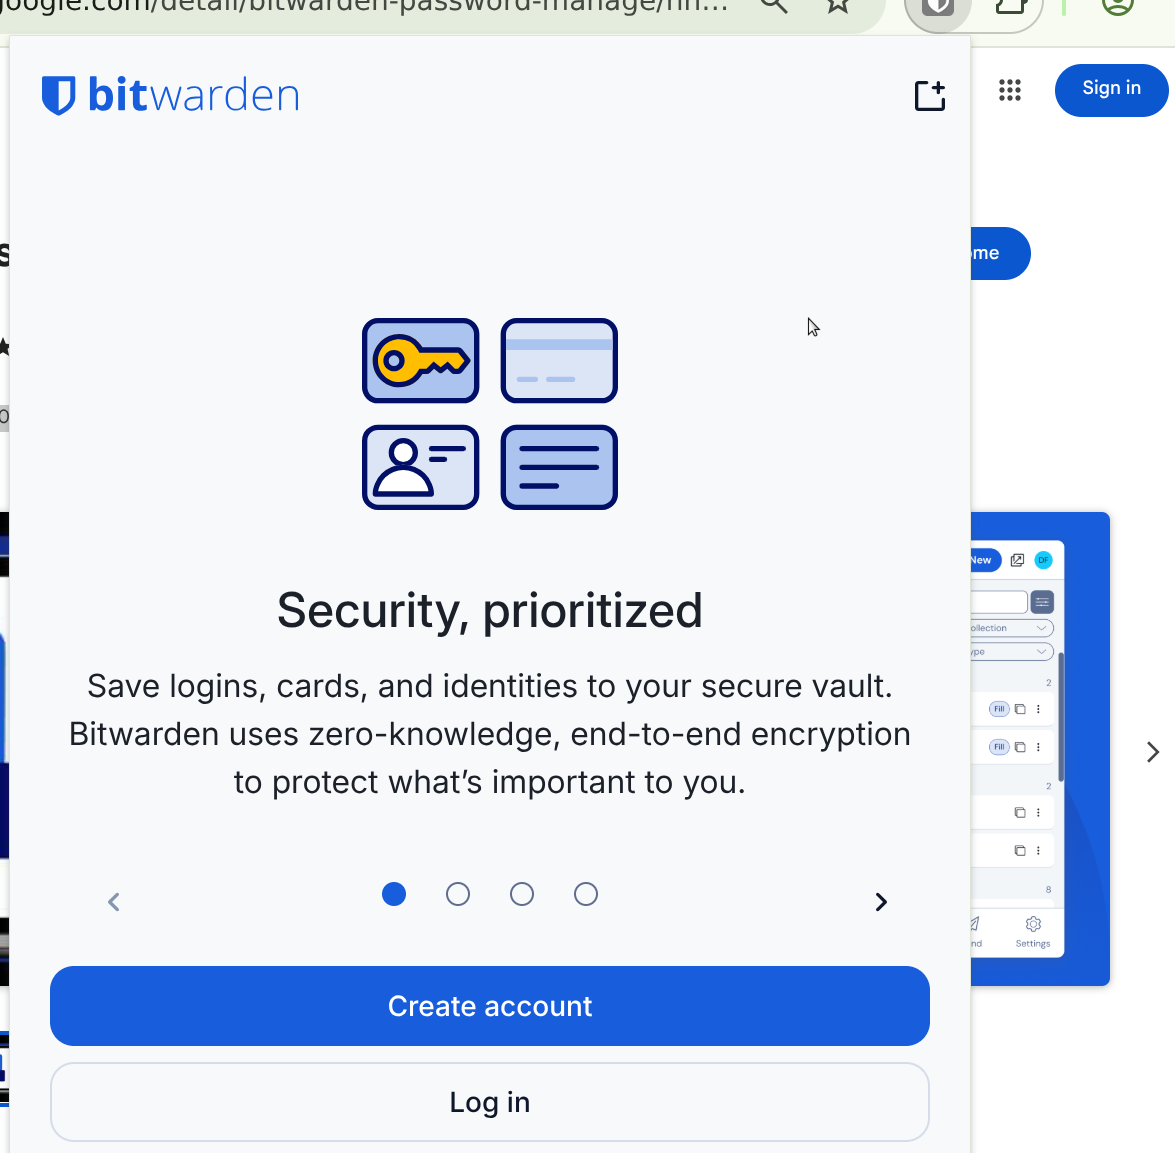
- Enter your email address and continue -- Bitwarden emails you a link to confirm it's really you before it lets you finish.
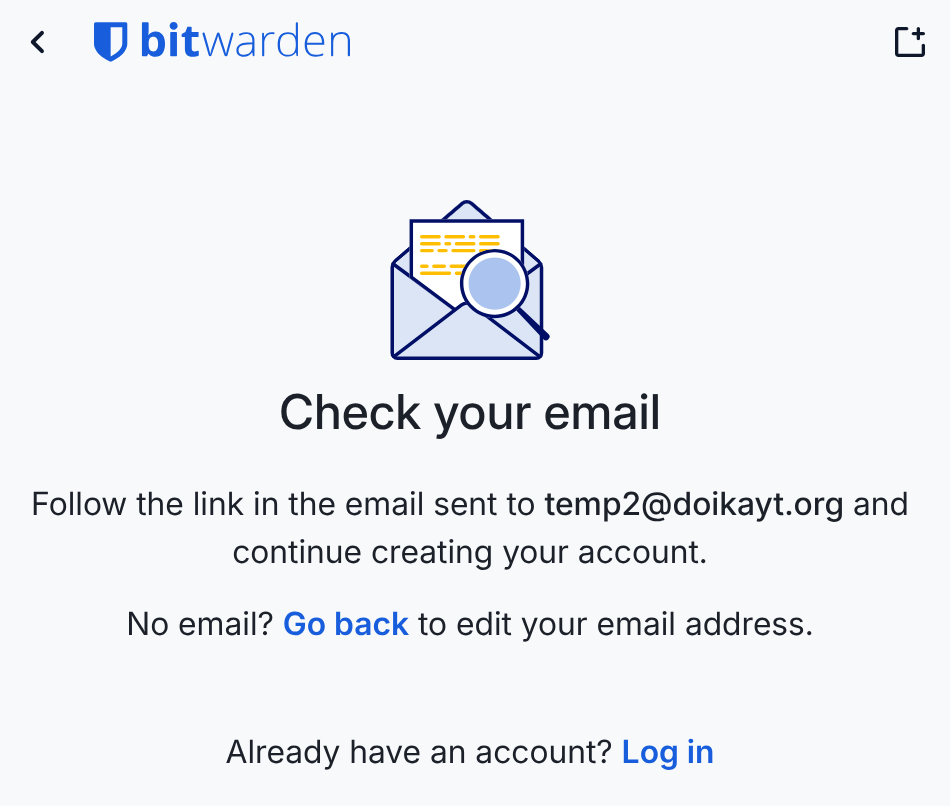
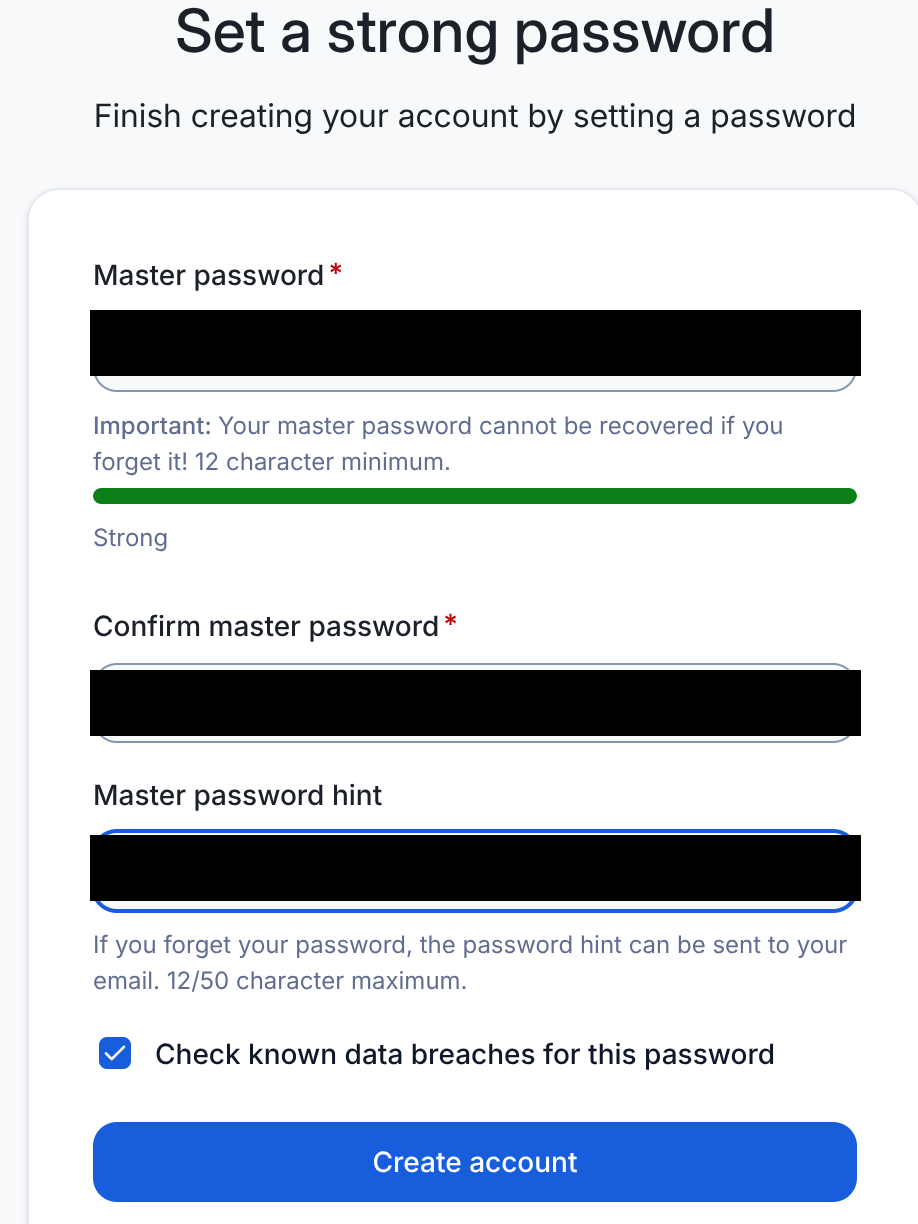
- Follow that link, then set a strong, unique master password back in the extension.
- Turn off Chrome's own Google Password Manager before you start
relying on Bitwarden day to day -- otherwise the two sit side by side
offering to save and fill the same logins, which means two competing
"save this password?" popups every time you sign into something, and
Chrome occasionally filling a field with its own guess a half-second
before Bitwarden gets to it. Click Chrome's three-dot More menu (top
right) → Passwords and autofill → Google Password Manager →
Settings, then turn off Offer to save passwords and passkeys
and Sign in automatically. (Or skip the menu digging and go straight to
chrome://password-manager/settings.) It's a one-time fix, and much less annoying than dismissing Google's popups for the next month.
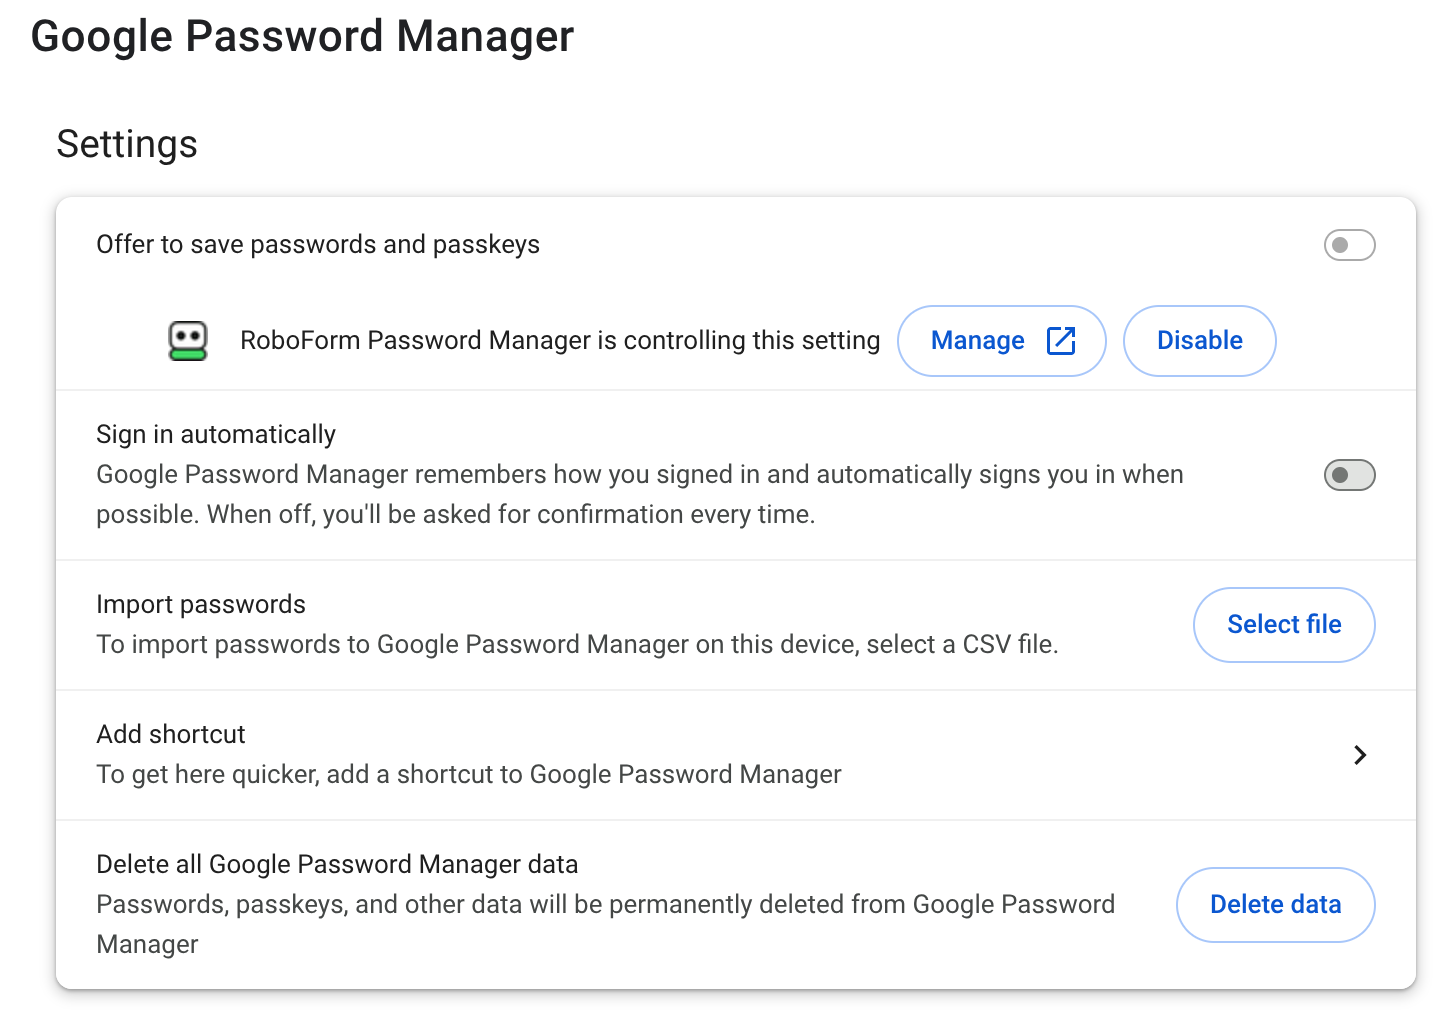
(If you set up RoboForm before Bitwarden, Chrome may show it -- not Bitwarden -- as the extension "controlling" the save-passwords toggle, like in the screenshot above. Same toggle, same fix either way; Chrome just credits whichever extension claimed it first.)
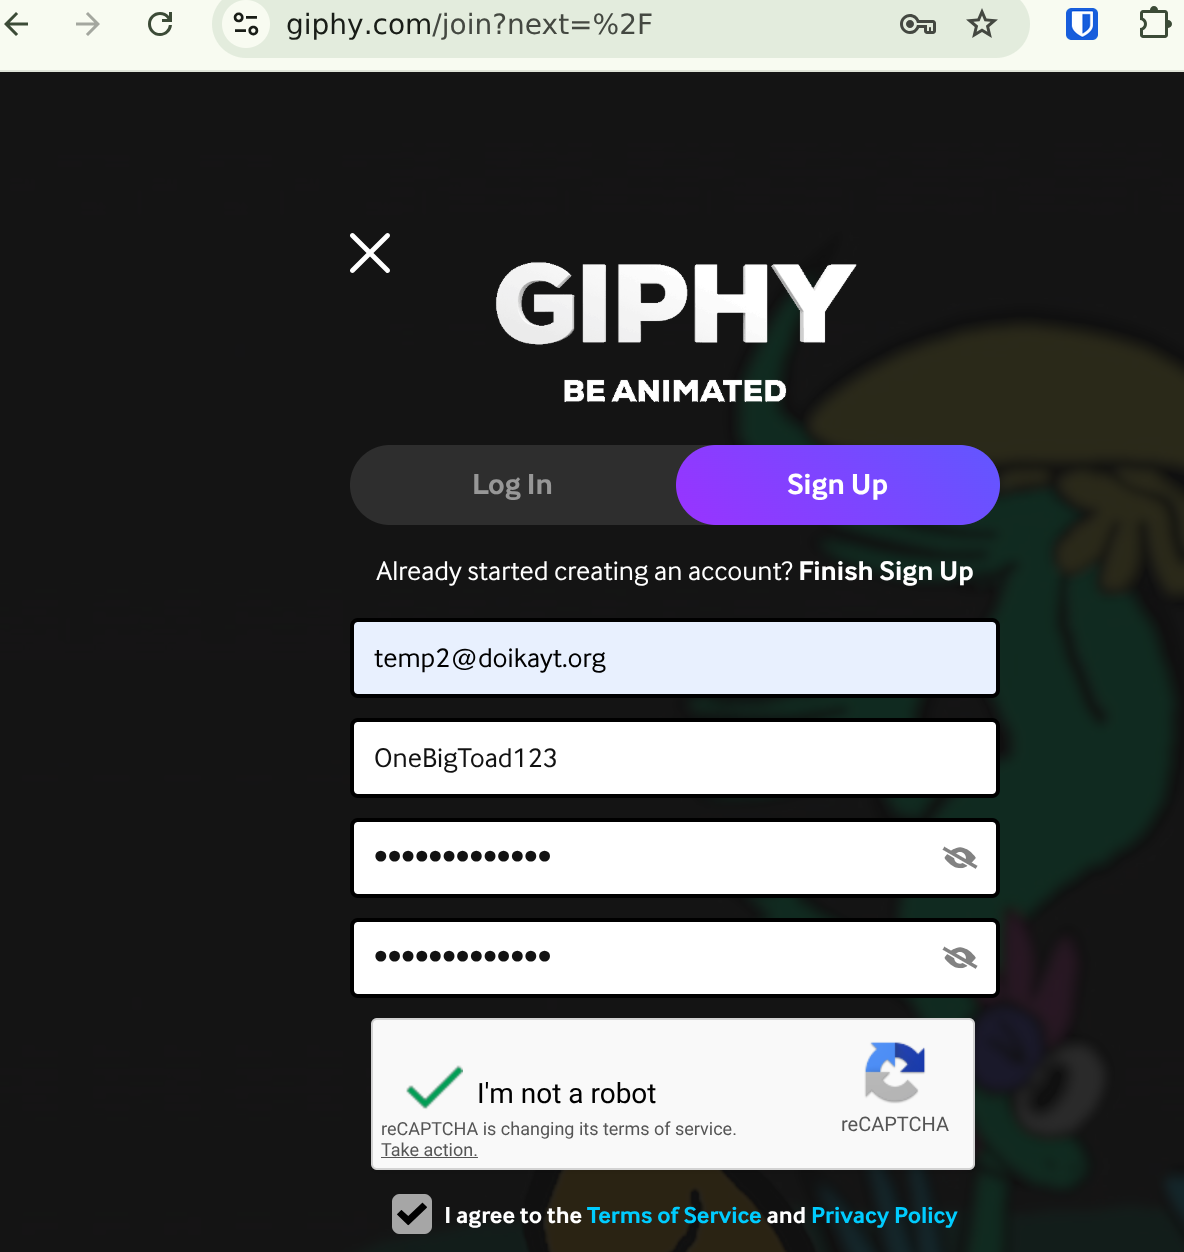
- Now, whenever you create a new login on a new site, Bitwarden will offer to save those credentials for you. Sign up for a new account like you normally would -- Bitwarden isn't involved yet, you're just filling out the site's own signup form.
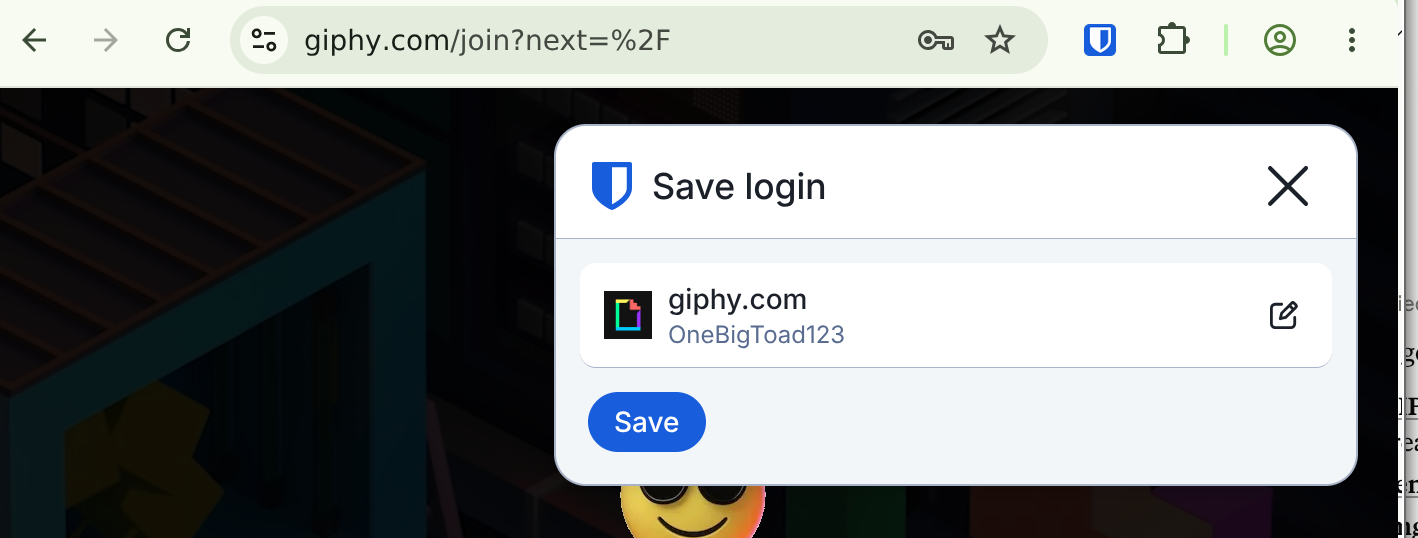
- The moment you submit, Bitwarden notices a new login was just used and offers to save it -- click Save.
- Next time you land on that site's login page, Bitwarden surfaces the saved credential right in the username field -- click it, and both username and password fill in.
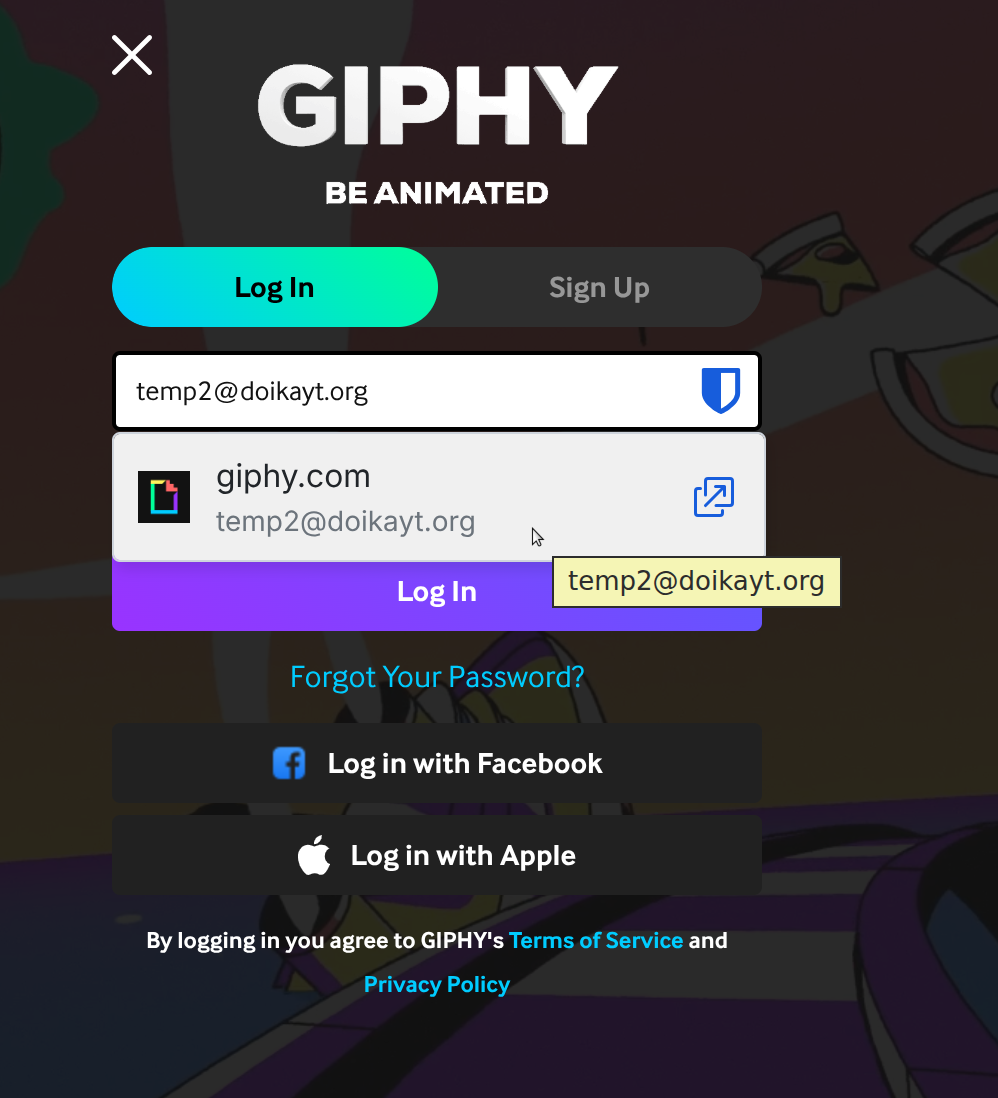
That's the entire day-to-day loop: save once when you sign up, click once every time after that.
Setting it up on Android
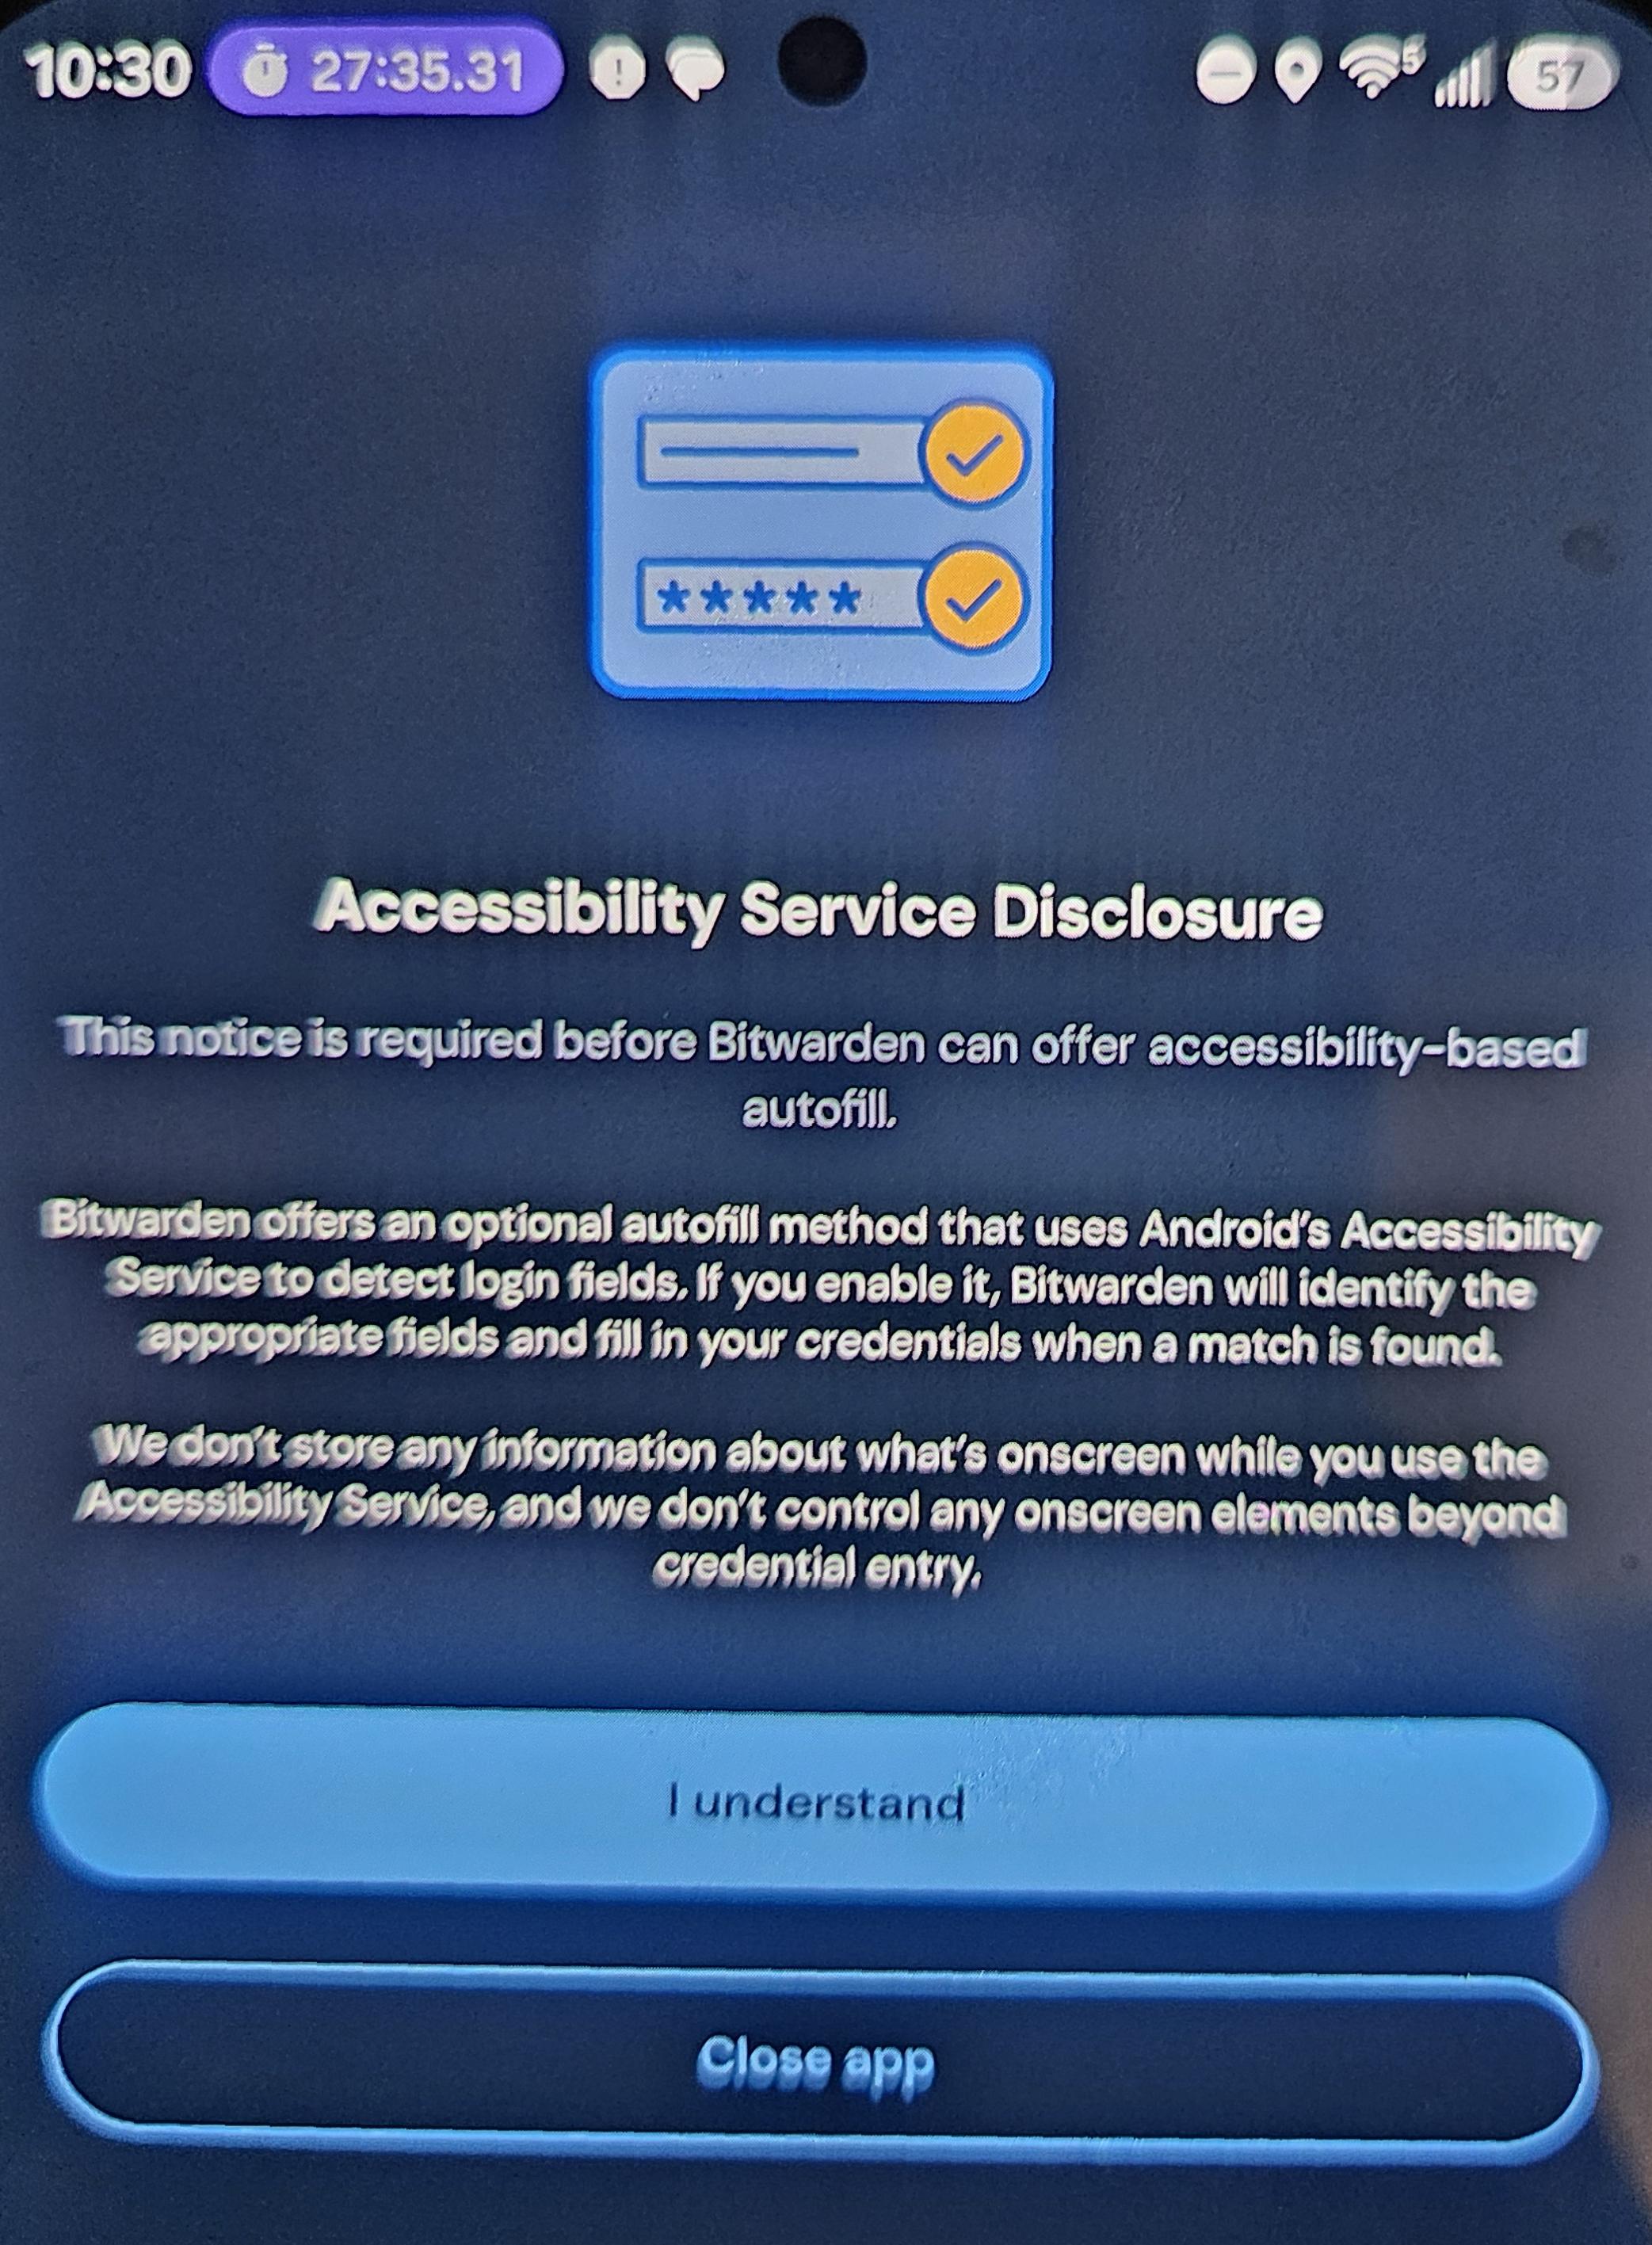
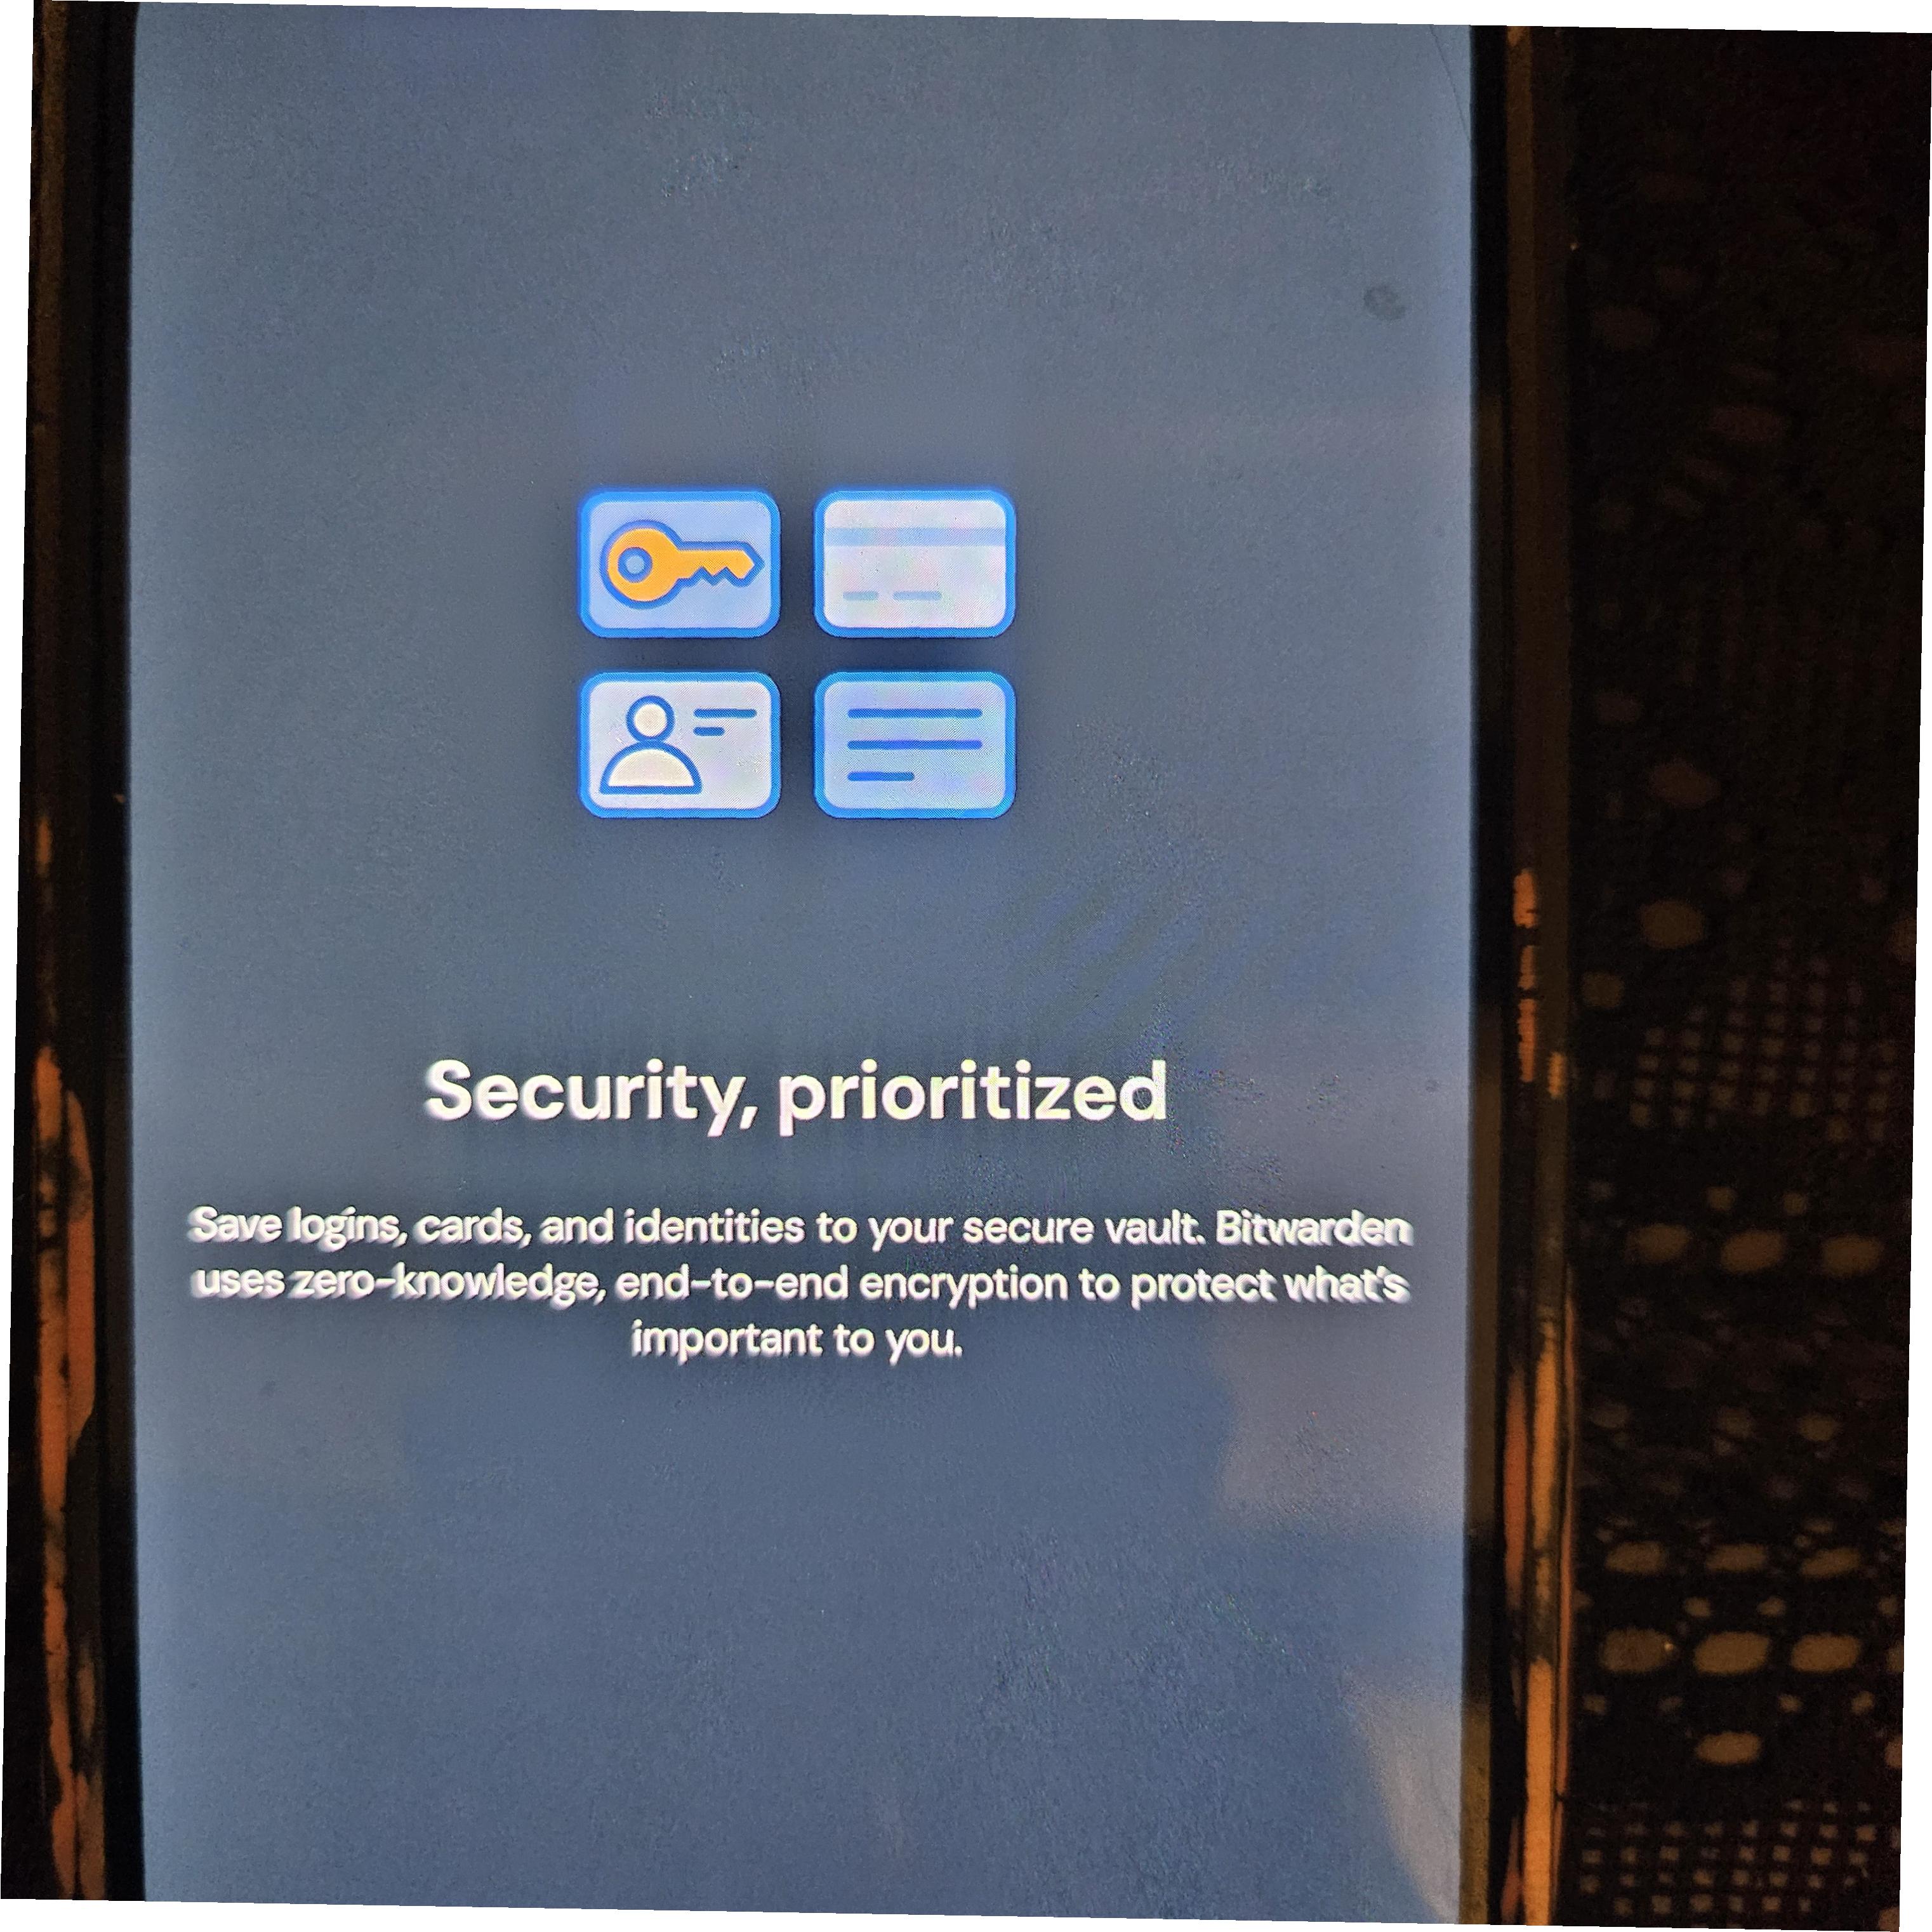
A note on image quality below: Bitwarden blocks screenshots on several of its own screens (a real security feature, not a bug) -- where that happens, what you're looking at is a phone-camera photo of the screen instead of a true screenshot.
- Install Bitwarden Password Manager from the Play Store.
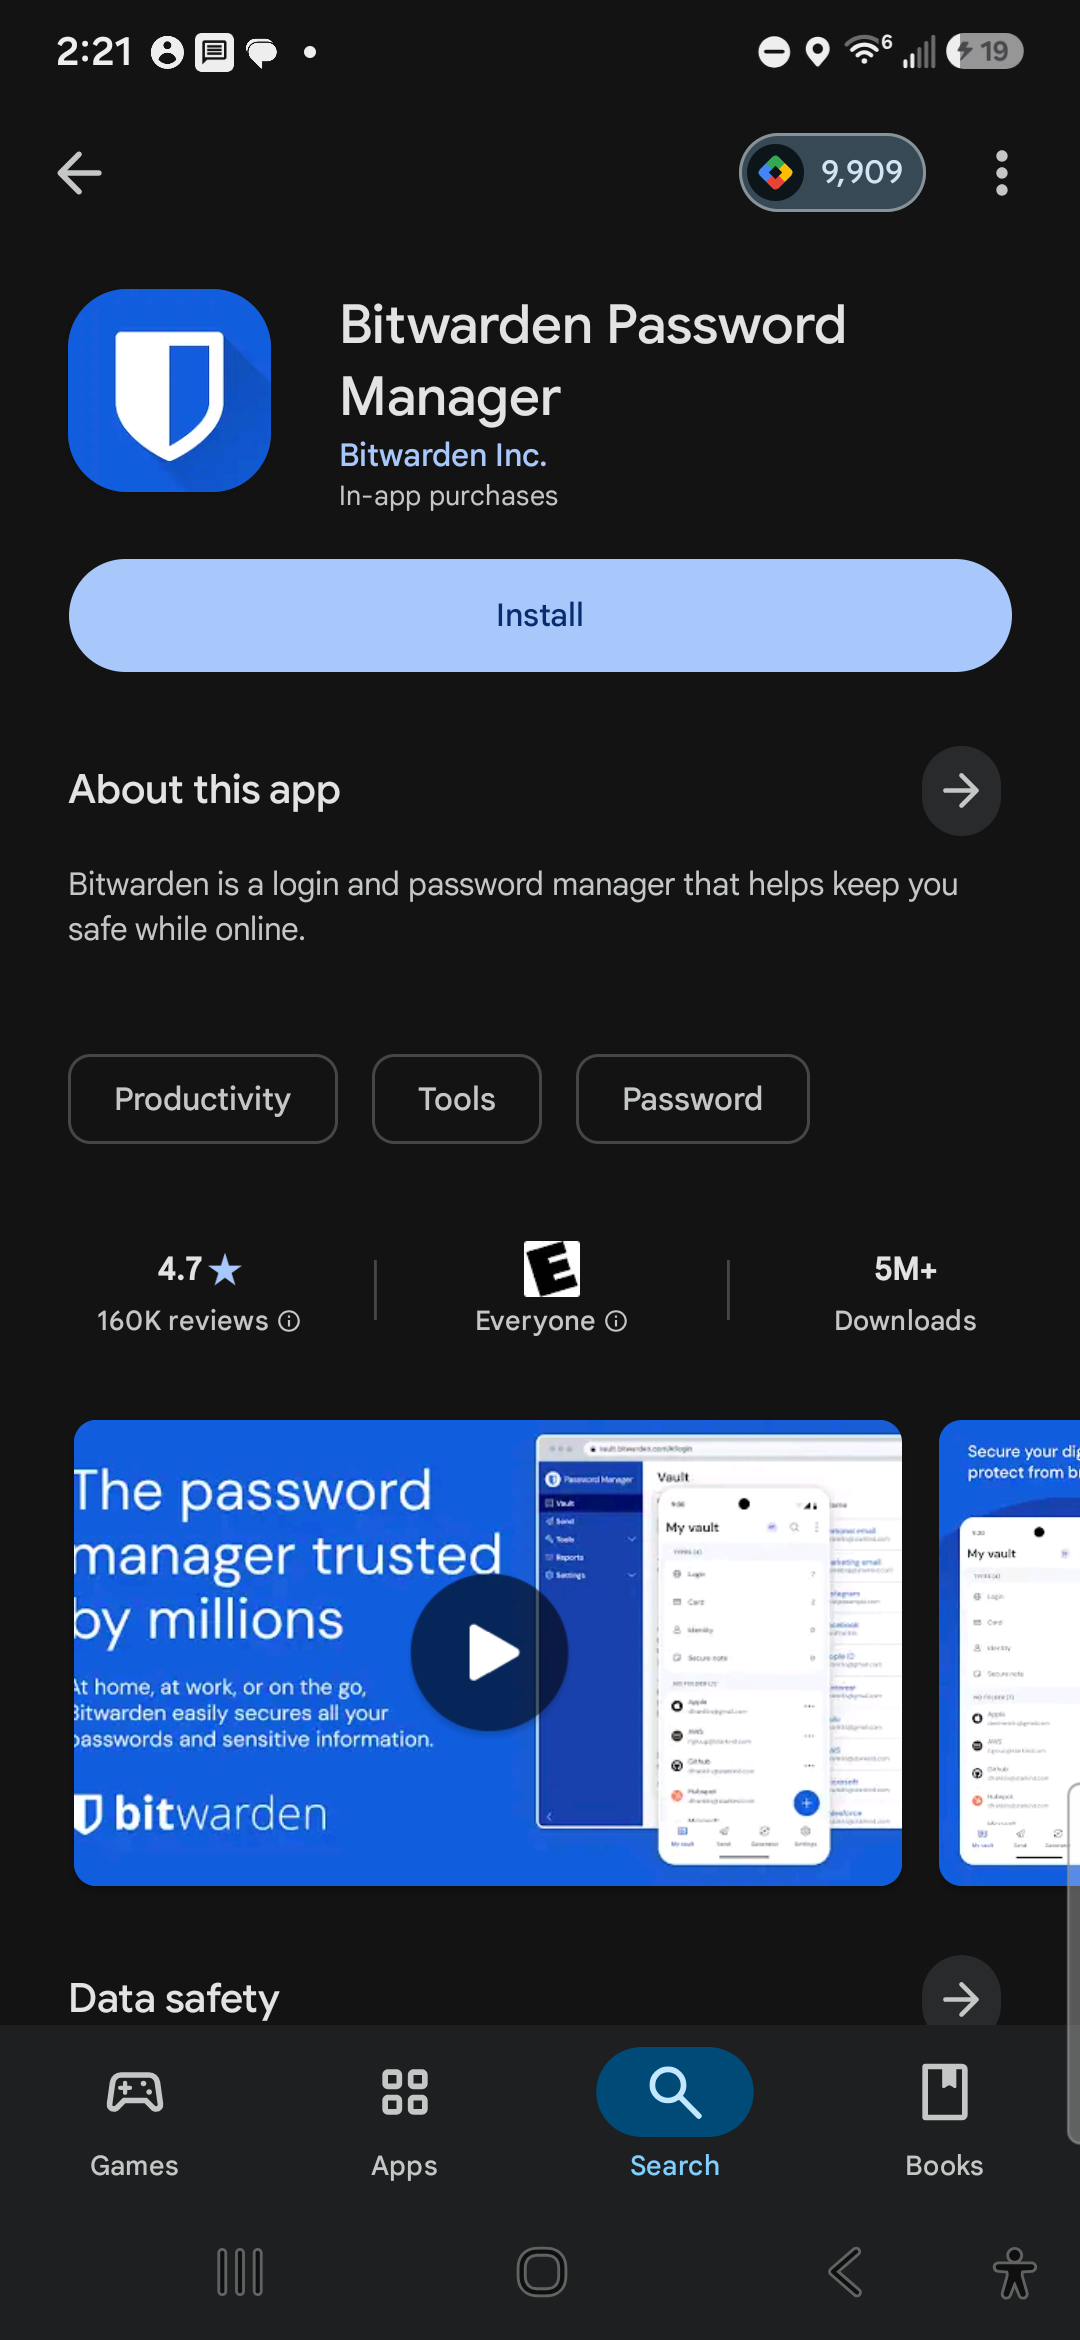
- After clicking Open once the install finishes, click through the next two screens -- nothing to configure on either one.
- Log in with the account from the desktop steps above (or create one here directly, if you'd rather skip desktop entirely).
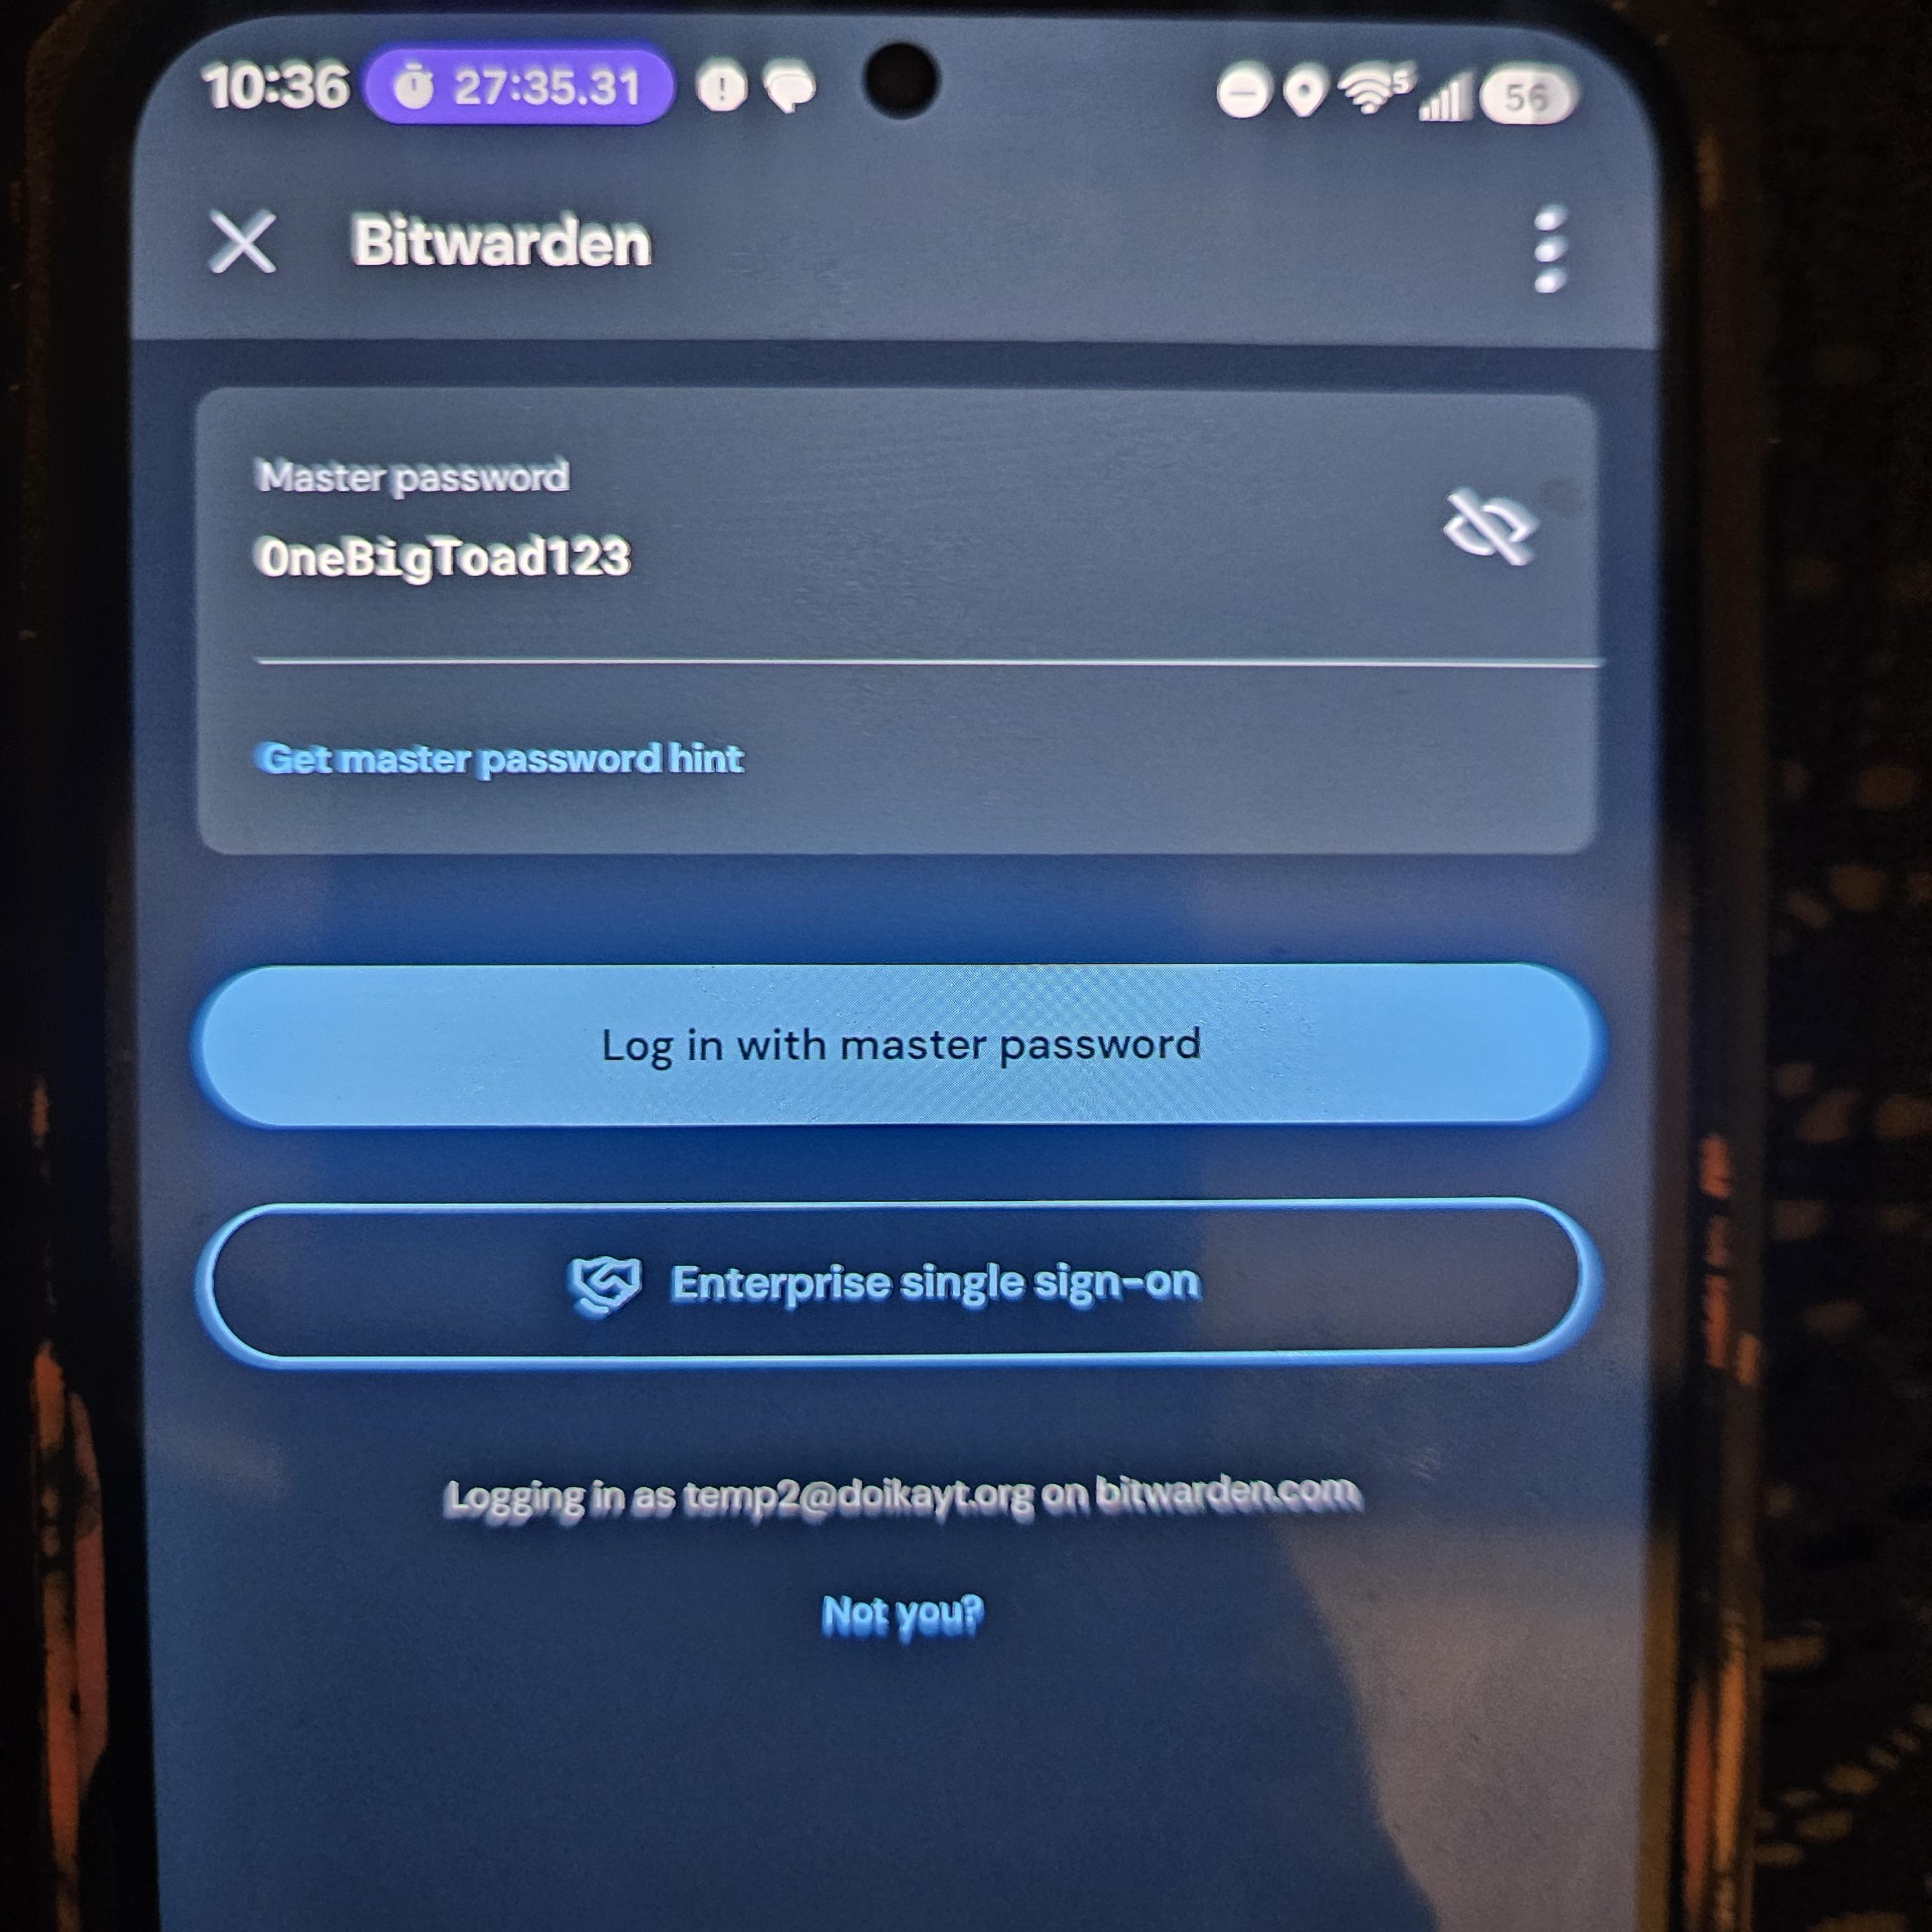
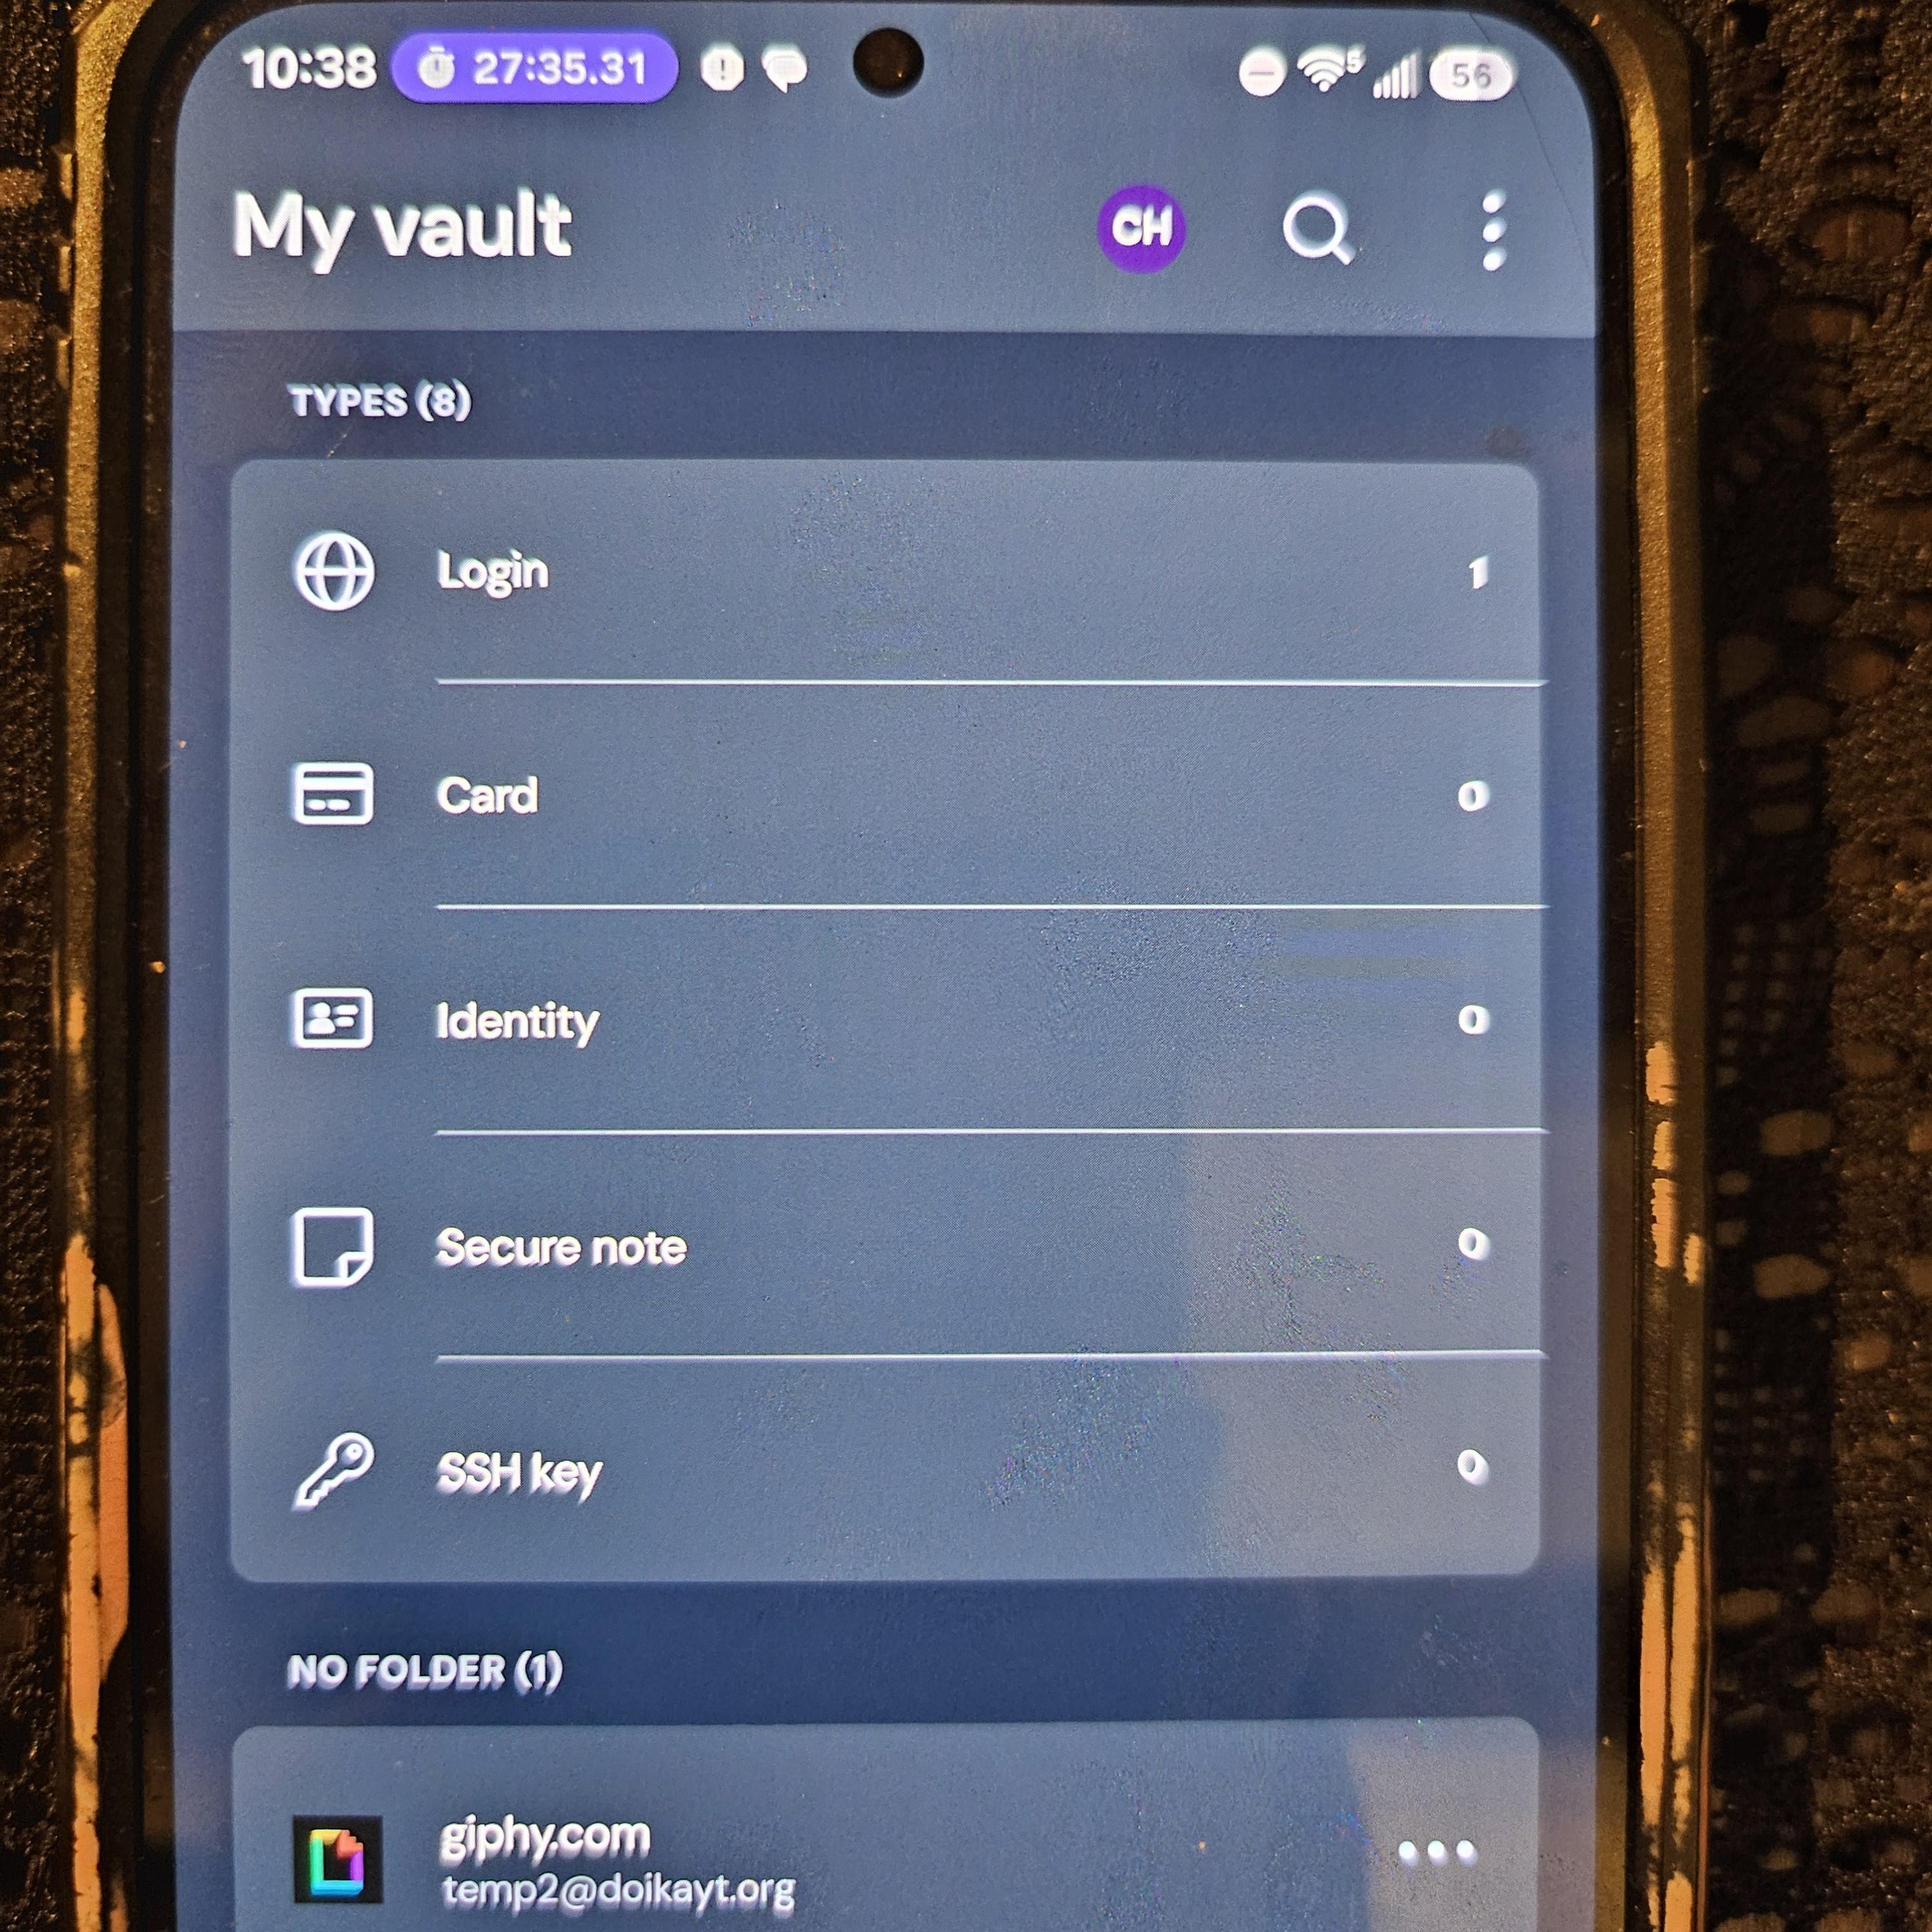
- Once logged in, you may hit a Verify your identity challenge -- Bitwarden emails a verification code to confirm it's really you. Check your email to obtain the code, enter it and continue. After that, your vault syncs immediately: anything saved on desktop, like the GIPHY login from the walkthrough above, is already waiting for you. Tap that entry and you're taken straight to the site's login screen with your credentials already populated.
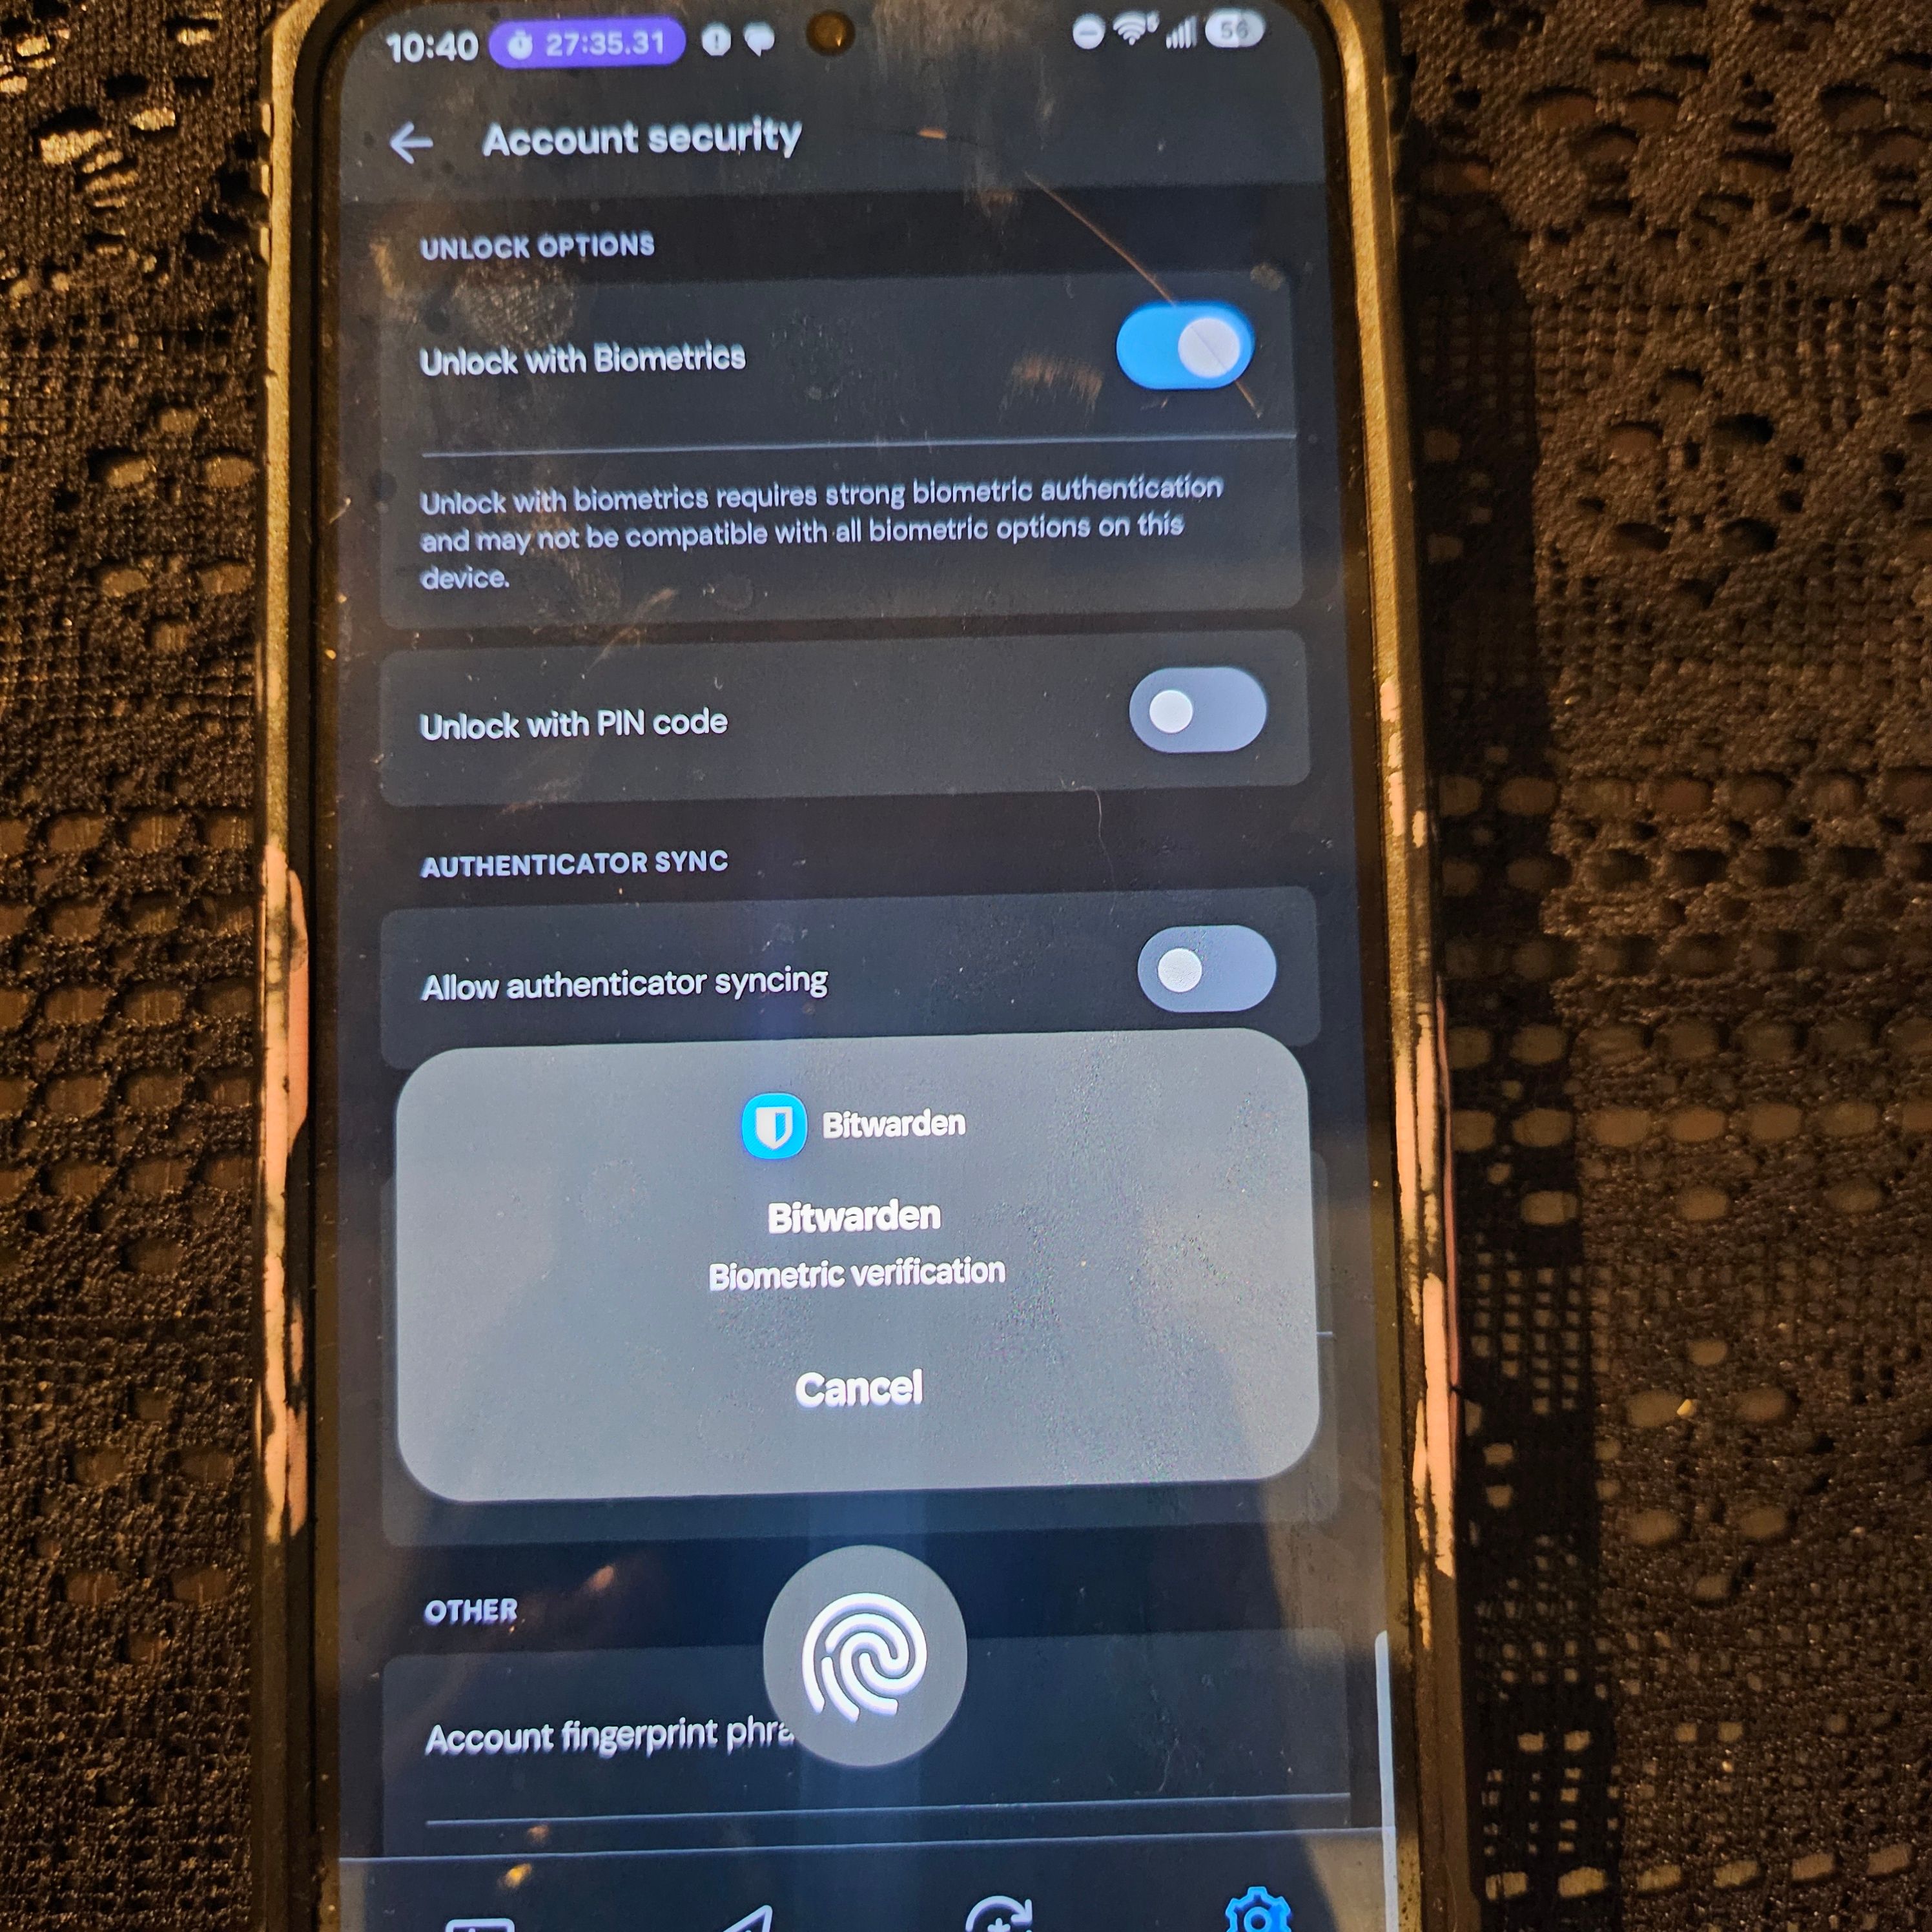
- Set up biometric unlock (fingerprint or face unlock) under Settings → Account security → Unlock with Biometrics, so you aren't typing your master password every time you need a credential on your phone.
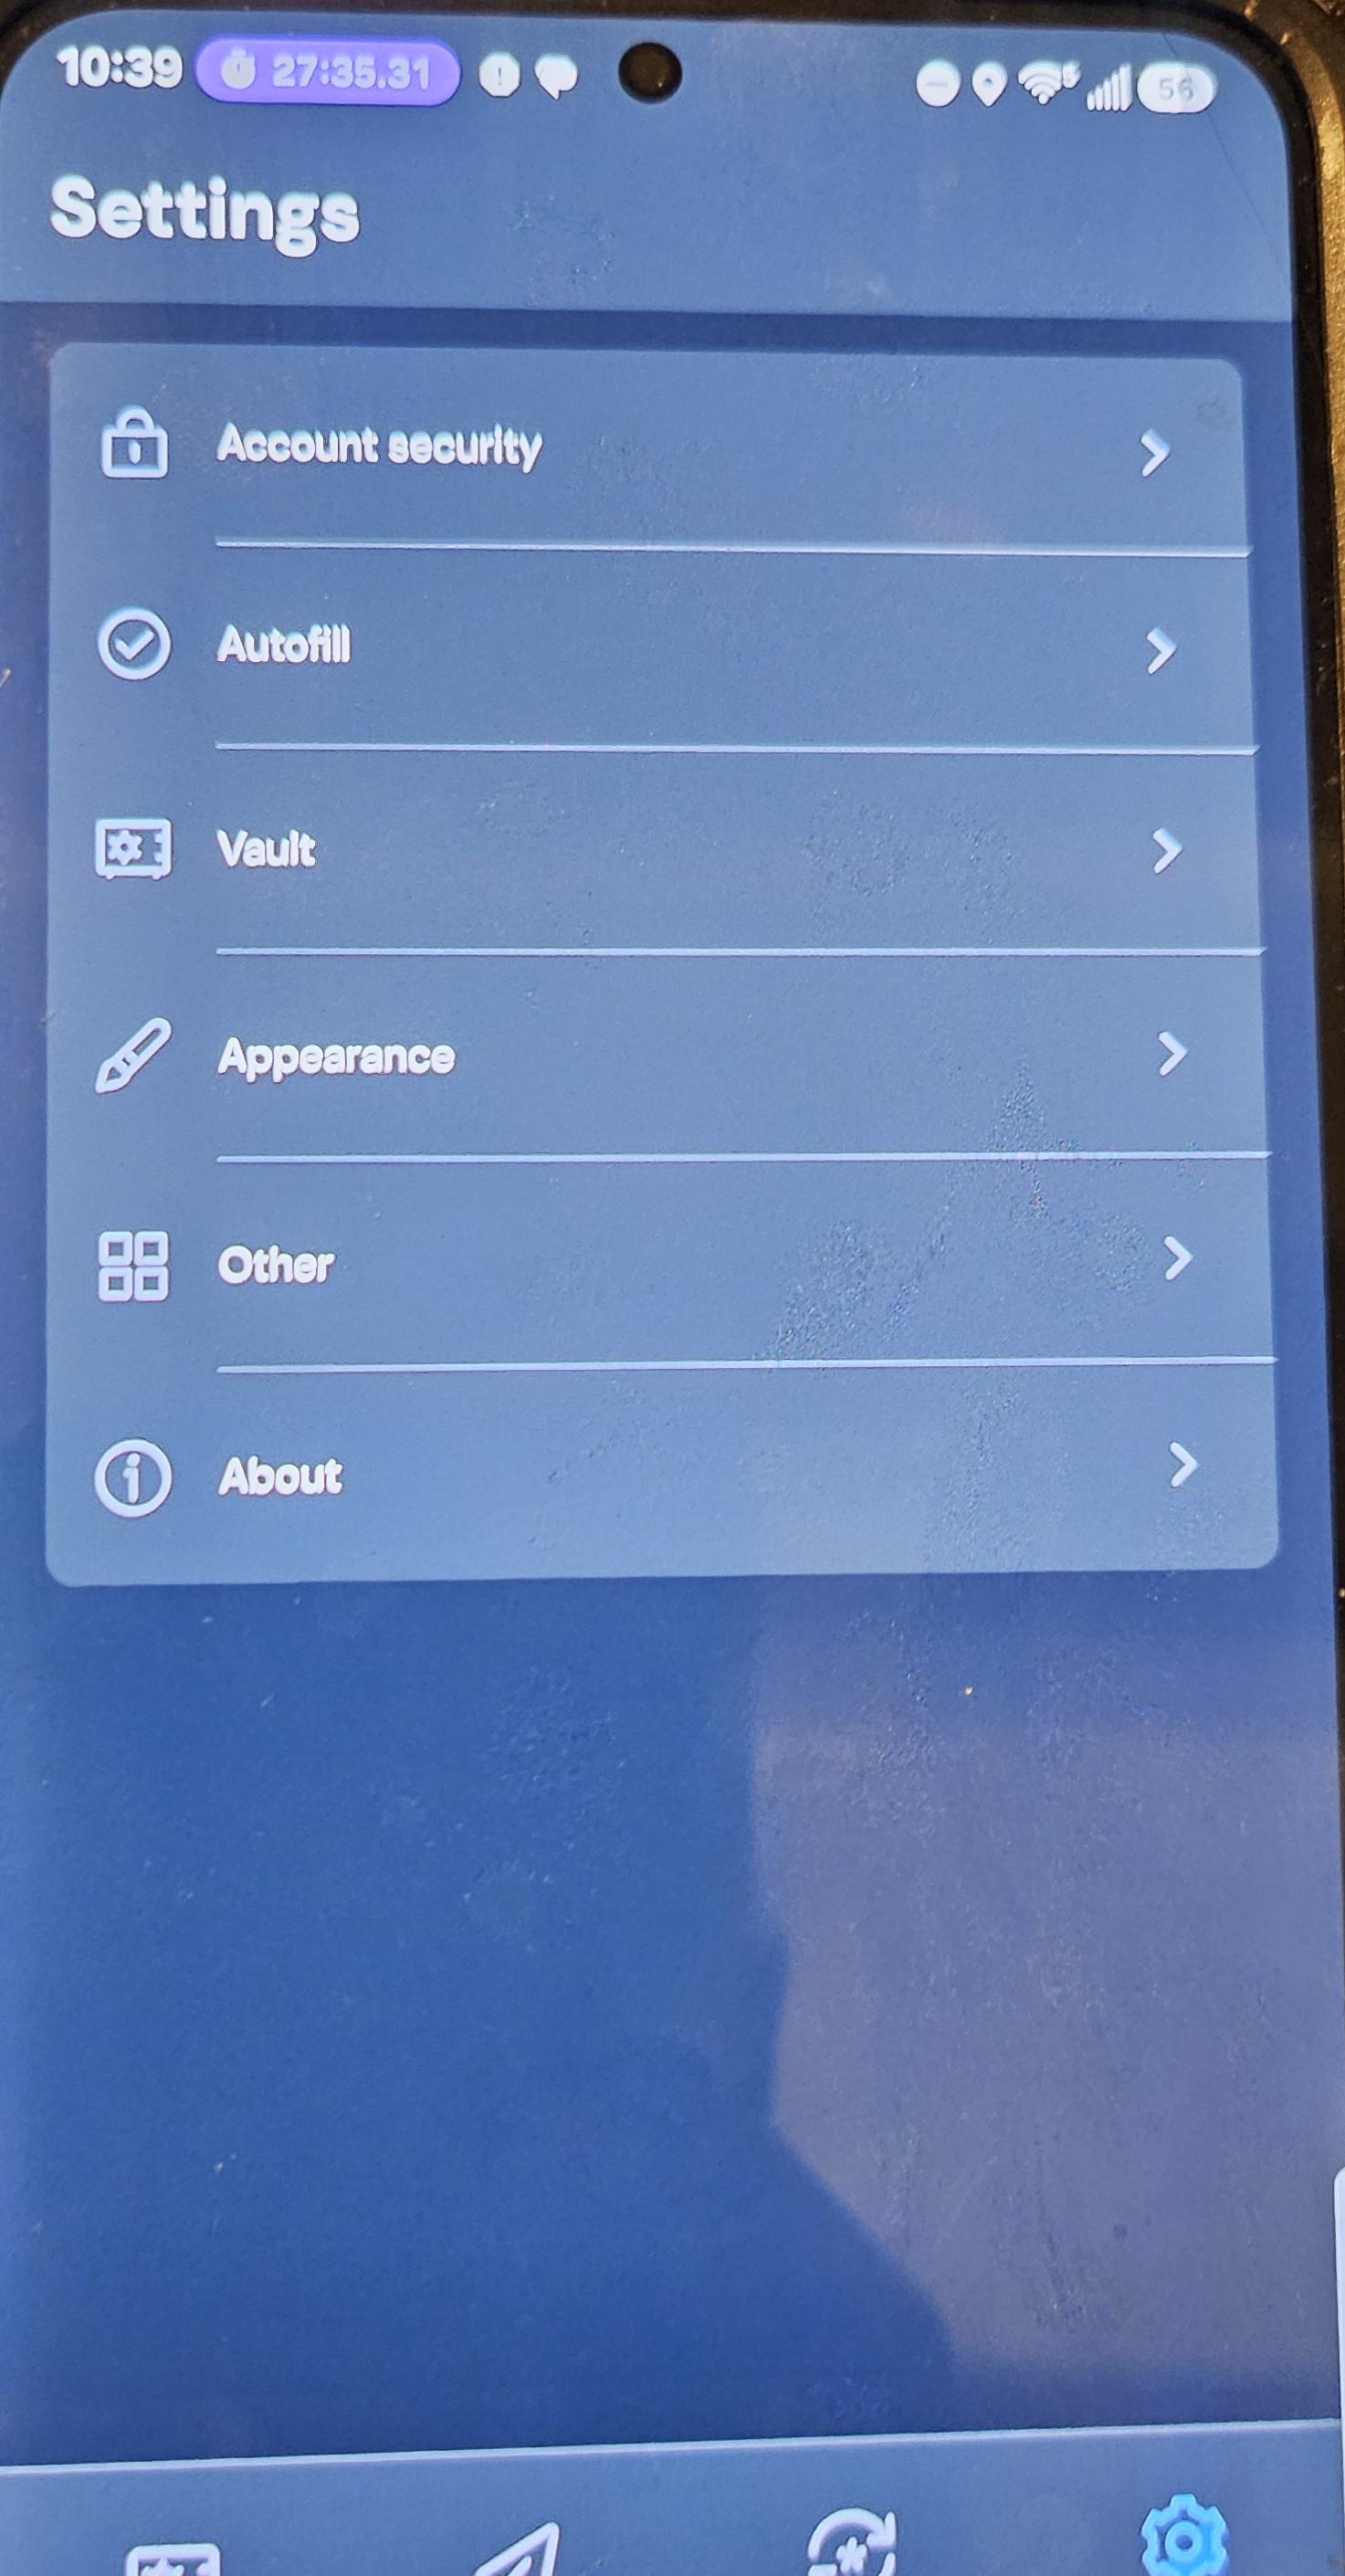
- In Bitwarden, go to Settings → Autofill Service -- this opens the Autofill screen (a view of which is shown in second screen shot, below.) Slide Autofill Services on: that hands off to Android's own system-wide autofill picker, where you select Bitwarden as the provider and confirm.
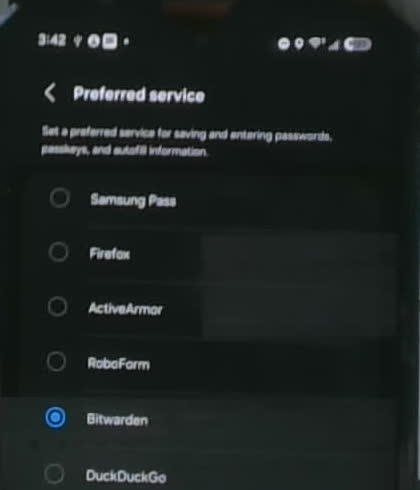
Tap back to return to Bitwarden's Autofill screen, then turn on Use Chrome autofill integration too -- it smooths out inline suggestions specifically inside Chrome, on top of the system-wide autofill you just enabled.
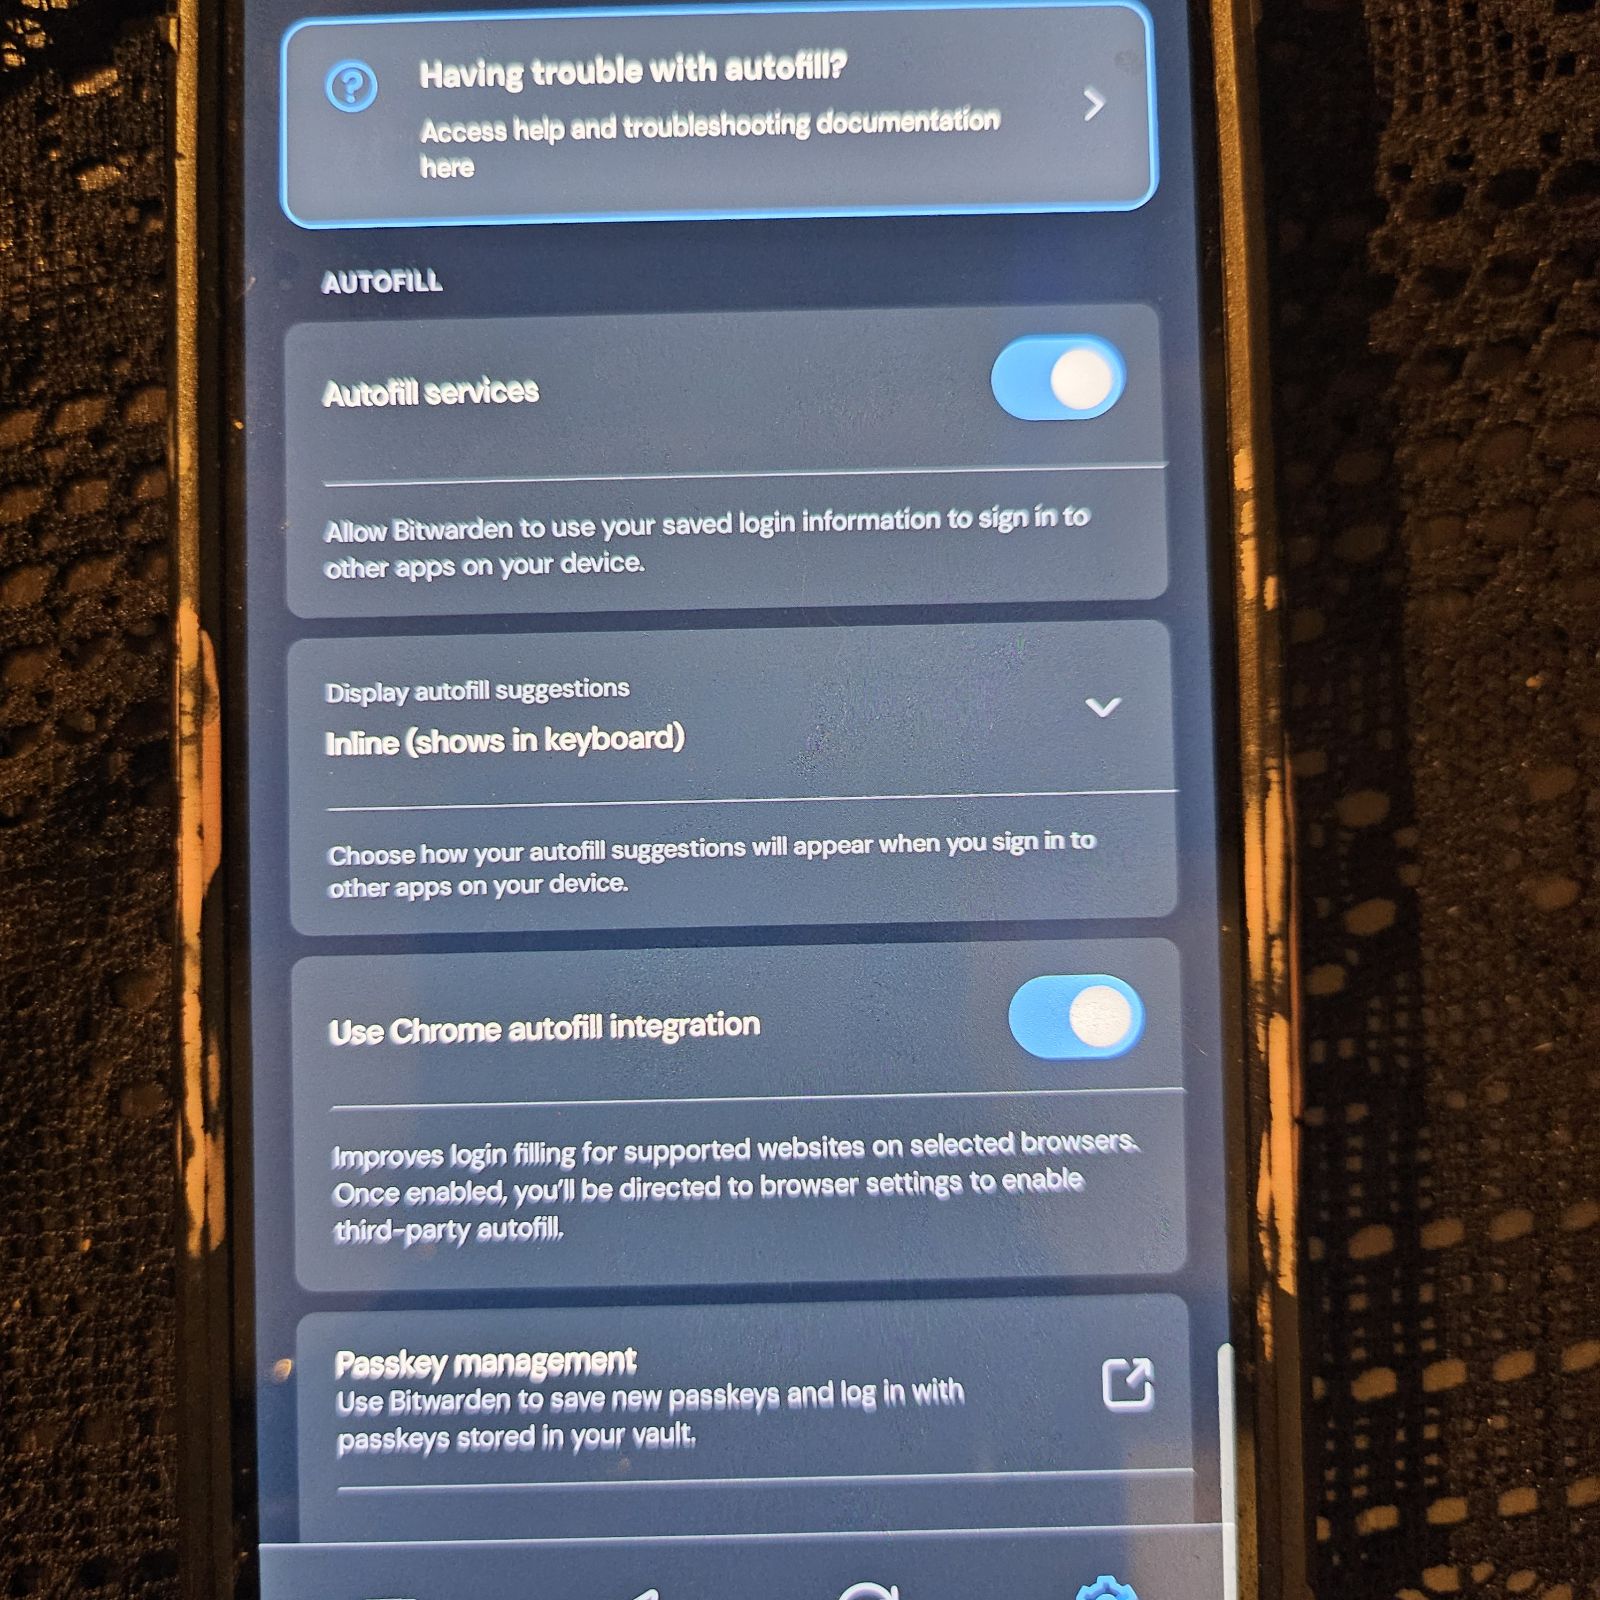
That last step is the important one, and it's easy to skip past. Android's autofill framework isn't just for logins -- once Bitwarden is registered as your system autofill provider, it can offer to fill any recognized field across apps and browser tabs, not just username/password pairs.
Everything above treats Bitwarden as a personal password manager -- your own vault, your own master password. It can also run as shared infrastructure for a whole team; see the appendix [3] if that's relevant to your org.
HOW-TO #3: RoboForm for addresses on Android
RoboForm saves a filled-out form as a Login entry -- capturing the exact field values you typed, tied to that specific form's page -- rather than a generic address-book-style profile. Filling a form from a saved Login on Android is simpler than you'd expect: open the RoboForm app, browse to the form inside RoboForm's own built-in browser, and pick the saved entry -- you're taken straight to the form, with every field from that saved profile pre-filled.
Logging into RoboForm on Android
- Install RoboForm Password Manager from the Play Store.
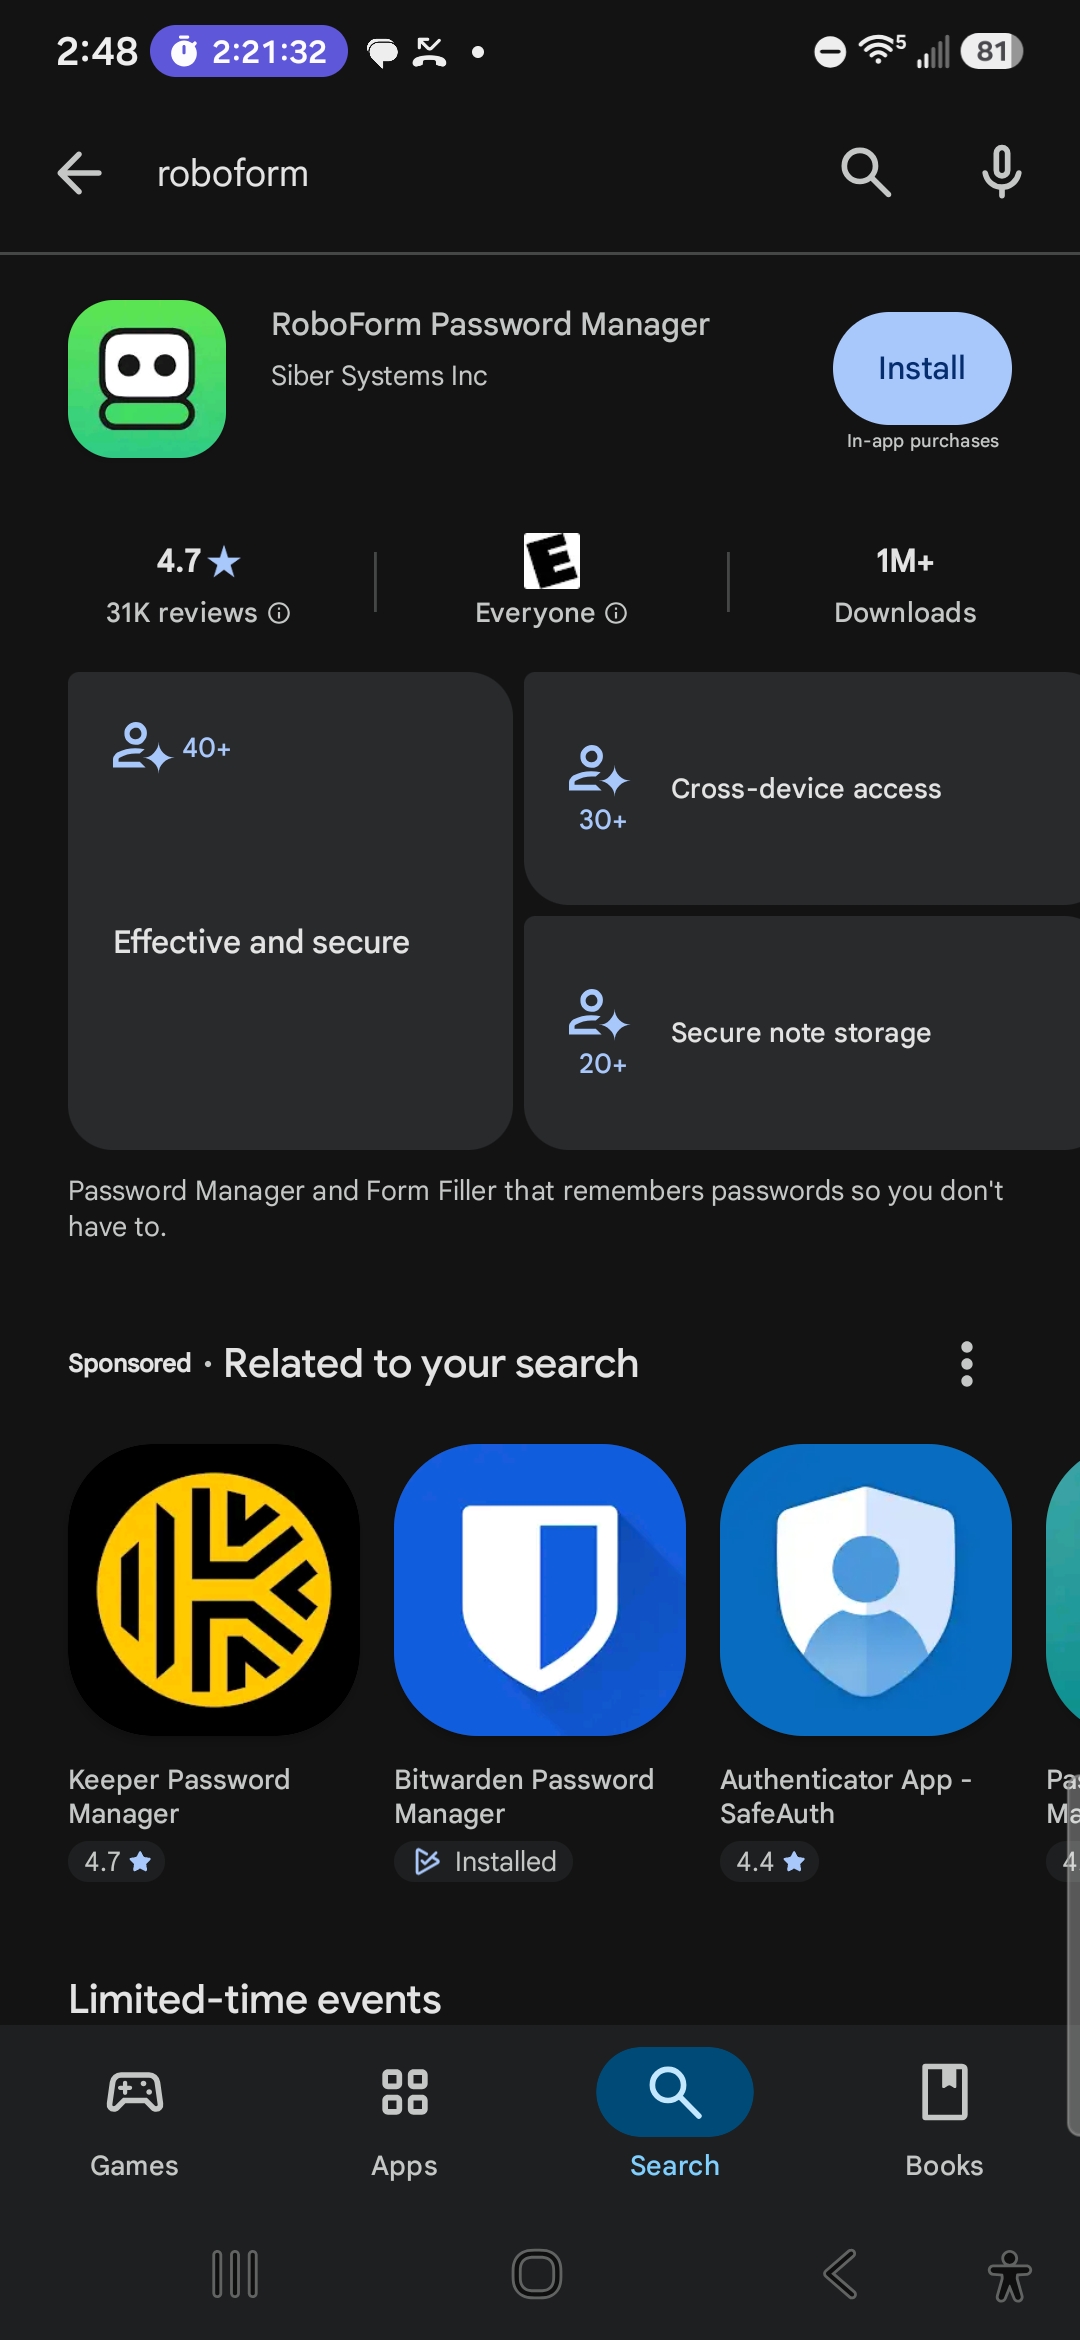
- Open the app and tap through the onboarding screens to Log In.
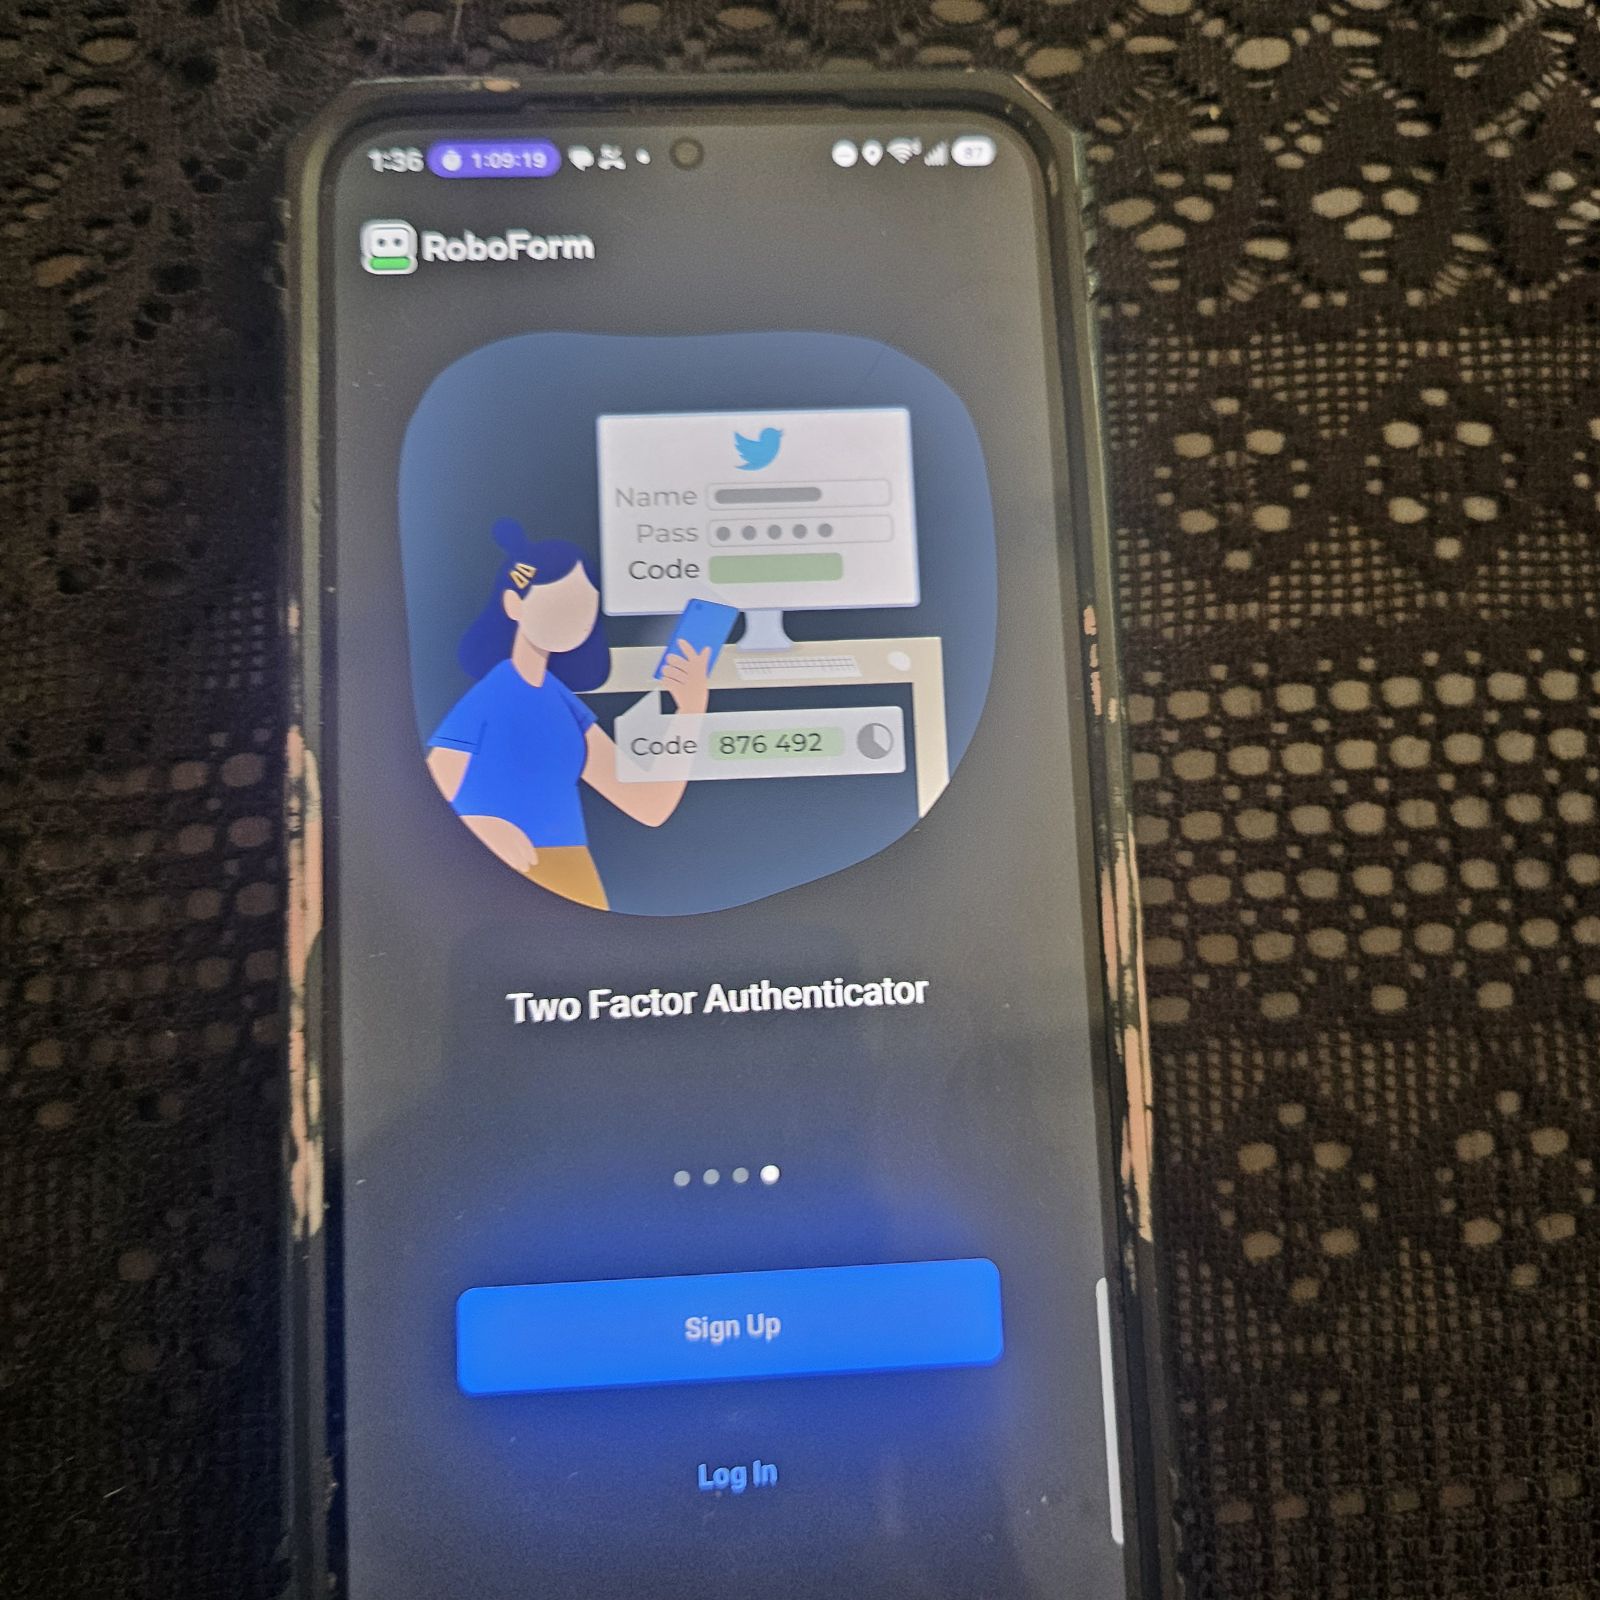
- Log in with the same account you used on desktop.
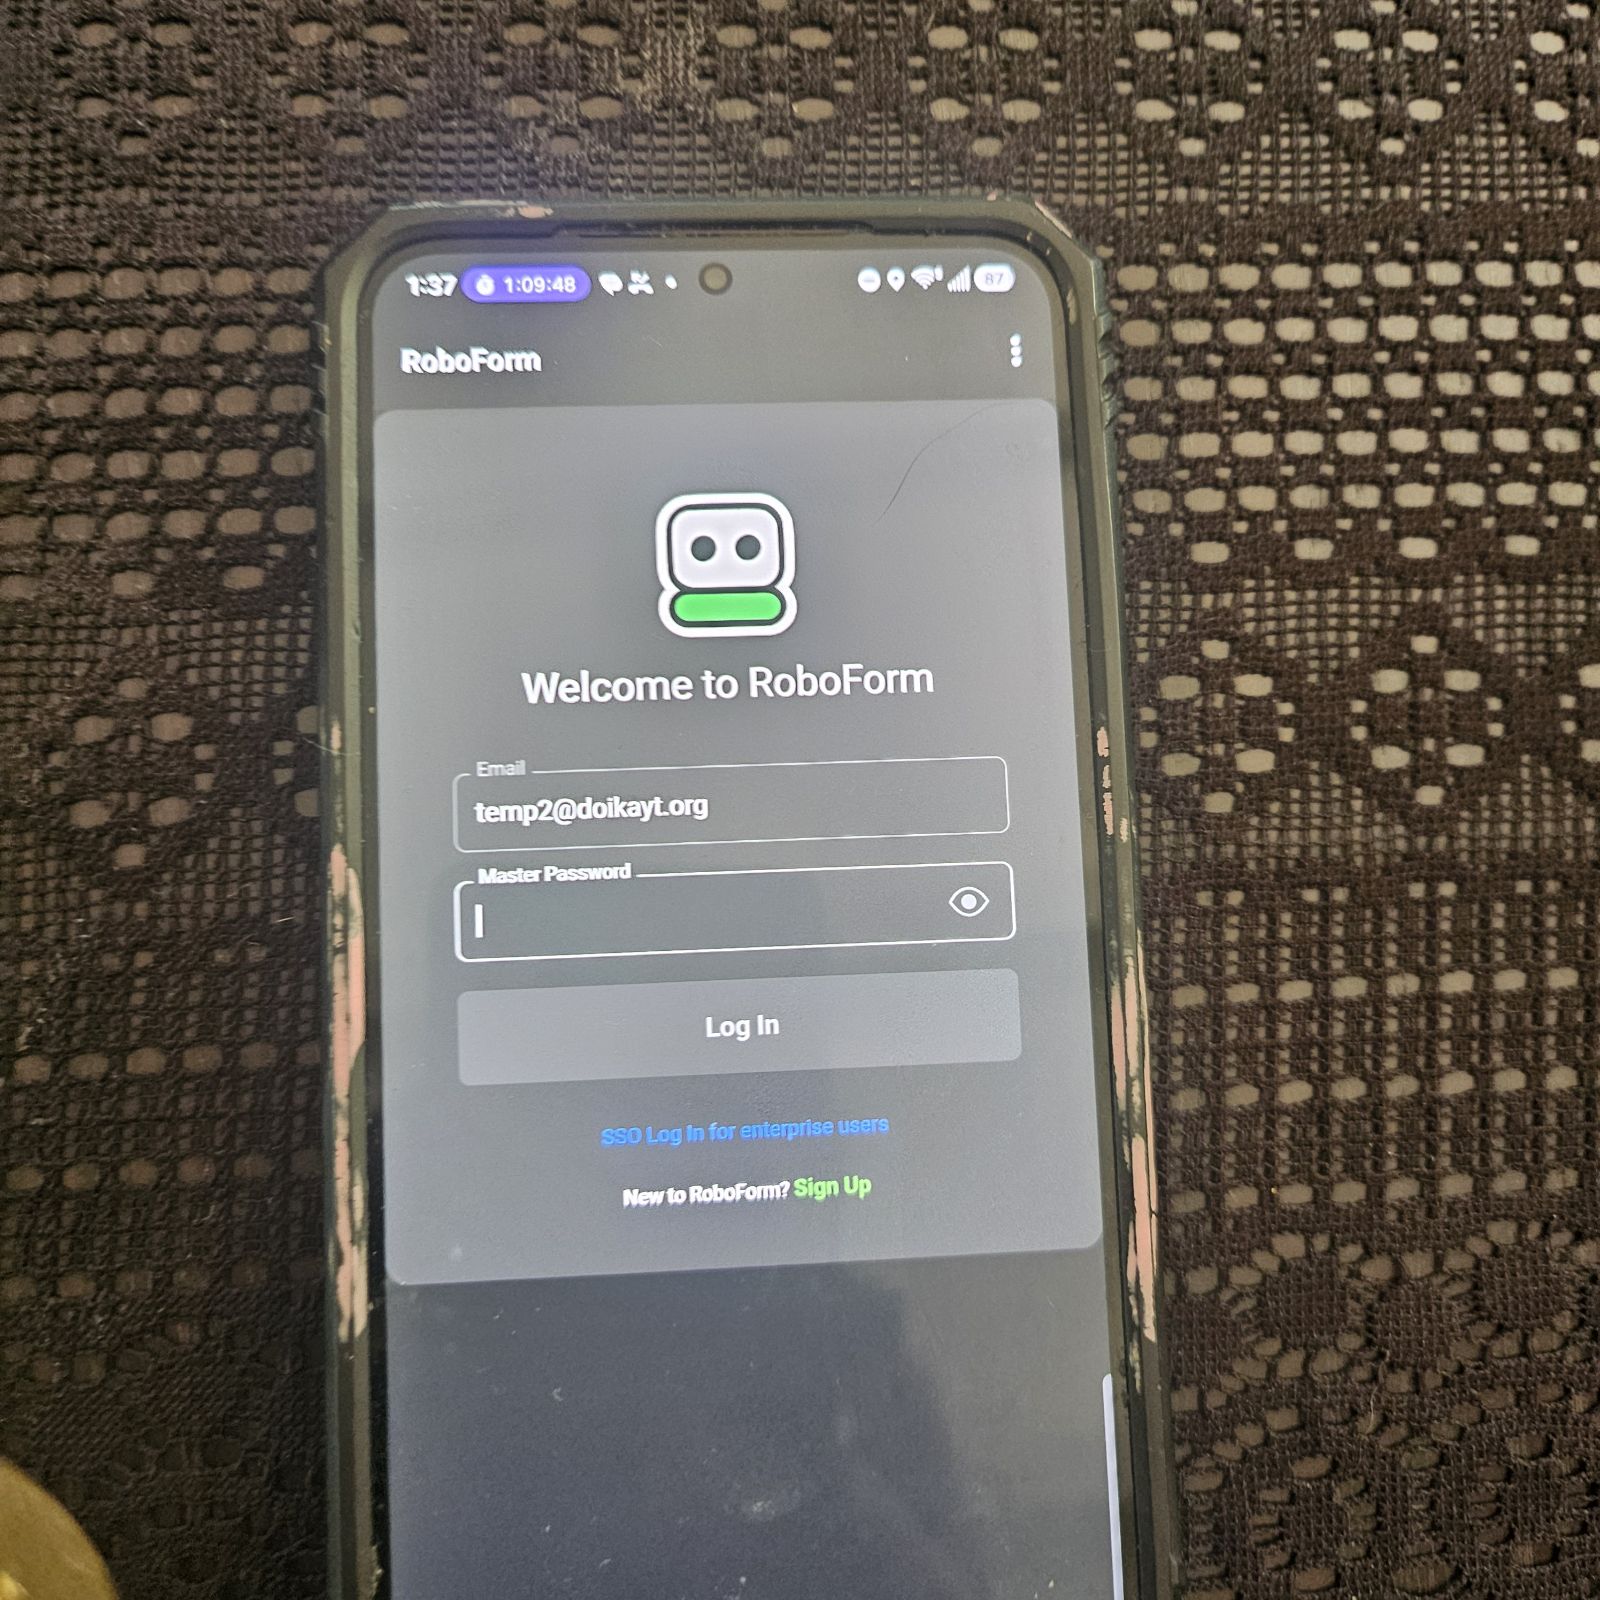
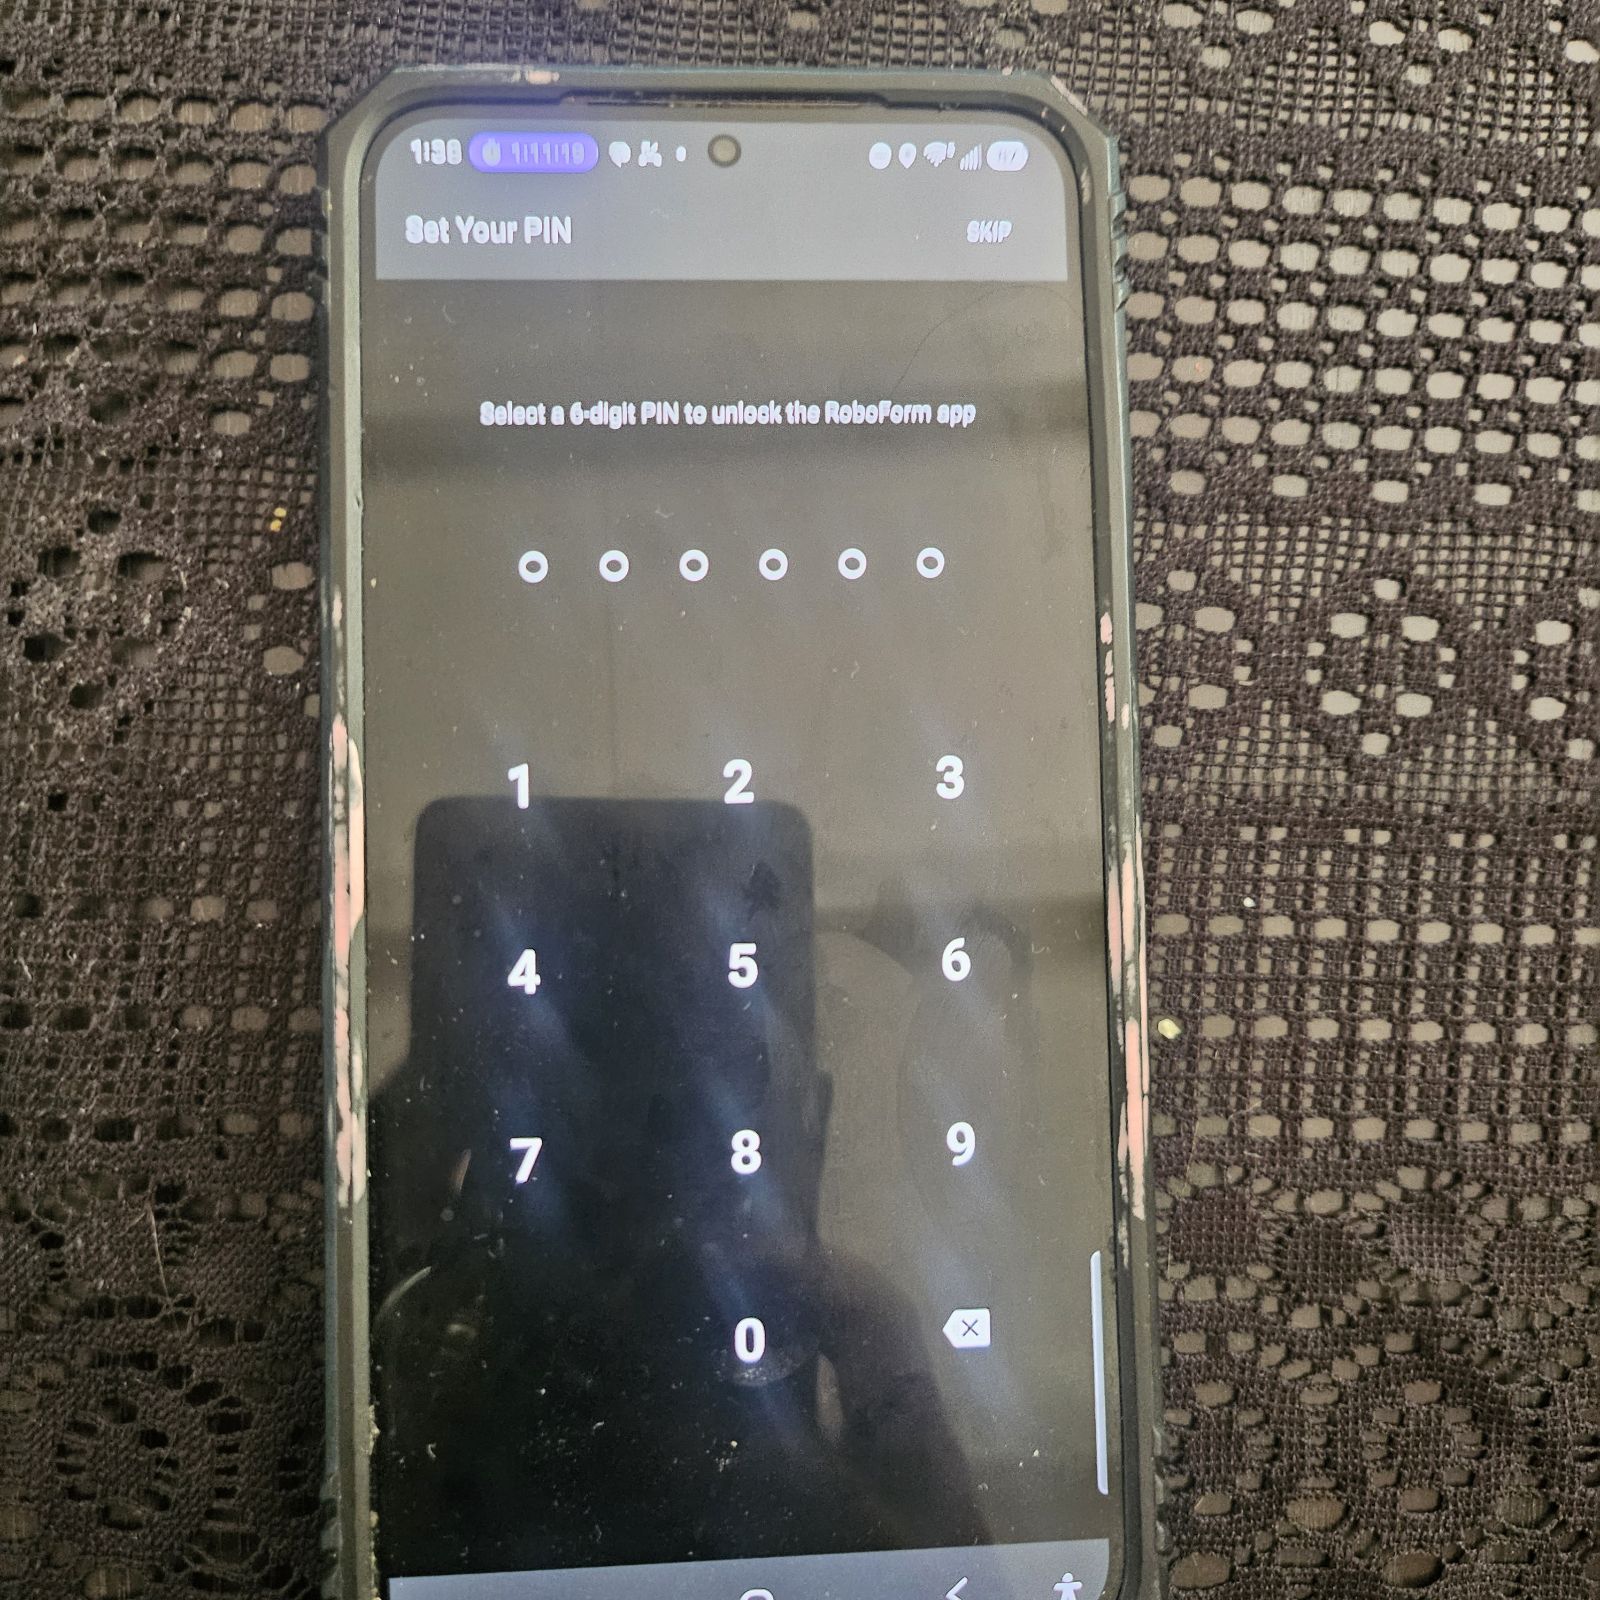
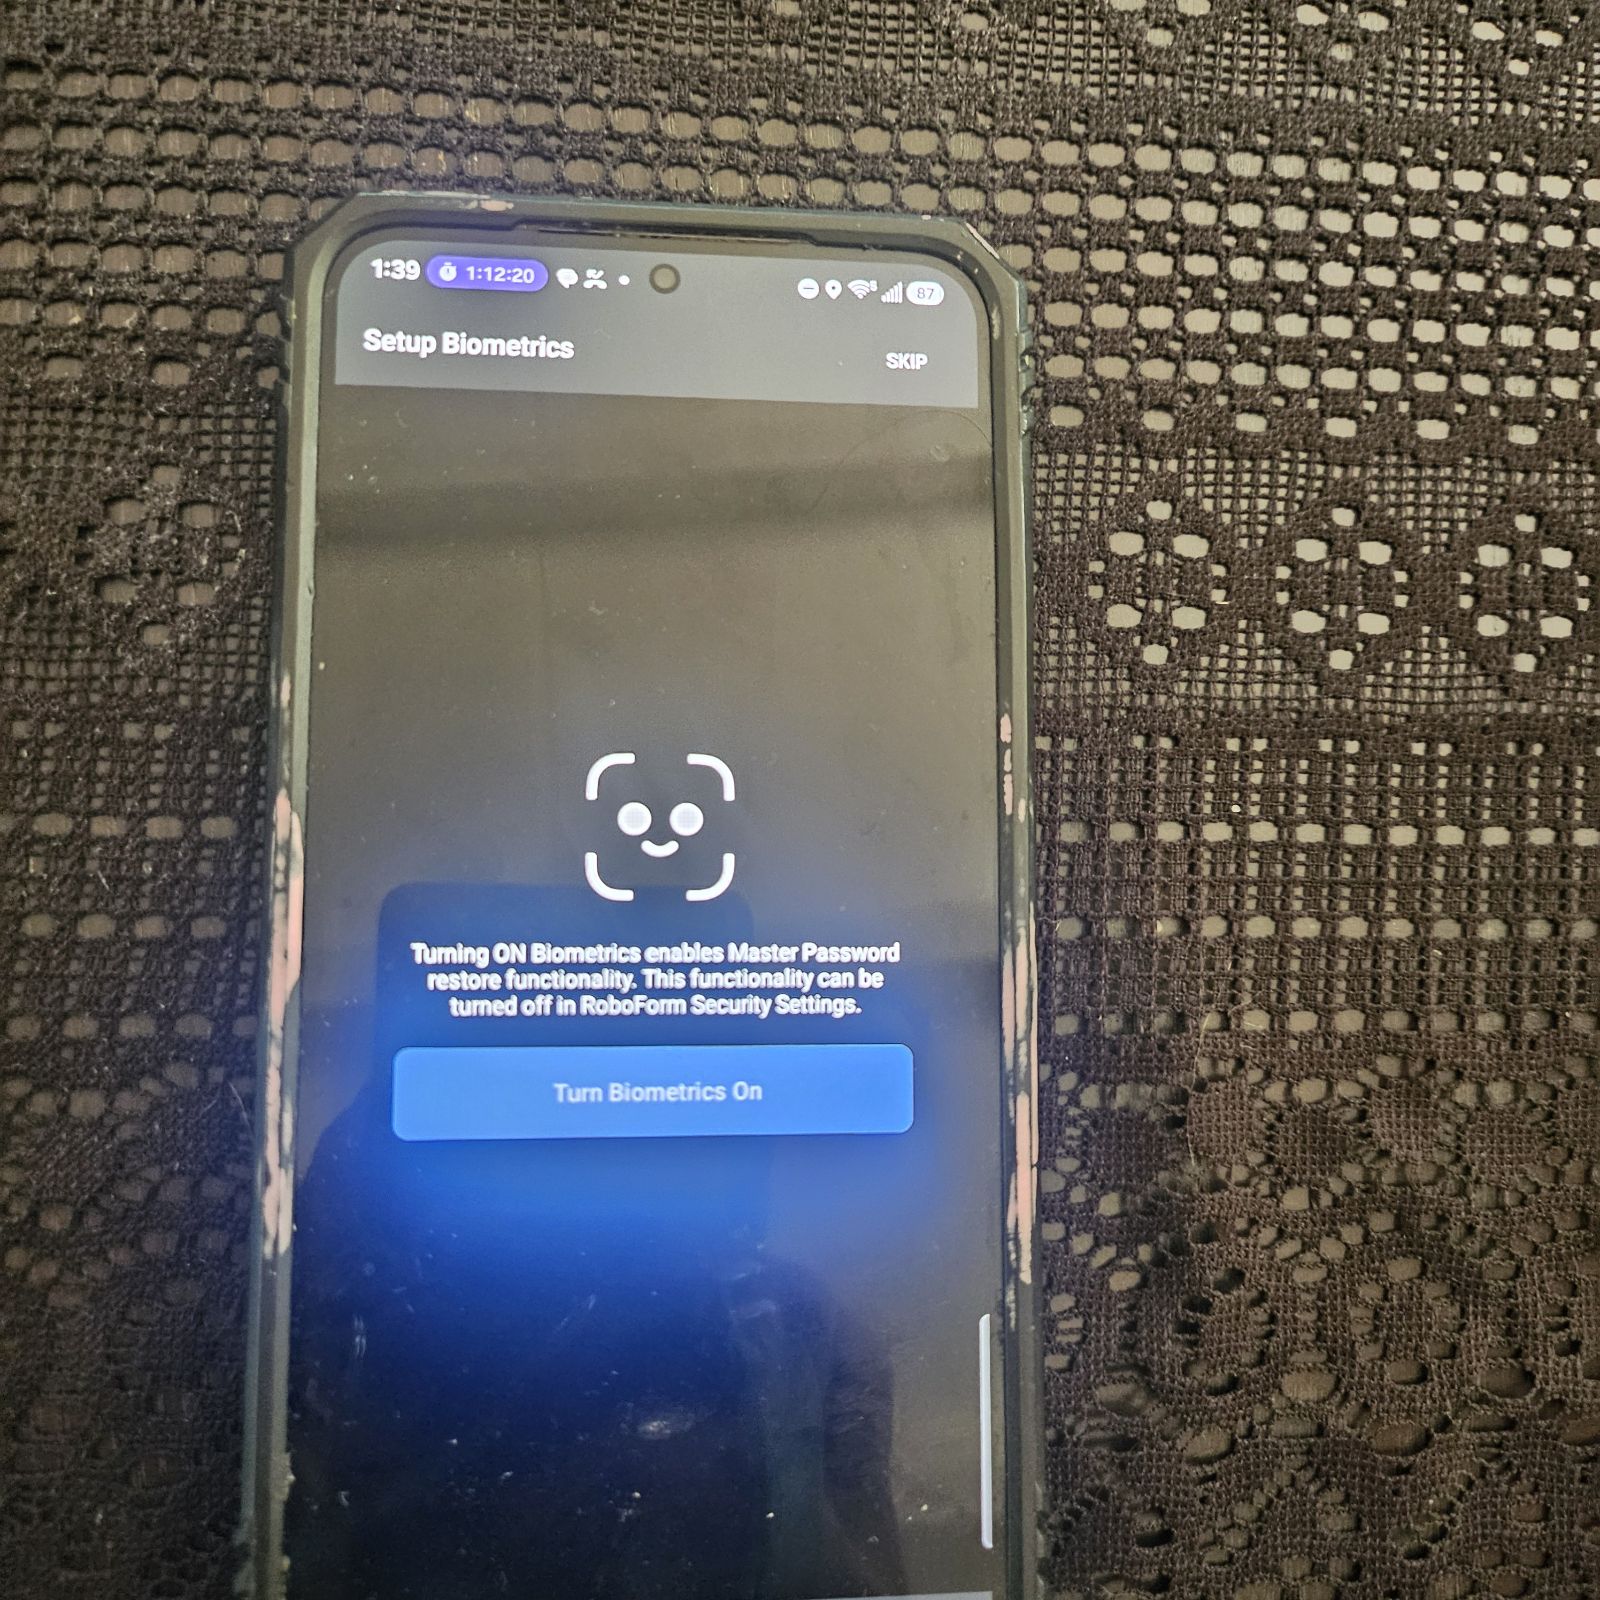
- Set a 6-digit PIN to unlock the app quickly, then set up biometric unlock (fingerprint or face) when prompted -- both can be skipped and configured later if you'd rather.
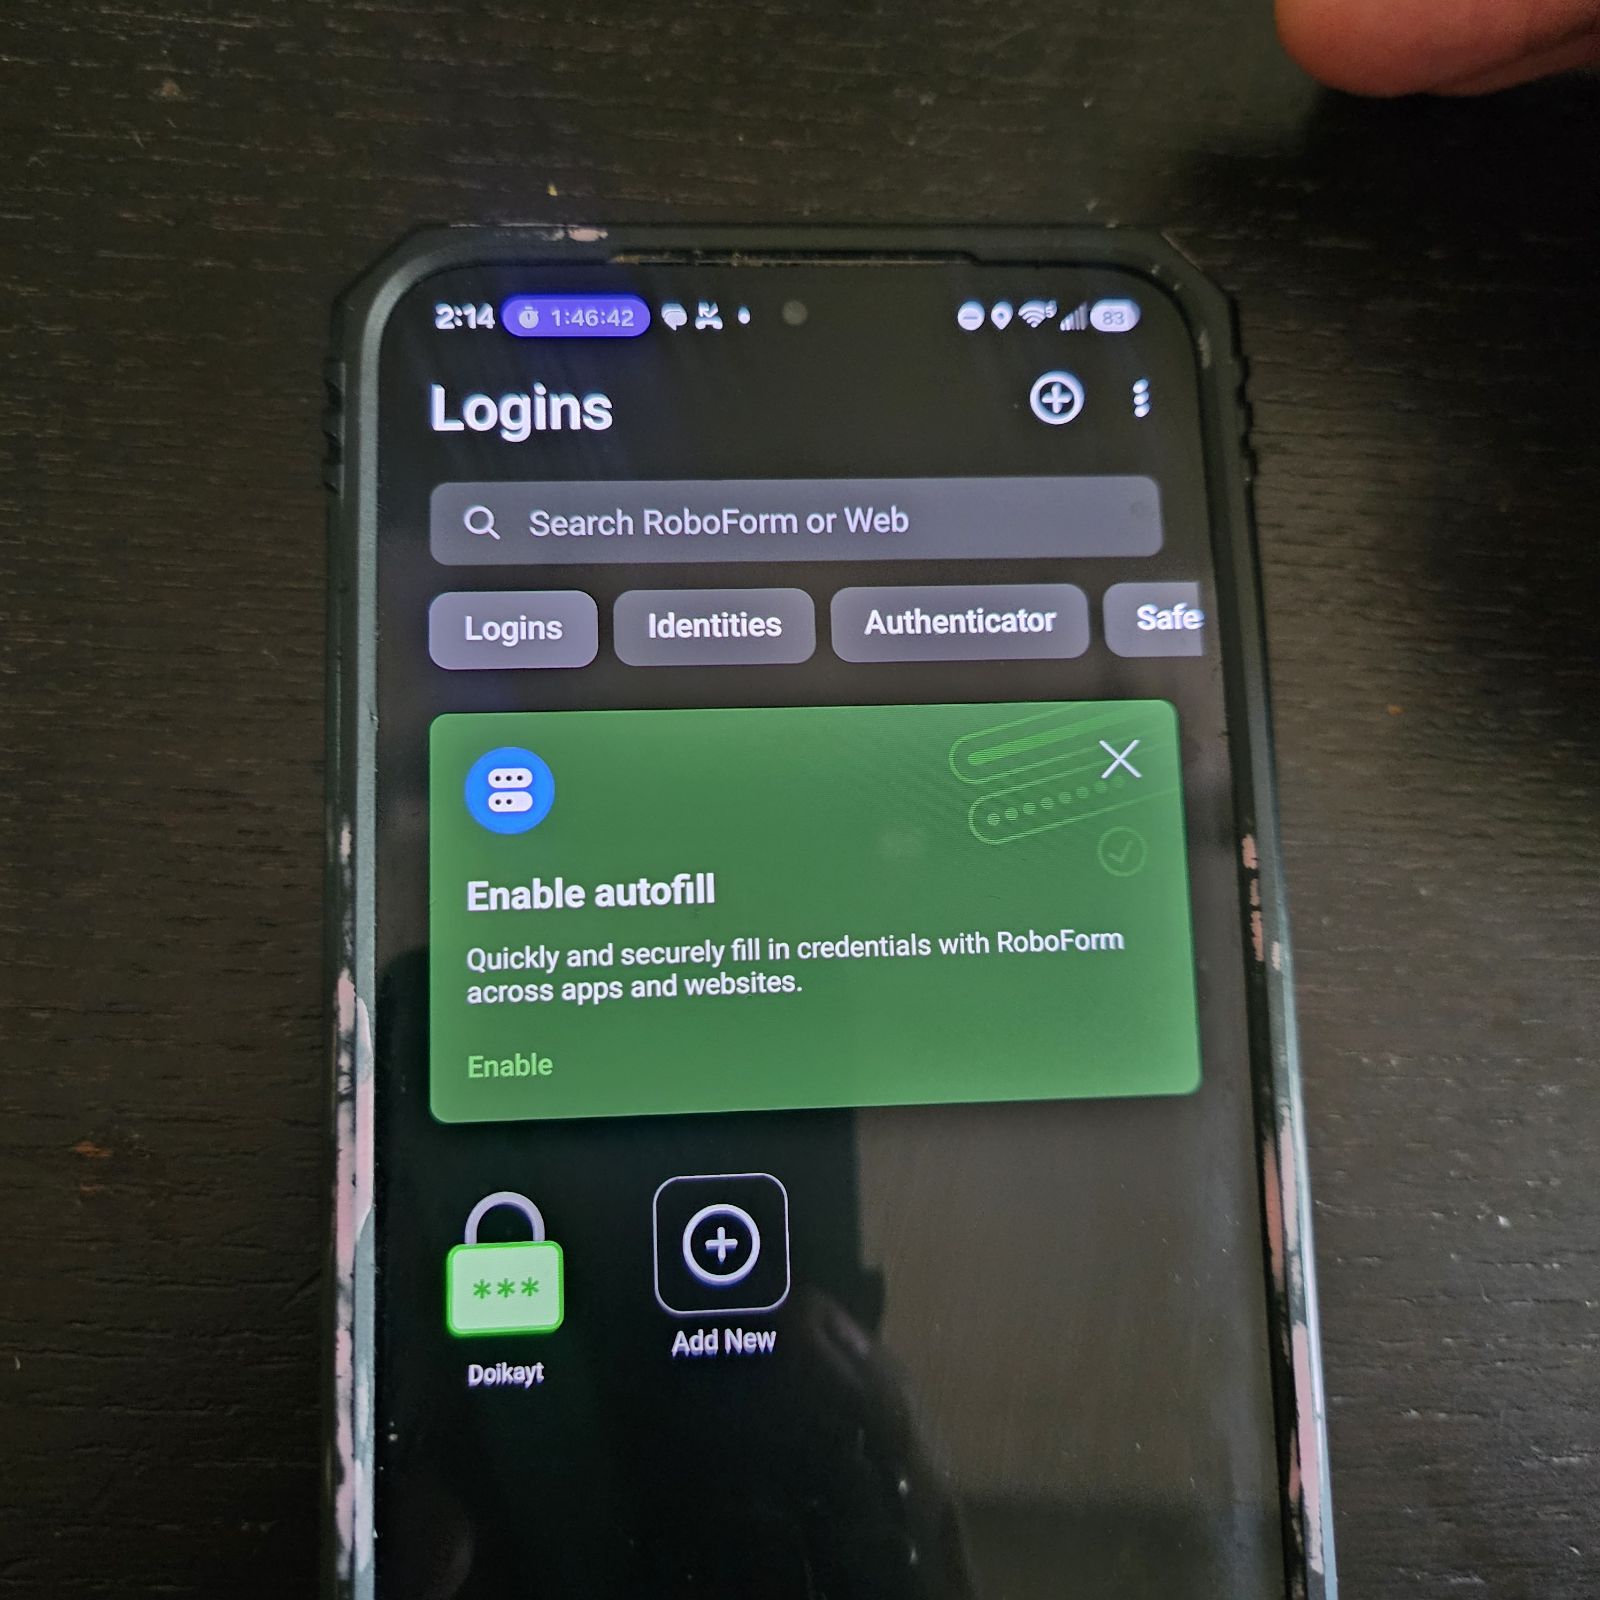
- Once logged in, check the Logins tab -- anything saved on desktop, like a form captured with Save Forms, is already synced and waiting.
Every time you need to fill a form
- Open the RoboForm app -- it's just another app in your app drawer, same as any other.
- Inside RoboForm's own browser, navigate to the form you're resubmitting, or find it already listed under Logins.
- Tap the saved entry for that form. RoboForm fills every field it captured, straight from its own browser -- here it's the Doikayt wiki's own "Add a Tool" form, recalled and filled automatically.
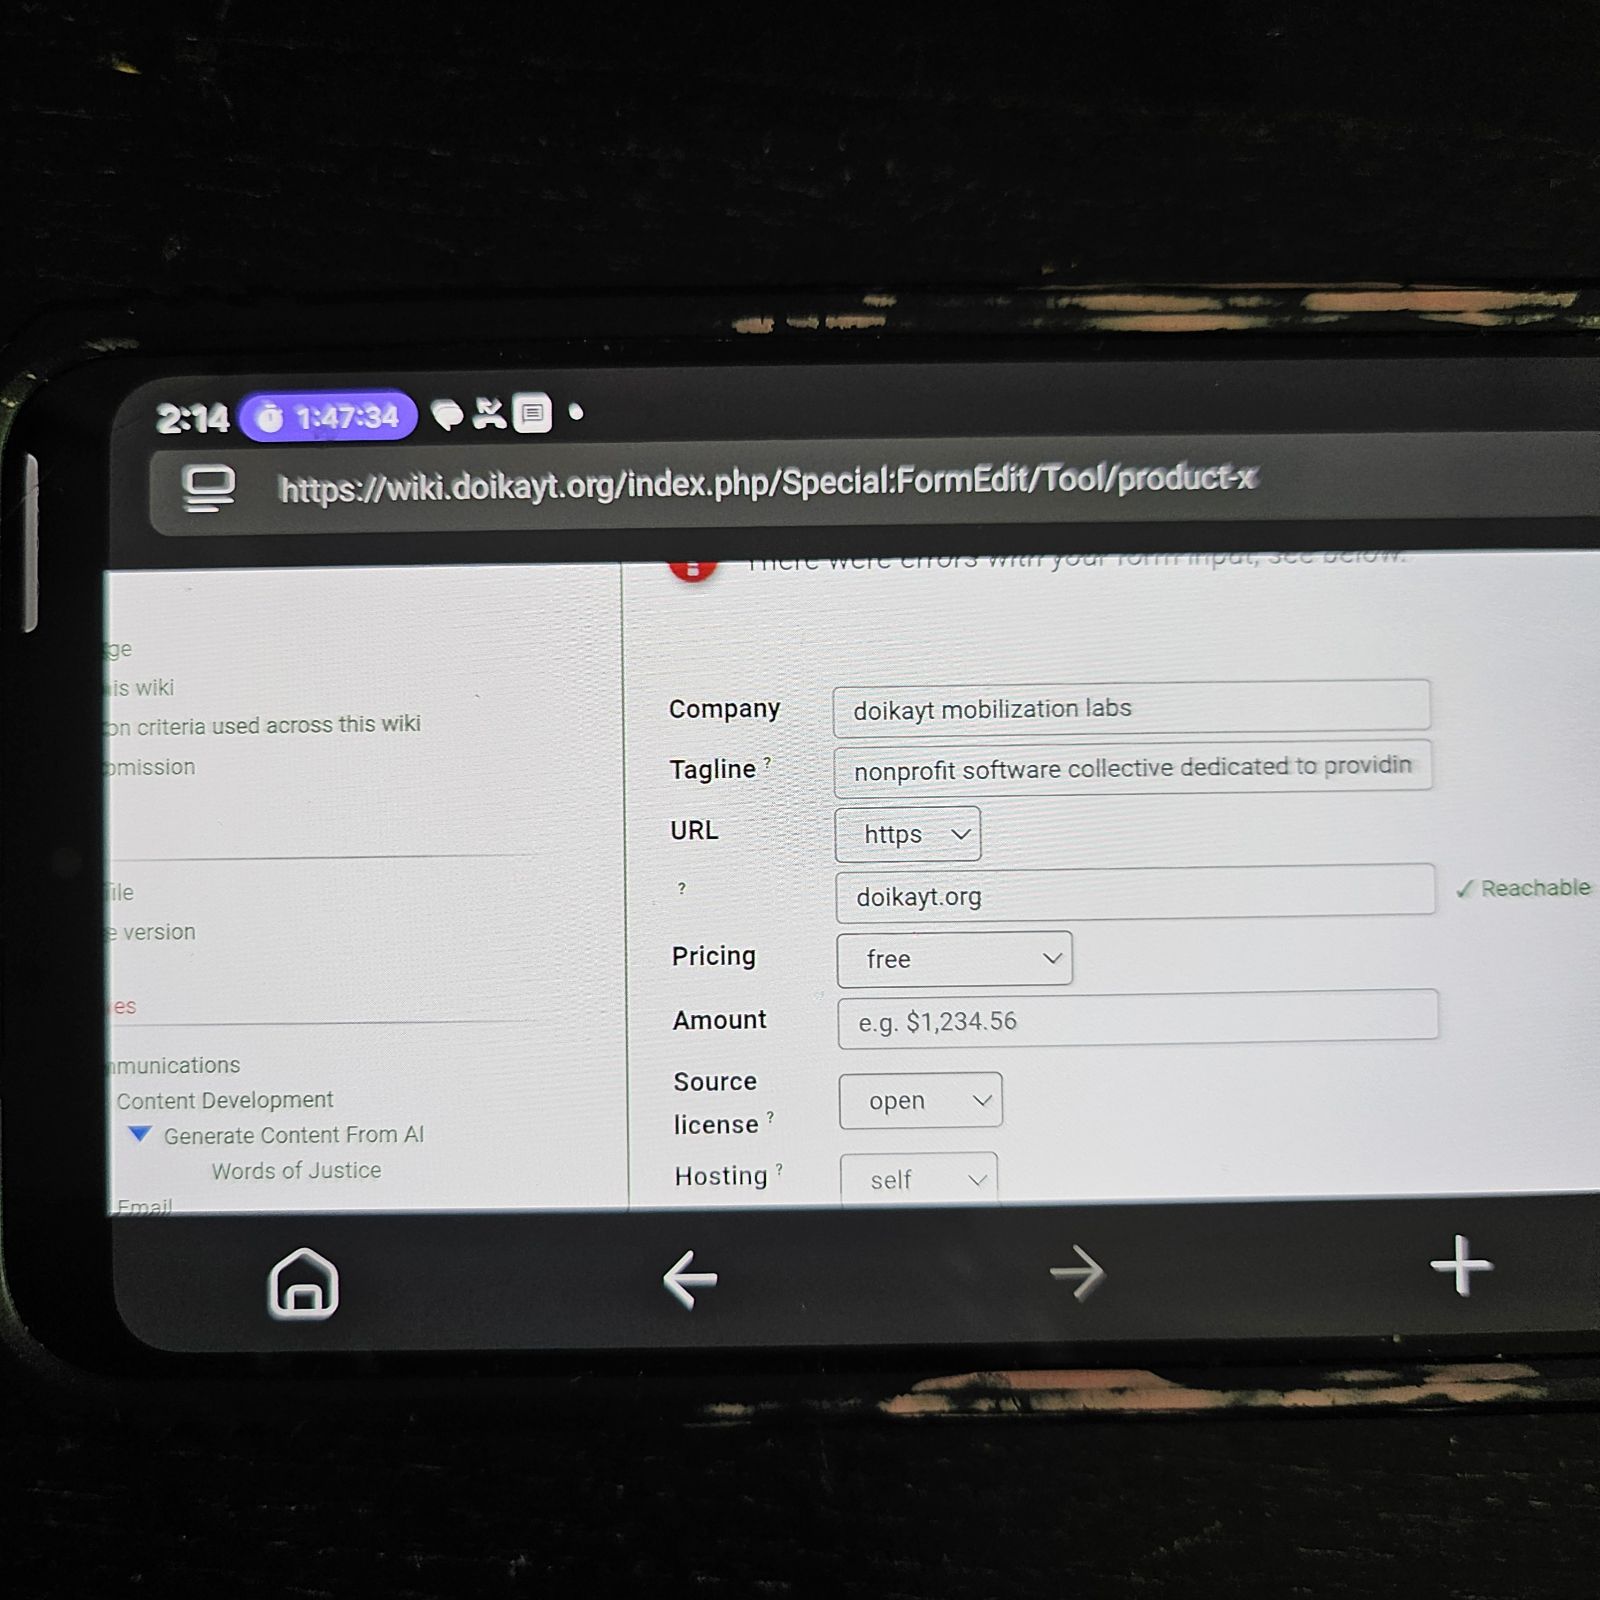
- Review what filled in, then submit.
That's the whole loop -- Bitwarden never enters the picture; the two apps simply never compete for the right to fill in any form.
What did we get for all this work?
The pay-off for getting through these two fairly involved app set-ups is you can now fire off regular repeated form submissions at your desktop or on the go. This will be useful not only to activists responsible for promoting regularly recurring events, but to a wide range of other domains: plumbers submitting vendor supply orders that vary in quantity each time, volunteers submitting venue booking requests for group meetings, staff filing weekly timesheets or expense reimbursements, nurses filling out hospital daily bed census reports -- you name it. This set-up will have it submitted for you in no time.
Appendix
[1] Why Not Just LastPass or Bitwarden
LastPass, Bitwarden, and RoboForm all solve autofill the same basic way under the hood: a structured profile maps form-field labels to values. The real difference comes down to two things:
- Static vs. dynamic mapping. LastPass and Bitwarden reuse one profile across every form. RoboForm effectively generates a fresh mapping per form.
- What happens when a field doesn't match anything already in the profile.
LastPass and Bitwarden: one static profile, matched by guesswork. You save a structured profile -- BW calls it an Identity, LastPass calls
it an Address -- essentially a dictionary of name/address/phone/email
keyed by label, matched against every form's inputs. Neither tool fully
gives up on a field that doesn't match: LastPass calls its manual
fallback a Form Field, Bitwarden calls it a custom field. But "fallback"
undersells how manual it is -- you're the one figuring out which HTML
attribute (id, name, aria-label, placeholder) the page actually
keys on, one field at a time, for every new form your org submits to.
Bitwarden's tooling makes that lookup a bit less painful than LastPass's,
but the work is still yours to do.
The workaround: one manually tuned profile (mapping) per form. Bitwarden doesn't limit you to a single Identity item -- you can create as many as you like. That means you could sidestep some of the matching-guesswork problem by maintaining a separate, hand-tuned Identity item for each recurring form you submit to, with its own custom fields mapped to that specific form's attributes. This isn't a free lunch, though: instead of one profile to maintain, you now have N -- one per form -- and any shared value (your name, your address) that changes has to be updated in every one of them separately. For an org submitting to a handful of calendar sites, that's a manageable amount of upkeep; for a dozen or more, Roboform starts to look really good.
RoboForm: one auto-generated mapping per form. Instead of matching one static profile against markup and hoping, RoboForm also lets you teach it: fill a form out once by hand, and its AutoSave feature notices and remembers exactly what you typed into each field, for that specific form, going forward. No markup-hunting, no manual mapping -- just fill it once and it sticks.
We didn't know RoboForm existed when we started this evaluation, though.
We tested Bitwarden and LastPass head-to-head on the actual forms we
needed to submit -- CalendarWiz and similar WordPress/Drupal-style
calendar plugins -- and hit something worse than rigidity: on any form
where a field's id and name attributes differ -- not rare on modern
component-framework-built forms, where tools like React generate ids
such as :r3: that carry no relation to the field's actual name --
both tools' autofill either filled the wrong field or silently skipped
it. No error, no warning -- the form still submitted, just with
corrupted data.
So we built form-fill-bookmarklet:
a zero-dependency browser bookmarklet that matches fields by name --
the attribute HTML forms actually submit under -- instead of id. Fill
a form out once, click the bookmarklet to capture it as a small JSON
template, save the JSON. On the next submission, edit just the value
that changes (usually the date), copy the JSON to the clipboard, and
invoke the bookmarklet again to refill the form with every value,
including the one you just changed. Three days of work, and a cool tool
-- right up until we evaluated RoboForm and realized it was completely
superfluous.
We still maintain the repo, for pedagogical purposes -- study the code if you want a sense of how RoboForm might work internally. RoboForm itself is closed source, so you'll never actually know if we guessed right.
[2] Security Track Record
The table below covers every publicly reported incident we found for the three tools under evaluation. We're upfront fans of open source, so it's worth sitting with the fact that Bitwarden -- open source -- has an incident on this list, while RoboForm -- closed source -- doesn't. That's not actually a contradiction: supply-chain attacks target how software gets built and published, not whether its source is public, and closed-source software isn't immune to them, it's just less likely to get caught. What open source bought here was a fast, independently verifiable response -- the compromised package was live for about 90 minutes, and anyone could check exactly what it did rather than take Bitwarden's word for it.
| Tool | Reported incidents | Vault data exposed? |
|---|---|---|
| LastPass | 2022: attacker used data stolen from a compromised employee's home computer to access a cloud storage backup containing encrypted customer vaults, plus some source code. | Encrypted vaults were taken (not decrypted at the time), along with unencrypted metadata like URLs. |
| Bitwarden | 2026: a malicious version of Bitwarden's own CLI was briefly live on npm (~90 minutes) as part of a broader supply-chain attack. 2023: a disclosed flaw allowed iframes to access autofilled credentials, since fixed. | No end-user vault data reported accessed in either incident. |
| RoboForm | None found. | N/A |
Regardless of which tool you pick, make sure to use a strong, unique master password and turn on two-factor authentication.
[3] Shared Vaults and SSO for Teams
Bitwarden can run as shared infrastructure for a whole team, not just a personal vault.
Shared org vaults. If more than one person on your team submits events, shares accounts, or needs the same set of logins, set up a Bitwarden Organization ($4/user/month on the Teams plan) instead of emailing passwords around or maintaining a shared spreadsheet. An organization holds the same item types a personal vault does -- Logins, Secure Notes, Cards, Identities -- just organized into Collections that you can scope to specific members or groups. Put the calendar- submission login in a collection your events team can see, and keep a treasurer-only collection for anything payment-related. When someone leaves the team, you revoke their access to the collection or the whole organization instead of rotating every password by hand.
Single sign-on. On the Enterprise tier, Bitwarden supports logging into the vault itself via your org's existing identity provider (Okta, Google Workspace, Azure AD/Entra ID, and others, over SAML or OIDC) instead of a separate Bitwarden master password. That's real infrastructure consolidation -- one login system to manage instead of two, and revoking someone's org account revokes their vault access in the same step. For most shoestring-budget orgs this is aspirational rather than immediately useful: it's an Enterprise-tier feature, and it assumes you already have an identity provider in place. Worth knowing it exists for the day your org outgrows a spreadsheet of names and passwords.